Automate the simulator and reproduce errors
In this tutorial, you:
- Test your own program with the simulator as the other equipment or host.
- Automate tests with headless scenarios and judge them by exit code.
- Cause a refused connection, a session ID mismatch, a T3 timeout, an unhandled request and write backpressure on purpose, and see what each one looks like.
- Keep what you reproduced as trace files and logs.
Before you begin
Section titled “Before you begin”- Finish First communication. This tutorial uses the C++ tutorial example
build/pdcomm-tutorial. - Set
PDCOMM_ROOTandPDCOMM_SIMULATOR.
The commands use a Linux or macOS shell. On Windows, replace "$PDCOMM_SIMULATOR/pdcomm-simulator-headless" with & "$Simulator\pdcomm-simulator-headless.exe".
1. Test your host against a simulated equipment
Section titled “1. Test your host against a simulated equipment”The external-peer scenario starts an equipment and waits for an external host to send S1F13 and S1F1 and then disconnect.
"$PDCOMM_SIMULATOR/pdcomm-simulator-headless" --scenario external-peer --session-id 7 --timeout-ms 20000Connect a host to the local_address on the second line, such as 127.0.0.1:50092, and type establish, identity and quit:
"$PDCOMM_ROOT/build/pdcomm-tutorial" host active 127.0.0.1:50092The simulator records s1f13, s1f1 and disconnect, then ends with "outcome":"passed" and exit code 0. To put your own host program into an automated test, read the address from the second output line, pass it to your host, and use the simulator’s exit code as the verdict.
2. Test your equipment against a simulated host
Section titled “2. Test your equipment against a simulated host”Start the tutorial equipment first:
"$PDCOMM_ROOT/build/pdcomm-tutorial" equipment passive 127.0.0.1:5006In another terminal, run the simulator as the host:
"$PDCOMM_SIMULATOR/pdcomm-simulator-headless" --role host --address 127.0.0.1:5006 --session-id 7The simulator connects, establishes communication and ends with "outcome":"passed". The equipment terminal shows RESULT kind=1 request=0 outcome=2 for the S1F13 it received.
3. Check capabilities with scenarios
Section titled “3. Check capabilities with scenarios”The headless simulator includes a round-trip scenario for each capability. Run the scenarios that match the tutorials to confirm that your SDK and simulator support those capabilities:
mkdir -p resultsfor scenario in status-round-trip data-report-round-trip directory-round-trip remote-report-config-round-trip typed-command-round-trip; do "$PDCOMM_SIMULATOR/pdcomm-simulator-headless" --scenario "$scenario" > "results/$scenario.jsonl" echo "$scenario exit=$?"donestatus-round-trip exit=0data-report-round-trip exit=0directory-round-trip exit=0remote-report-config-round-trip exit=0typed-command-round-trip exit=0The headless simulator guide lists every scenario and the output format. Profiles and scenarios you build in the GUI run the same way once you save them in a project file.
4. Drive the simulator from a script or an AI tool
Section titled “4. Drive the simulator from a script or an AI tool”When you start the GUI with --mcp-stdio, an MCP client can create and start sessions in the GUI. The GUI moves bytes on its own, so external programs can connect to those sessions right away.
This sequence creates a simulated equipment, connects the tutorial host and changes a value under test control:
simulator.session.createwithroleequipment,modepassive,address127.0.0.1:5000andprotocol_session_id7.simulator.lifecycle.start. Pass thegenerationandrevisionfrom each response to the next call.- In the tutorial host,
establishandvalues 1001 1002returnSECS-II 01 02 41 04 49 44 4c 45 b1 04 00 00 00 00. simulator.status_data.updatewithkindstatus,id1002 andvalue"5".- In the tutorial host,
values 1001 1002now ends withb1 04 00 00 00 05.
The simulator MCP server guide covers the server configuration and the tools.
5. Reproduce errors on purpose
Section titled “5. Reproduce errors on purpose”When you’ve caused a failure yourself, you recognize it faster on real equipment. Stop all programs after each experiment before you start the next one.
Nobody listens: connection refused
Section titled “Nobody listens: connection refused”Start only the host, with no equipment:
"$PDCOMM_ROOT/build/pdcomm-tutorial" host active 127.0.0.1:5010After a few seconds, state prints STATE tcp=5 gem=0. State 5 is RetryWait: after each refused connection, the host waits T5 (one second in the tutorial) and tries again. Type quit to stop.
The port is taken
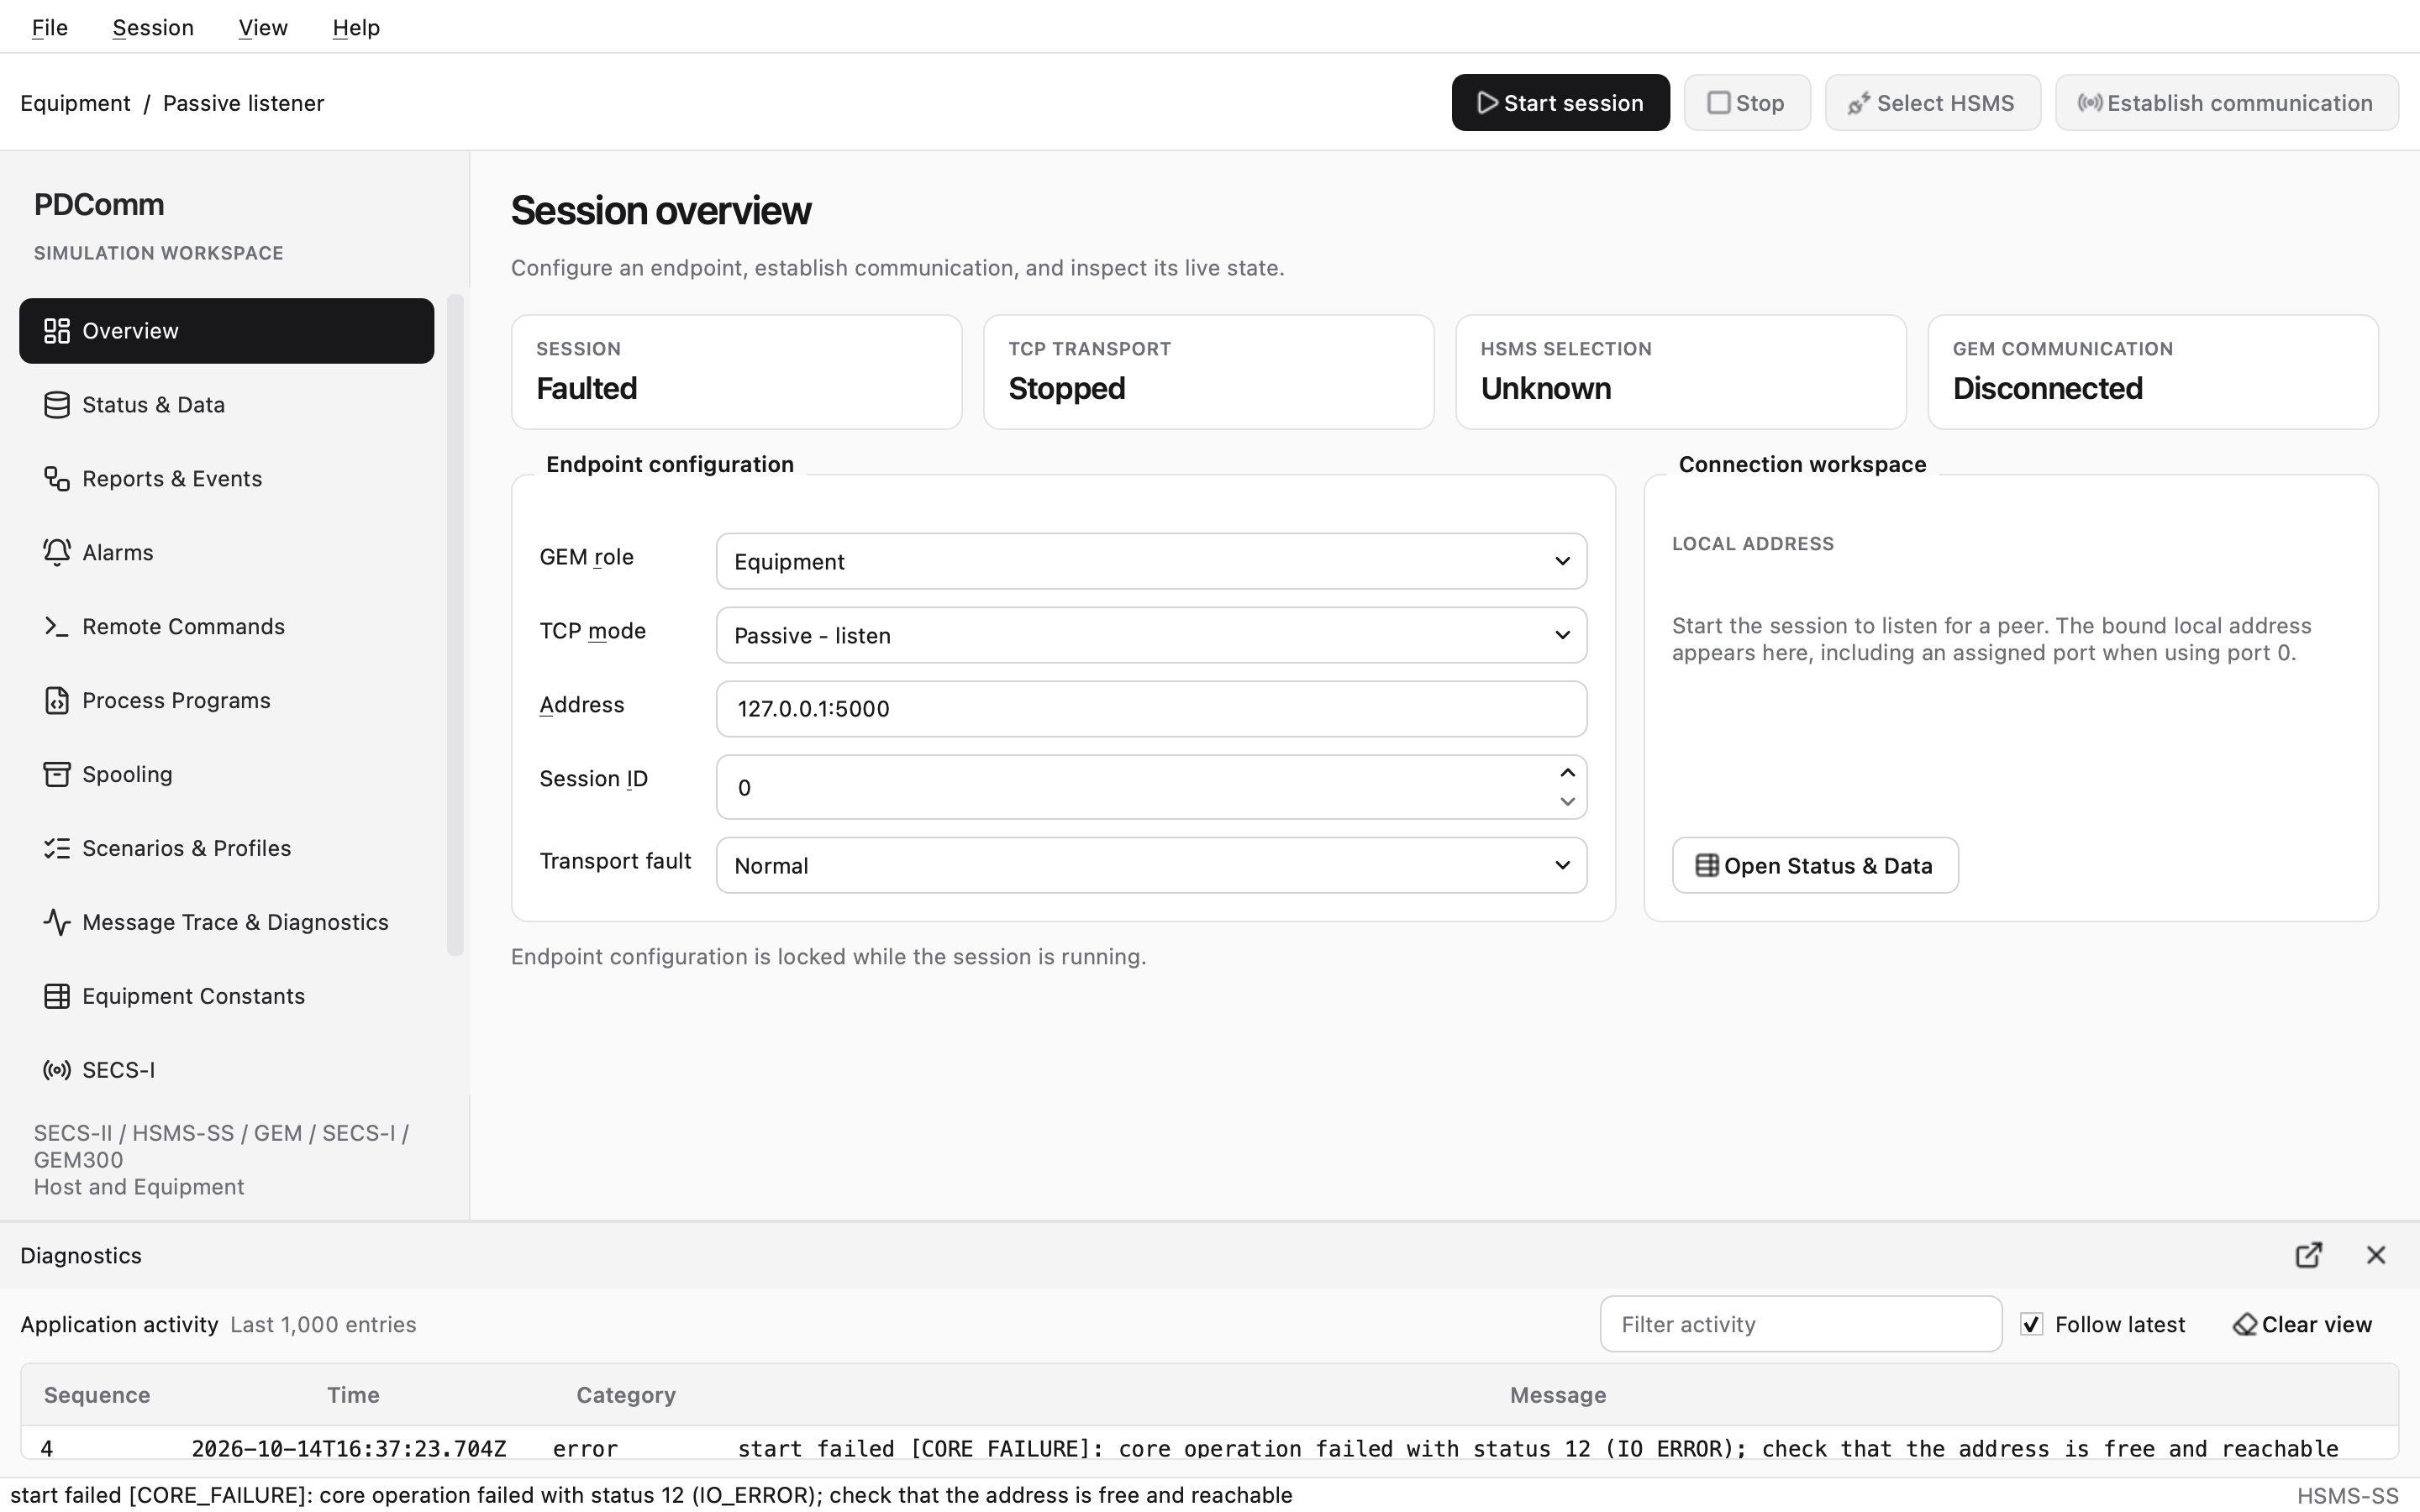
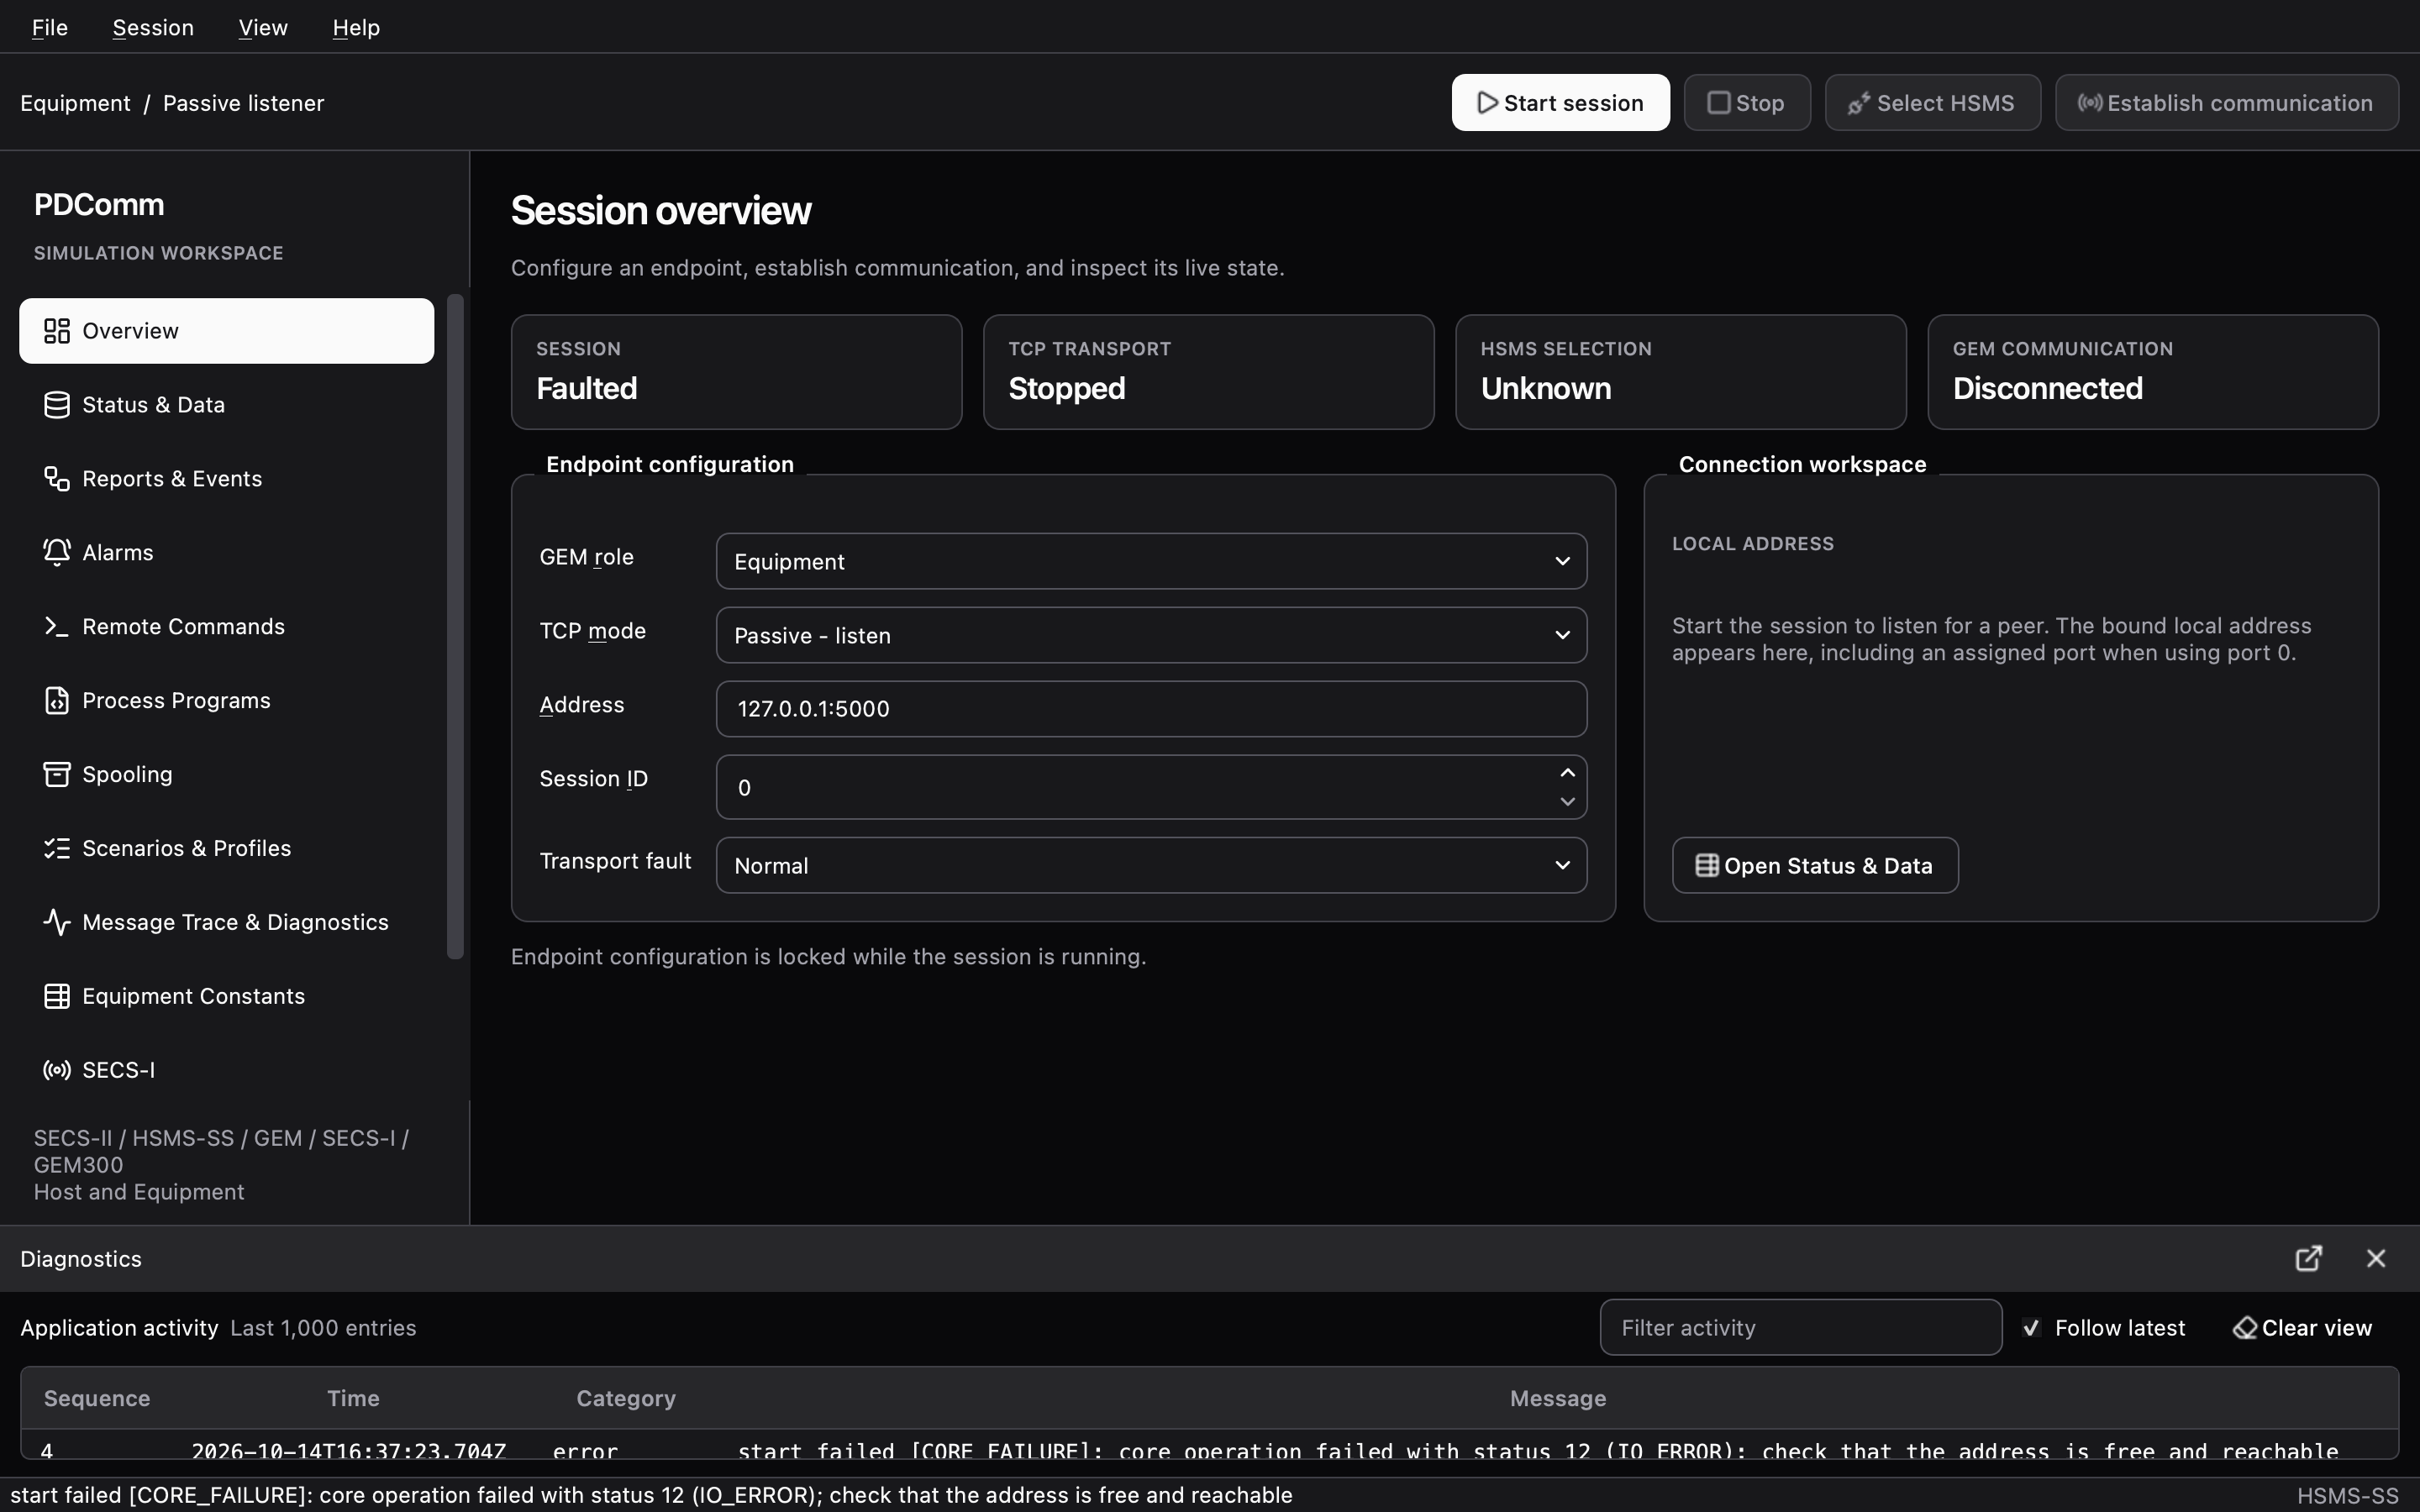
Section titled “The port is taken”Start two equipment programs on the same address. The second one immediately prints PDComm native operation failed and exits with code 1. The C# example also names the status, IoError.
The session IDs differ
Section titled “The session IDs differ”Start the simulator GUI as Equipment, Passive - listen on 127.0.0.1:5000, but leave Session ID at its default of 0. Connect the tutorial host (session ID 7) and type establish. The connection and Select succeed (STATE tcp=4), but RESULT kind=3 request=1 outcome=0 appears only after five seconds (T3): the peer doesn’t process data messages with a different session ID.
The peer stops answering: T3 timeout
Section titled “The peer stops answering: T3 timeout”Connect the equipment and the host and run establish. In a third terminal, suspend the equipment process:
kill -STOP "$(pgrep -f 'pdcomm-tutorial equipment passive 127.0.0.1:5000')"Type values 1 2 in the host. After five seconds, RESULT kind=3 request=3 outcome=0 appears. Resume the equipment:
kill -CONT "$(pgrep -f 'pdcomm-tutorial equipment passive 127.0.0.1:5000')"The equipment answers the queued S1F3 late. The host drops that reply because the transaction is already over, and the connection stays Selected; the next values 1 2 succeeds. Diagnose failures and ask for help shows how to follow this in the logs.
An unhandled request
Section titled “An unhandled request”Send alarms from the C# host to the tutorial equipment. The equipment has no alarm catalog, so it doesn’t handle the request and aborts the transaction with ABORT S5F0 for S5F5. The host gets RESULT kind=3 request=13 at once instead of waiting for T3. Step 7 of First communication explains why.
Write backpressure
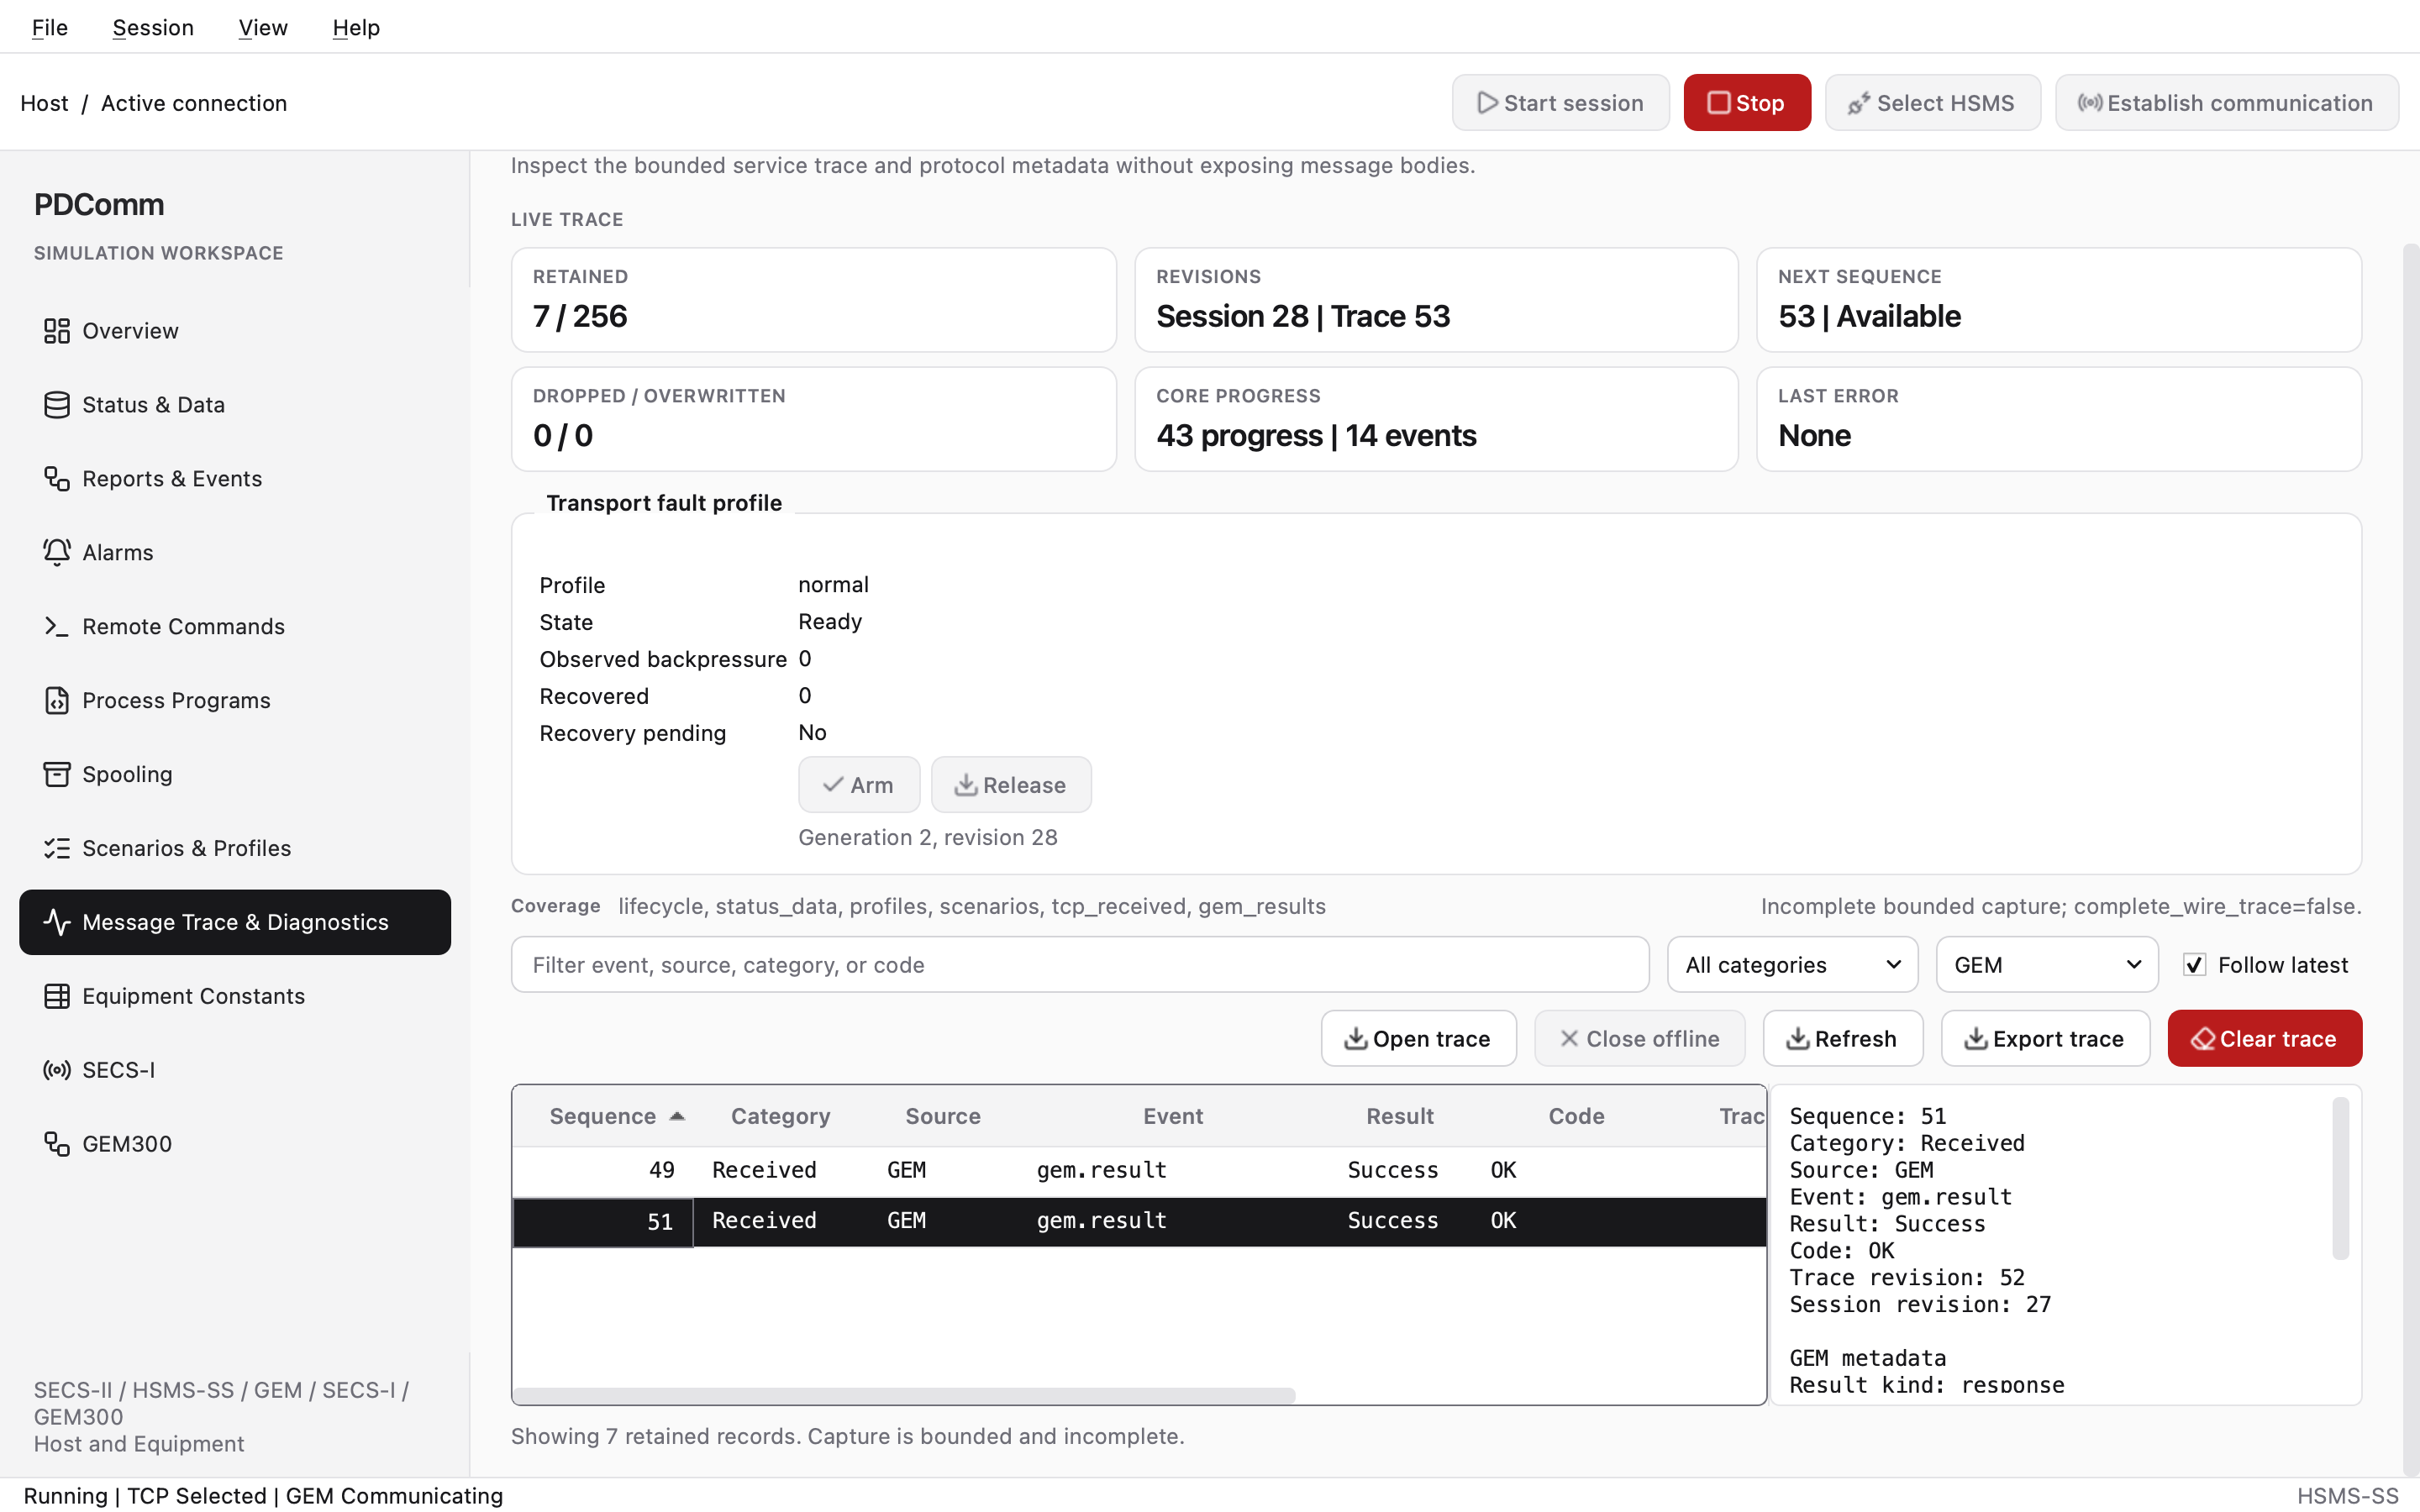
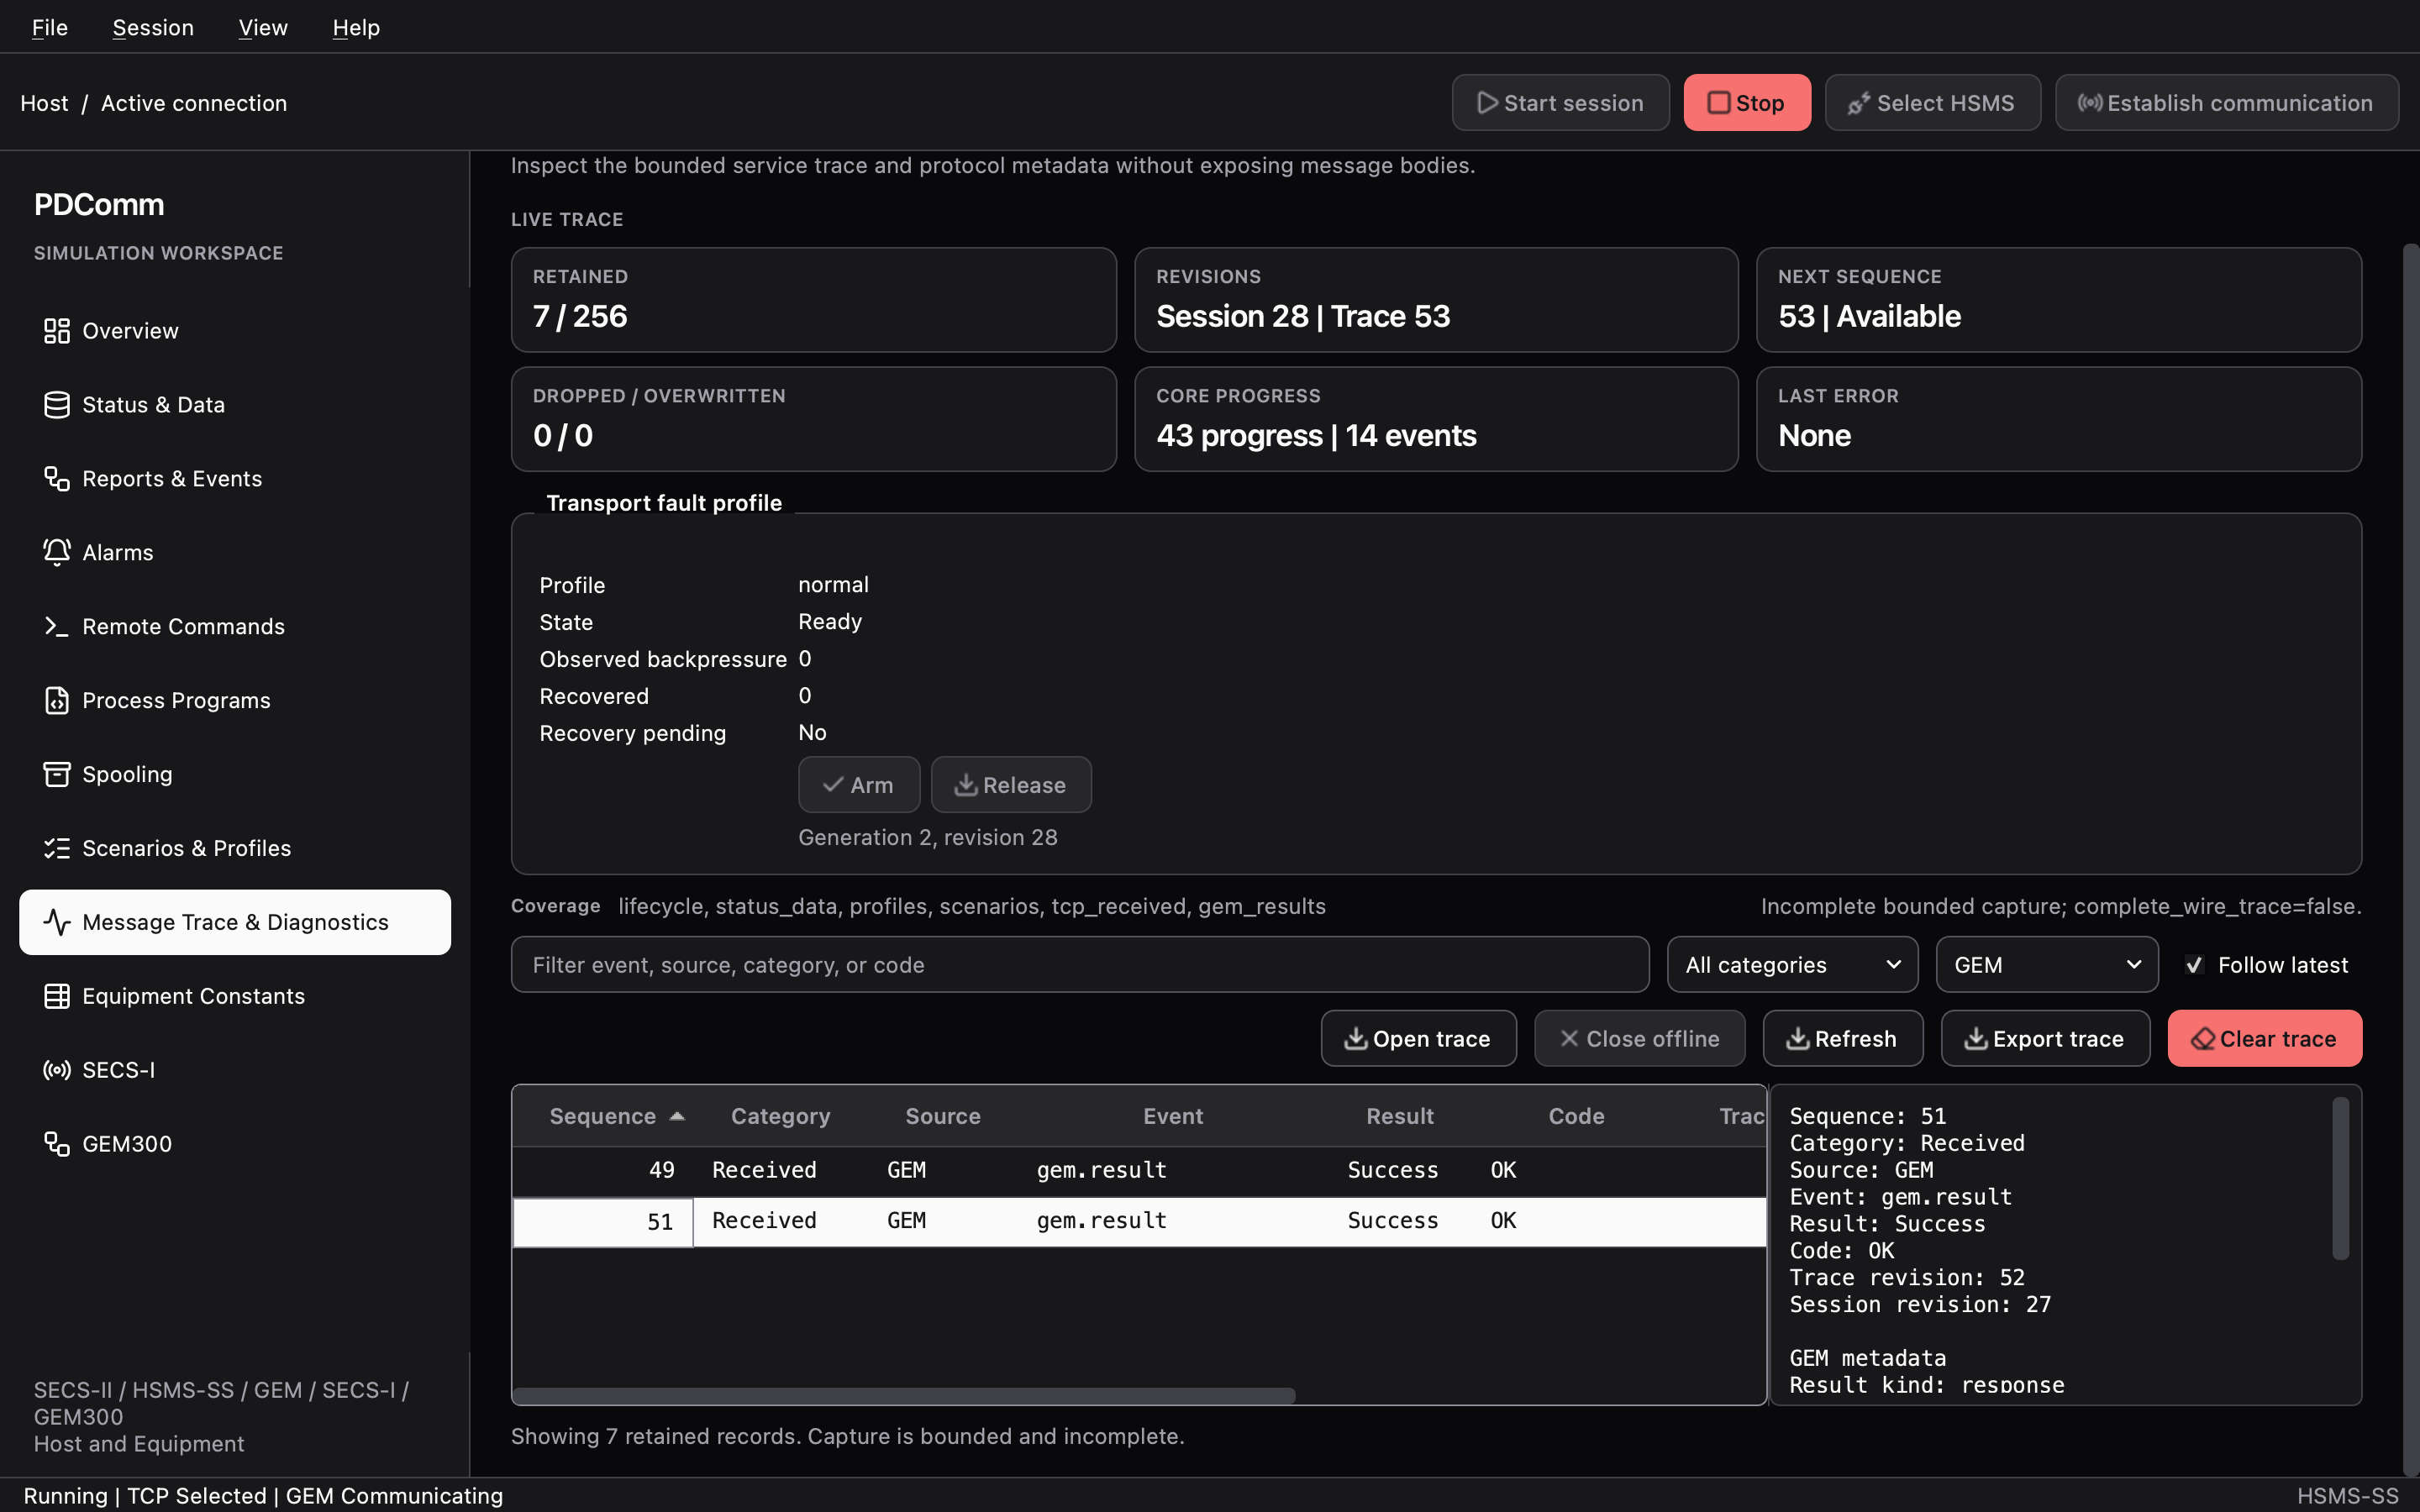
Section titled “Write backpressure”"$PDCOMM_SIMULATOR/pdcomm-simulator-headless" --scenario transport-backpressure-recovery --transport-fault-profile write_backpressureAt second-send-limit-exceeded, a send is rejected at the limit; after transport-fault-released, retry-send-accepted shows the same request going through. In the GUI, set Transport fault to Write backpressure in Overview before you start the session, then use Arm and Release under Transport fault profile in Message Trace & Diagnostics once communication is established.
6. Keep the evidence
Section titled “6. Keep the evidence”- GUI: click Export trace in Message Trace & Diagnostics, or choose File > Export Trace…, to save a JSON file. It contains no message bodies.
- Headless project mode: save the trace with
--trace-output <file>. - SDK programs: write JSON Lines diagnostics with the
PDCOMM_LOGenvironment variable.
Clean up
Section titled “Clean up”Type quit in the tutorial examples, and click Stop in the GUI before you close it. If a suspended process is left over, resume it with kill -CONT and then stop it. Delete the results folder if you don’t need it.
Next steps
Section titled “Next steps”- Find the cause in the logs with Diagnose failures and ask for help.
- Look up fixes by symptom in Connection and timeout problems.