Build a test workflow with the simulators
The PDComm Modbus simulator comes in three forms: a GUI, a headless program and an MCP server. They share the same commands and the same project format. In this tutorial you move a state you built in the GUI into a file, then reuse it in the headless simulator and through MCP.
Every process is its own session. Starting an MCP server or a headless simulator doesn’t give it the state of a GUI that’s already running. To move state between sessions, use real TCP communication or a project file.
- Open the GUI simulator as a TCP server and write values from a console client.
- Check the results in the GUI’s Data and Trace / Fault tabs and save a project.
- Load the project in the headless simulator and build a scenario regression test.
- Call the same commands through the MCP server.
What you need
Section titled “What you need”- The PDComm Modbus SDK and the C++ console from the quickstart
- A desktop session. On a Linux server without a display, skip the GUI steps and use the headless simulator instead.
jq, the command-line JSON processor
1. Open the GUI as a TCP server
Section titled “1. Open the GUI as a TCP server”Start the simulator:
- macOS:
open "$MODBUS_SDK/PDComm Modbus Simulator.app" - Linux:
"$MODBUS_SDK/bin/pdcomm-modbus-simulator" - Windows:
bin\pdcomm-modbus-simulator.exein the SDK
On the Connection tab, set these values and click Connect:
| Field | Value |
|---|---|
| Transport | TCP |
| Role | Server |
| TCP address | 127.0.0.1:1502 |
| Unit | 1 |
Connect sends configure with the current values, then connect. On success the button changes to Disconnect and the status line at the bottom shows Completed: connect. With port 0, TCP address changes to the actual address the operating system chose.
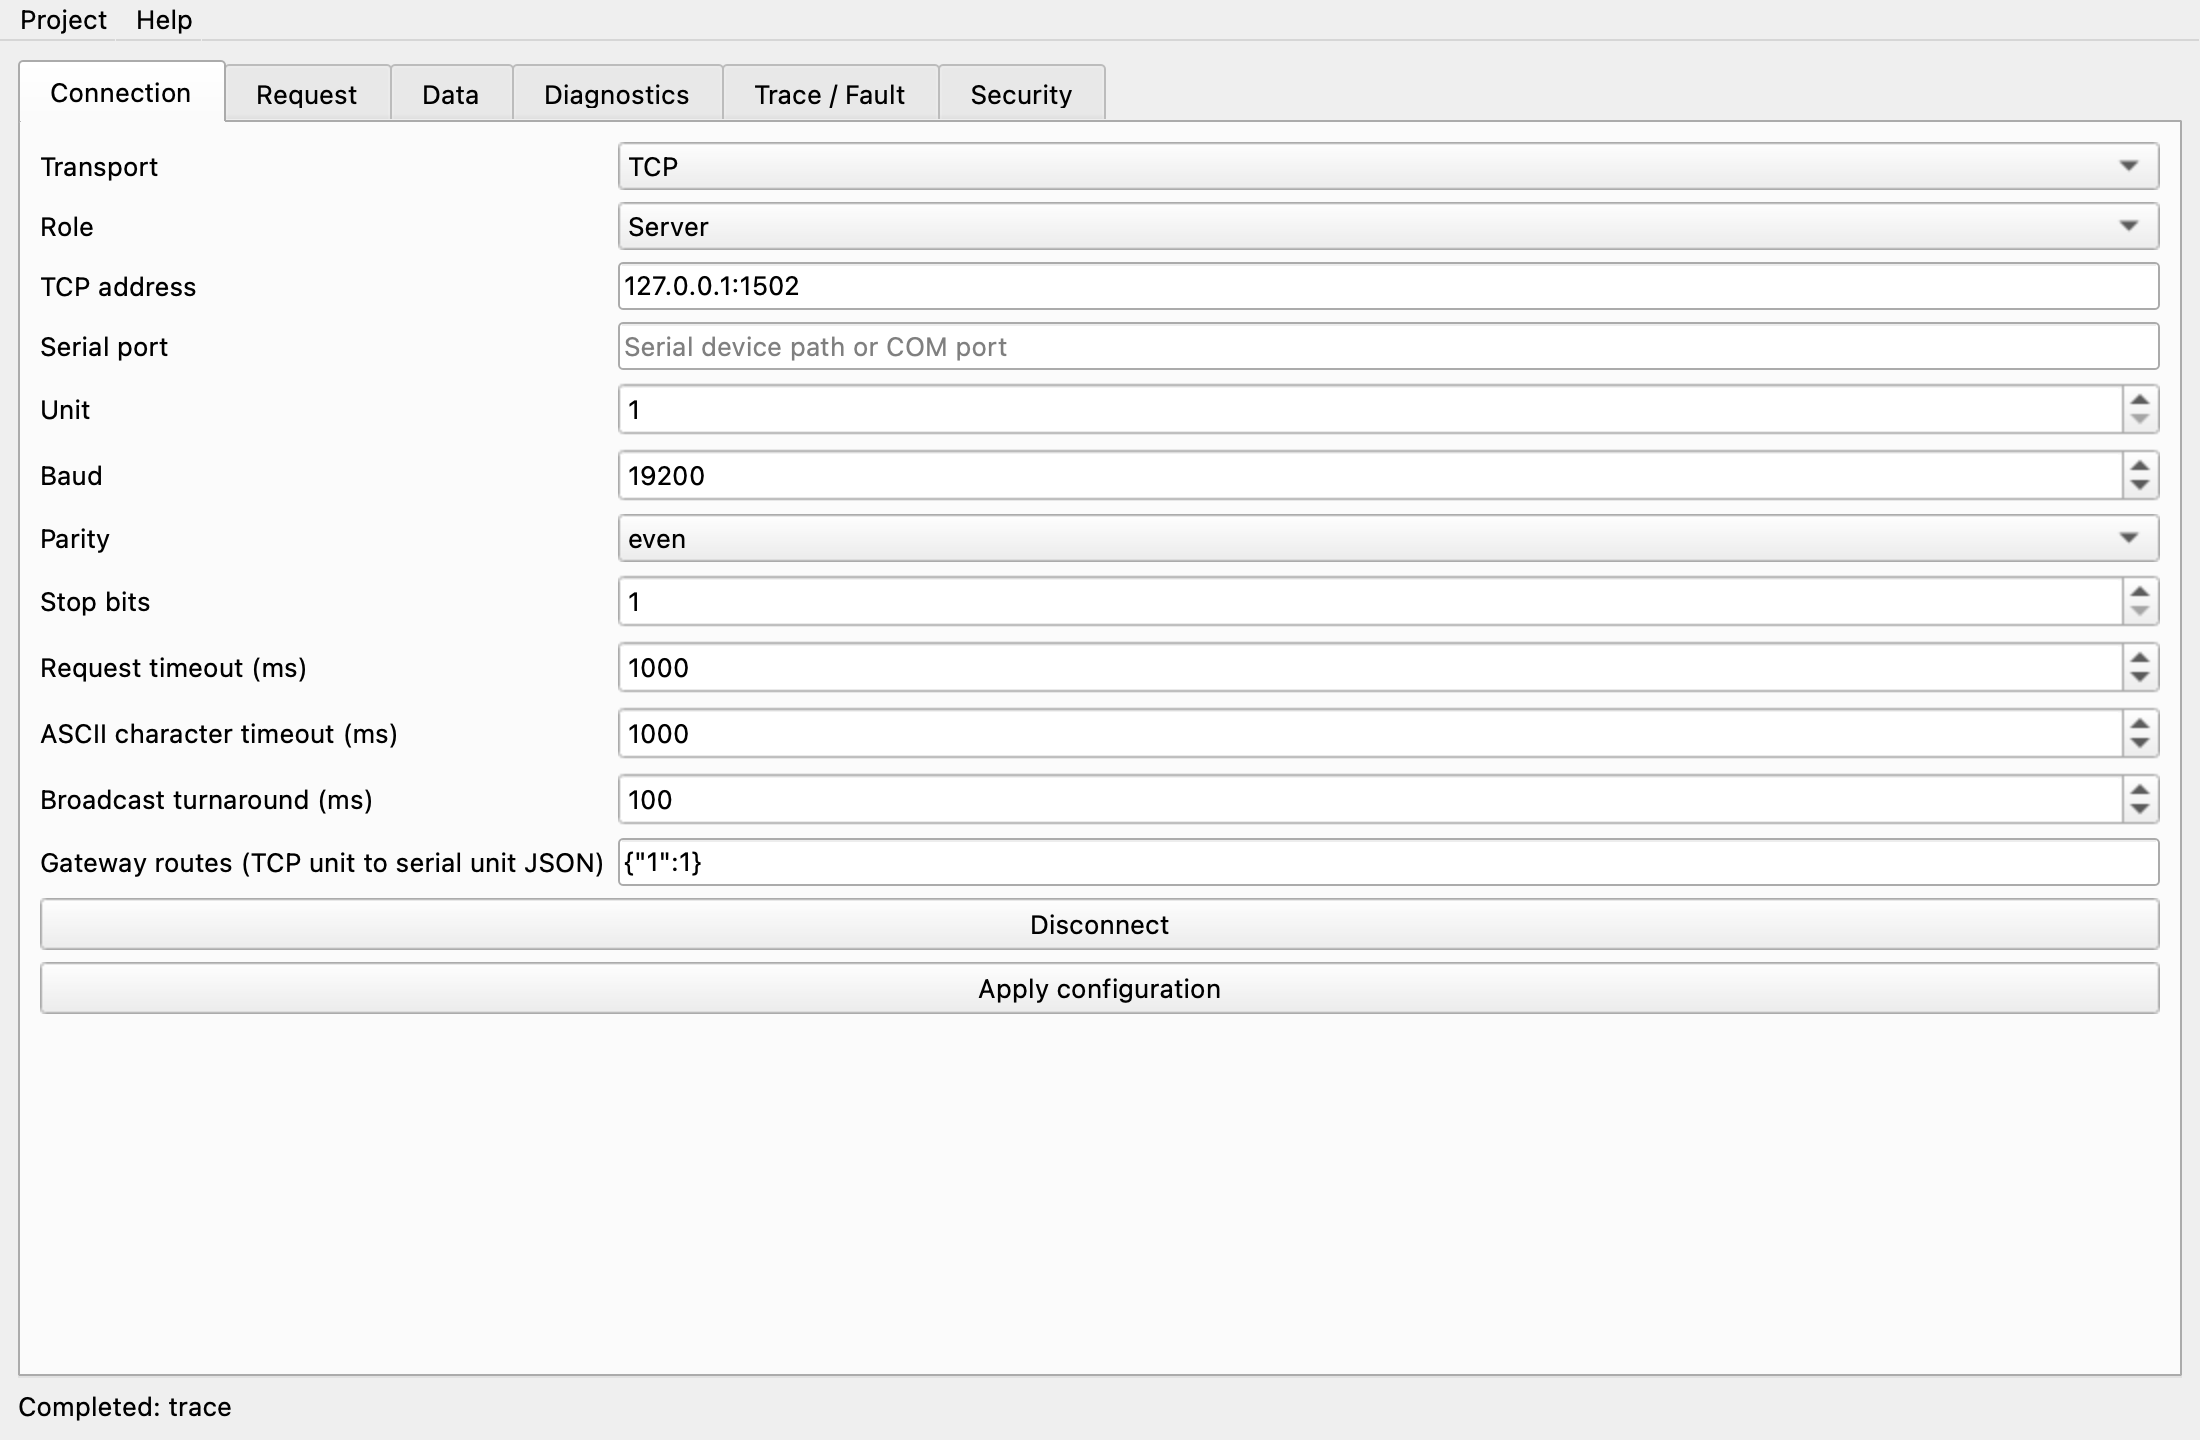
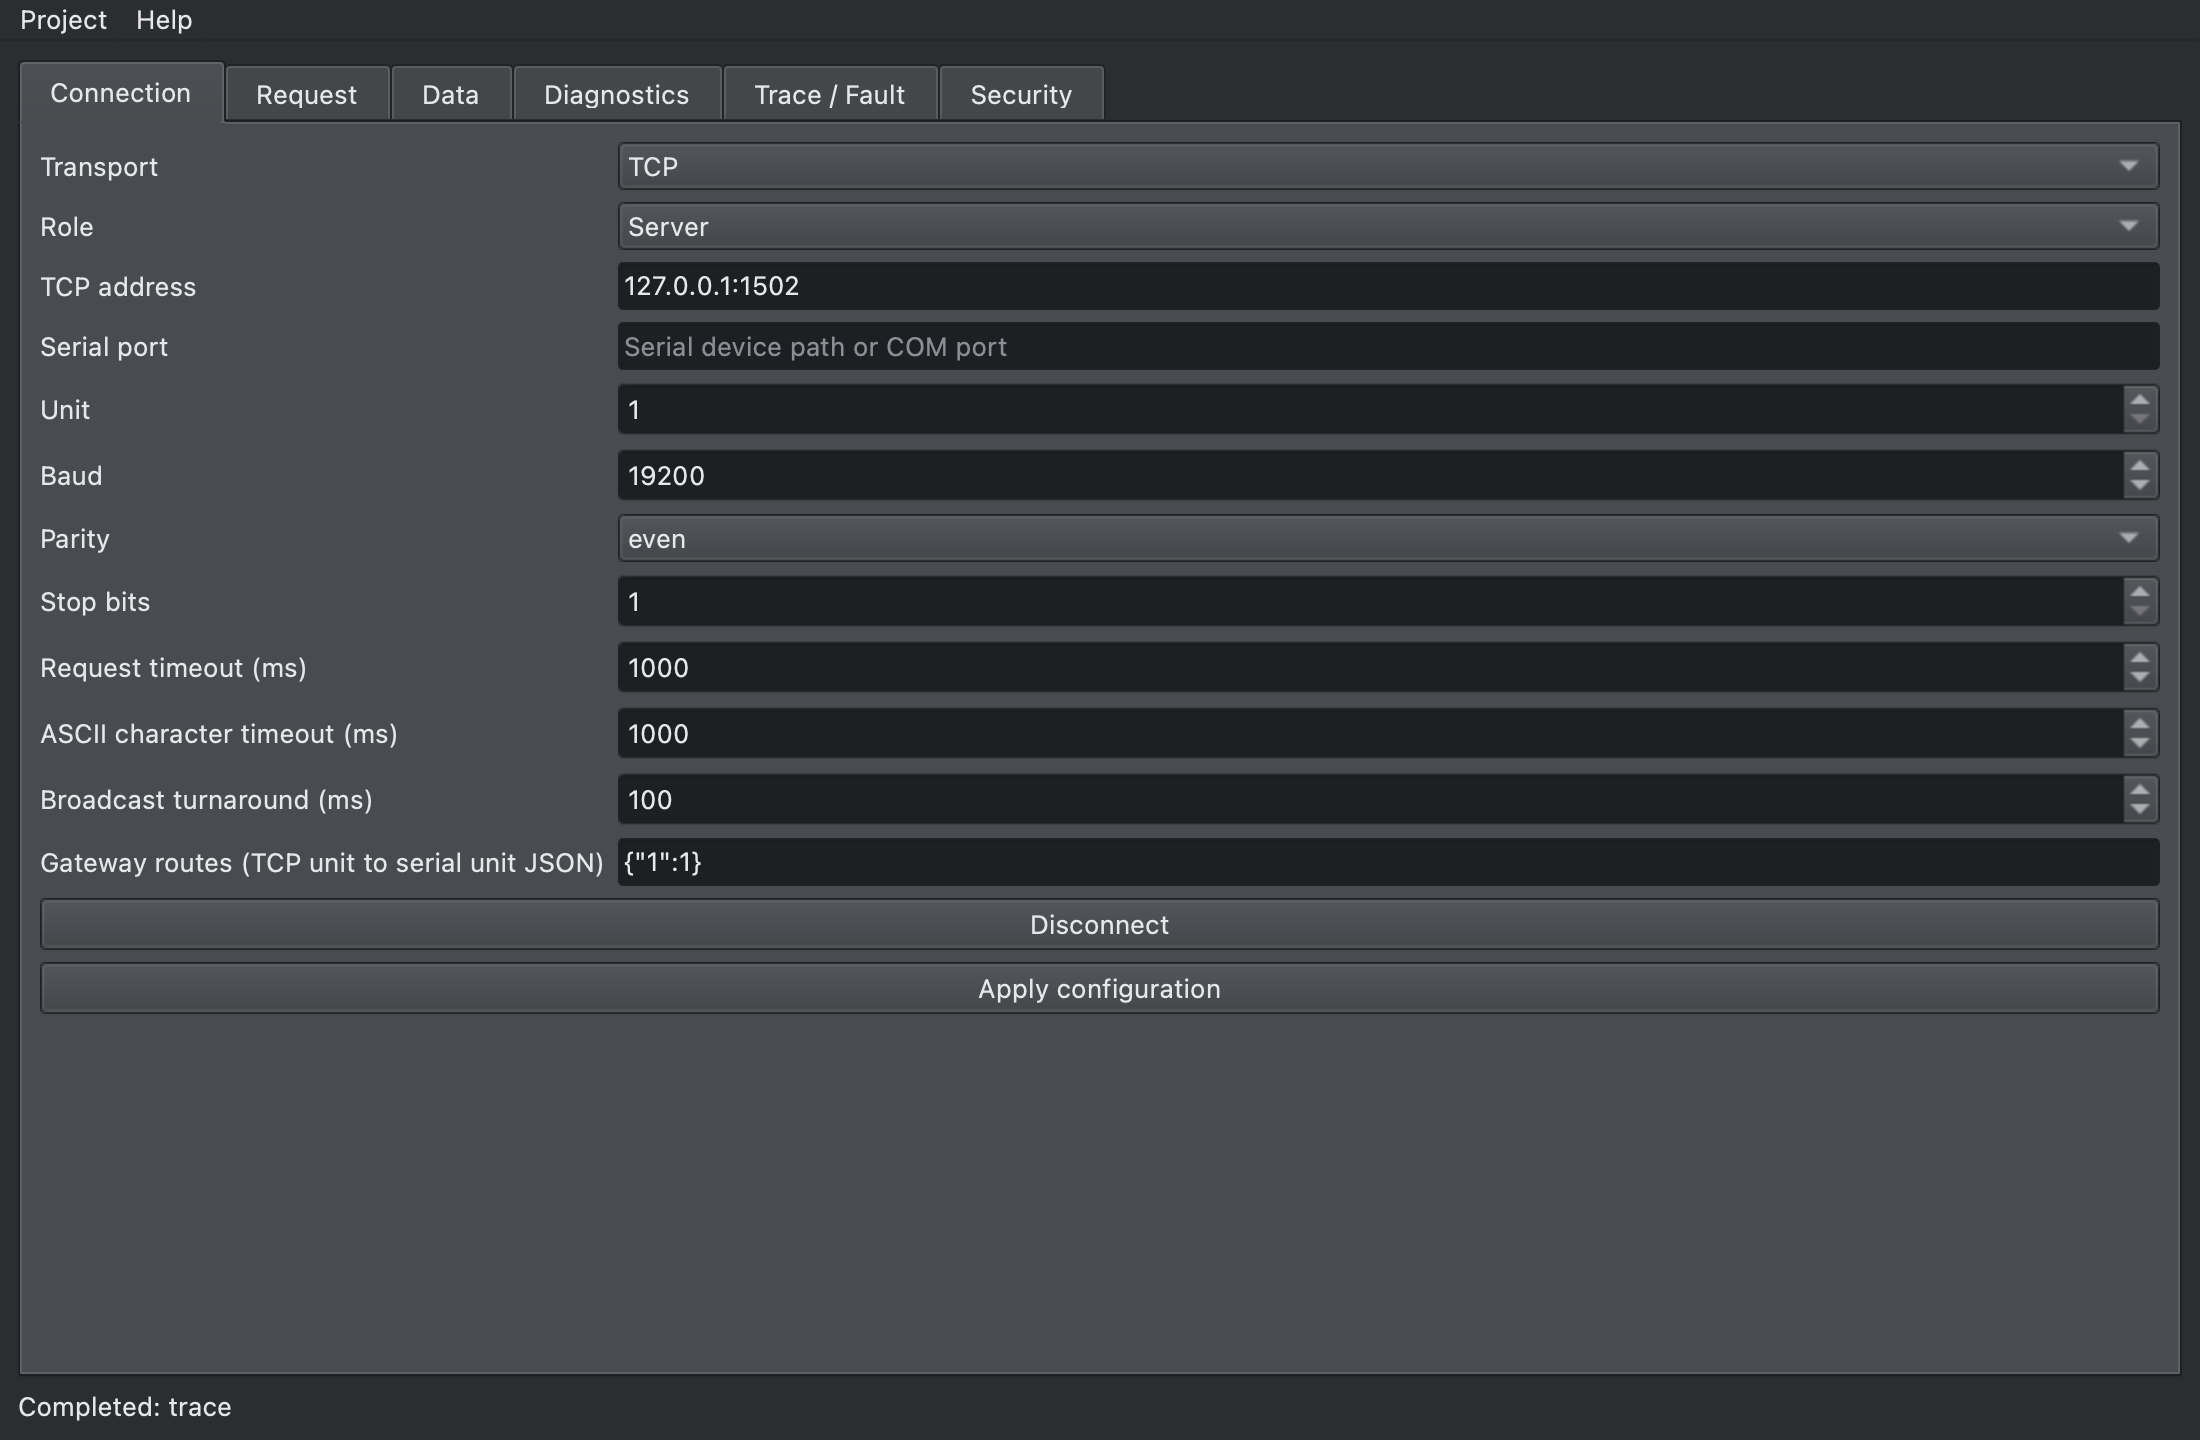
If the connection fails, the status line shows connect failed: and the error, for example connect failed: Io(AddrInUse, ...) when another program holds the port.
2. Write values from a console client
Section titled “2. Write values from a console client”In another terminal, start the C++ console, connect as in step 4 of the quickstart, and write two registers:
{"action":"configure","config":{"transport":"tcp","role":"client","address":"127.0.0.1:1502","port":"","unit":1,"baud":19200,"parity":"even","stop_bits":1,"timeout_ms":1000}}{"action":"connect"}{"action":"request","pdu":"1000000002040040002A"}{"action":"request","pdu":"0300000002"}{"ok":true,"result":{"response":[16,0,0,0,2],"source":"wire","status":"success"}}{"ok":true,"result":{"response":[3,4,0,64,0,42],"source":"wire","status":"success"}}1000000002040040002A is a function 16 request that writes 64 and 42 to holding registers 0–1.
3. Check the results in the GUI
Section titled “3. Check the results in the GUI”- On the Data tab, click Read model to see the whole model as JSON. The
valuesofholding_registersstart with[64, 42, 0, ...]. - On the Trace / Fault tab, click Read trace to see the requests and responses the server handled, in hex. Entries with
sourcewireare real communication.
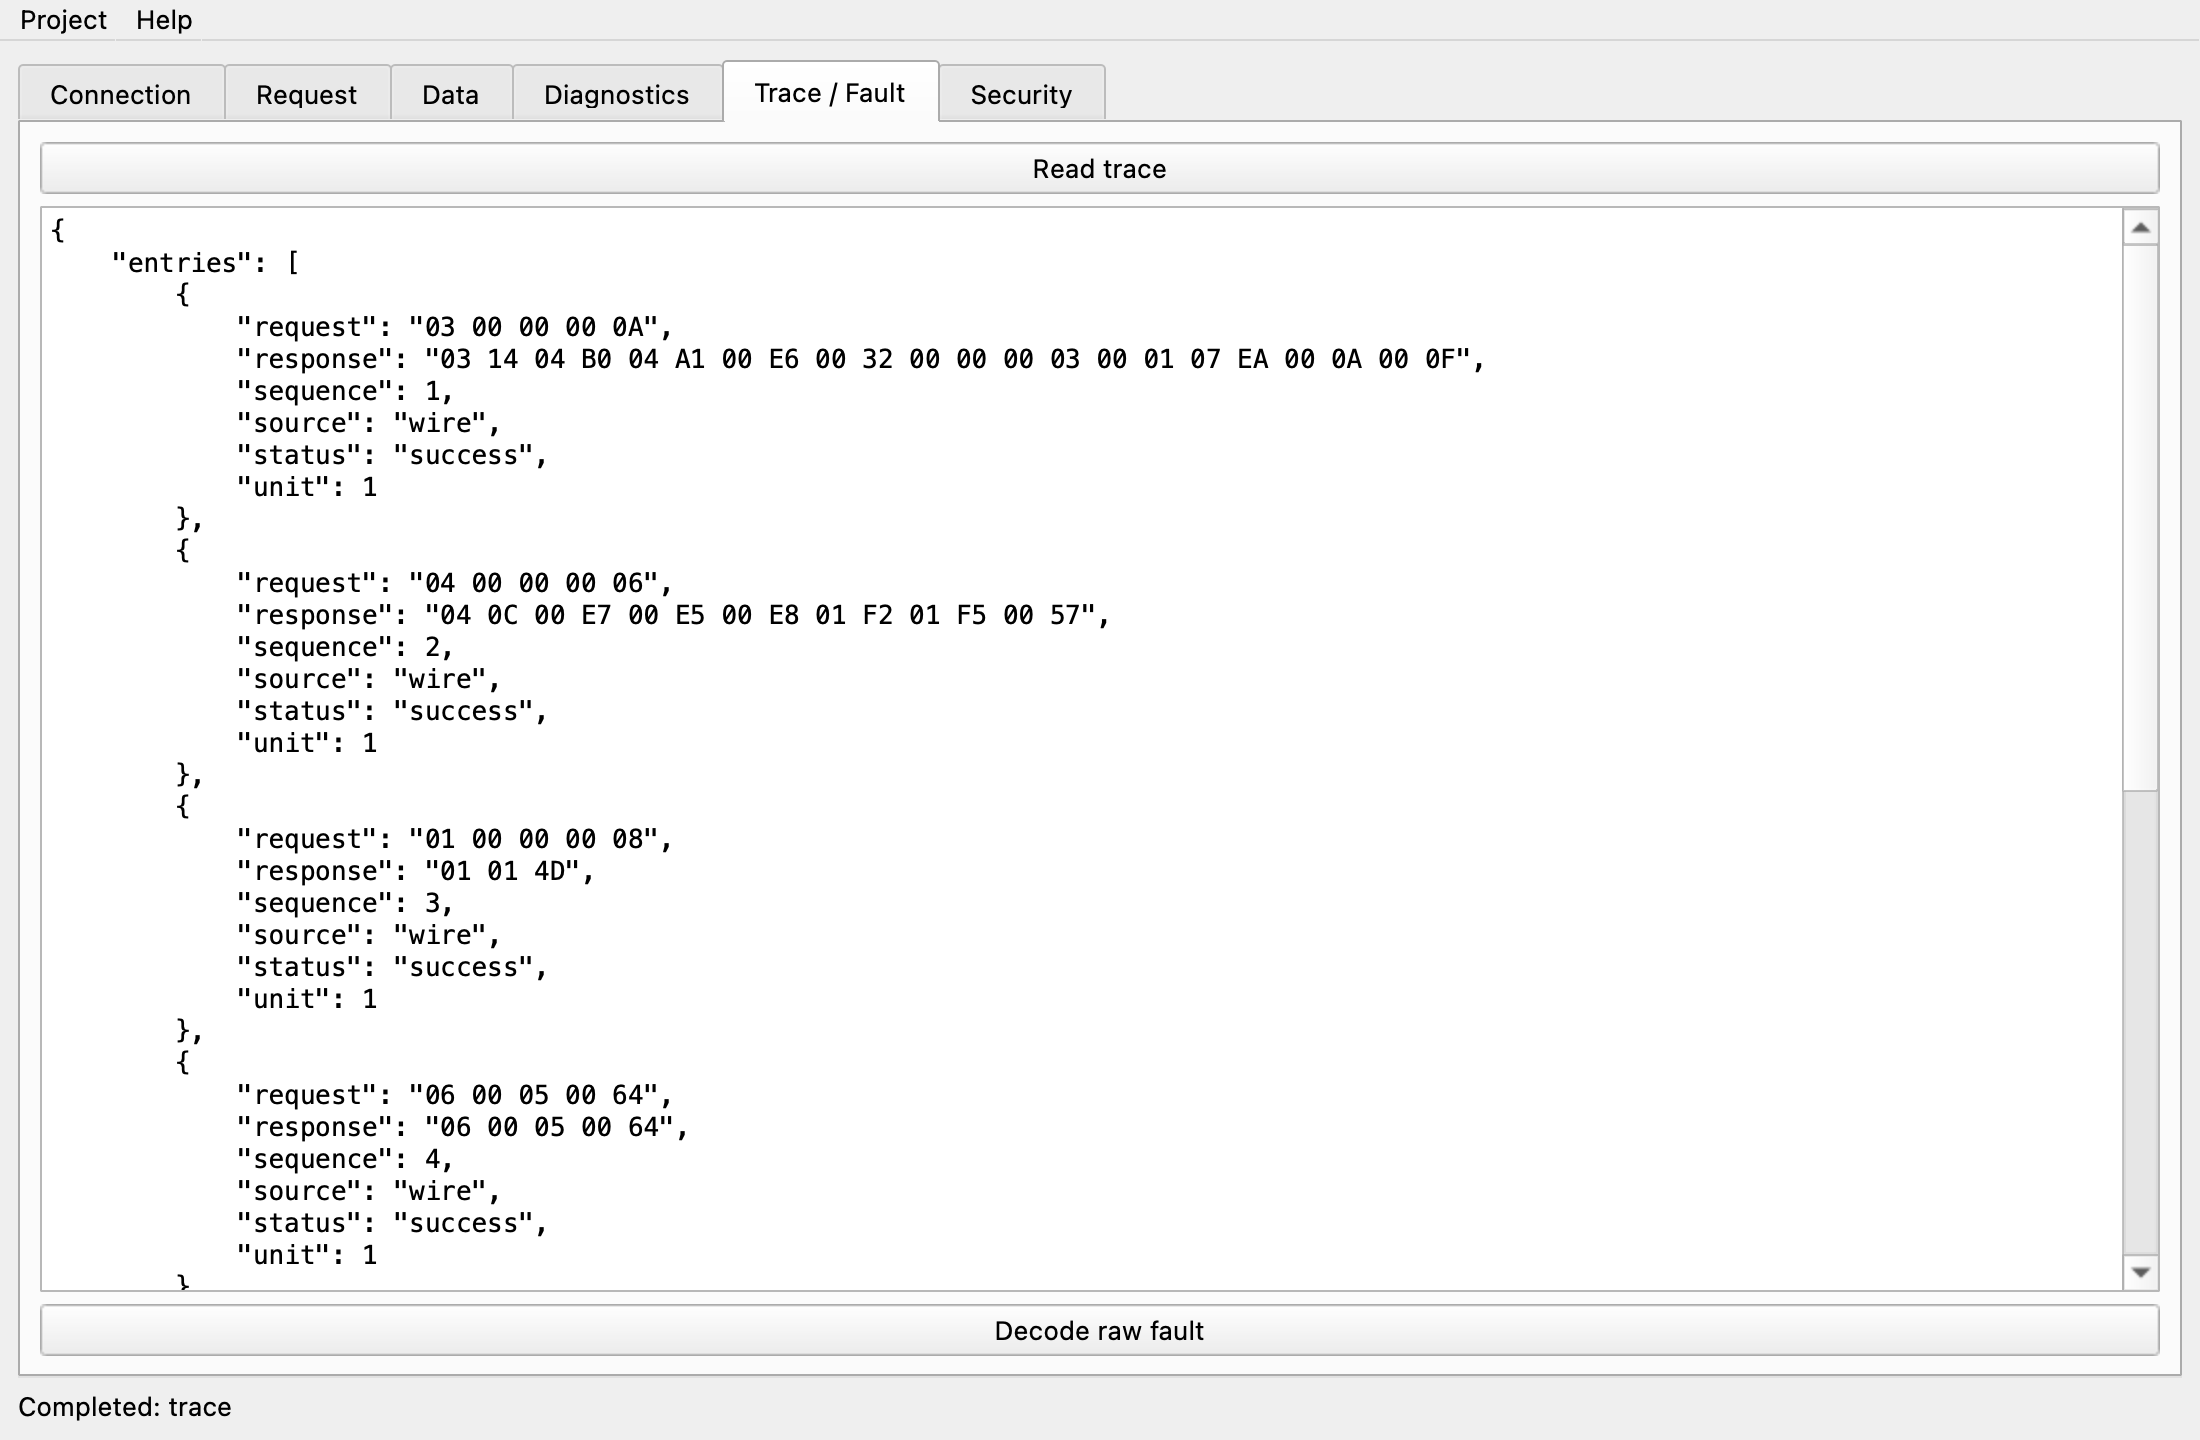
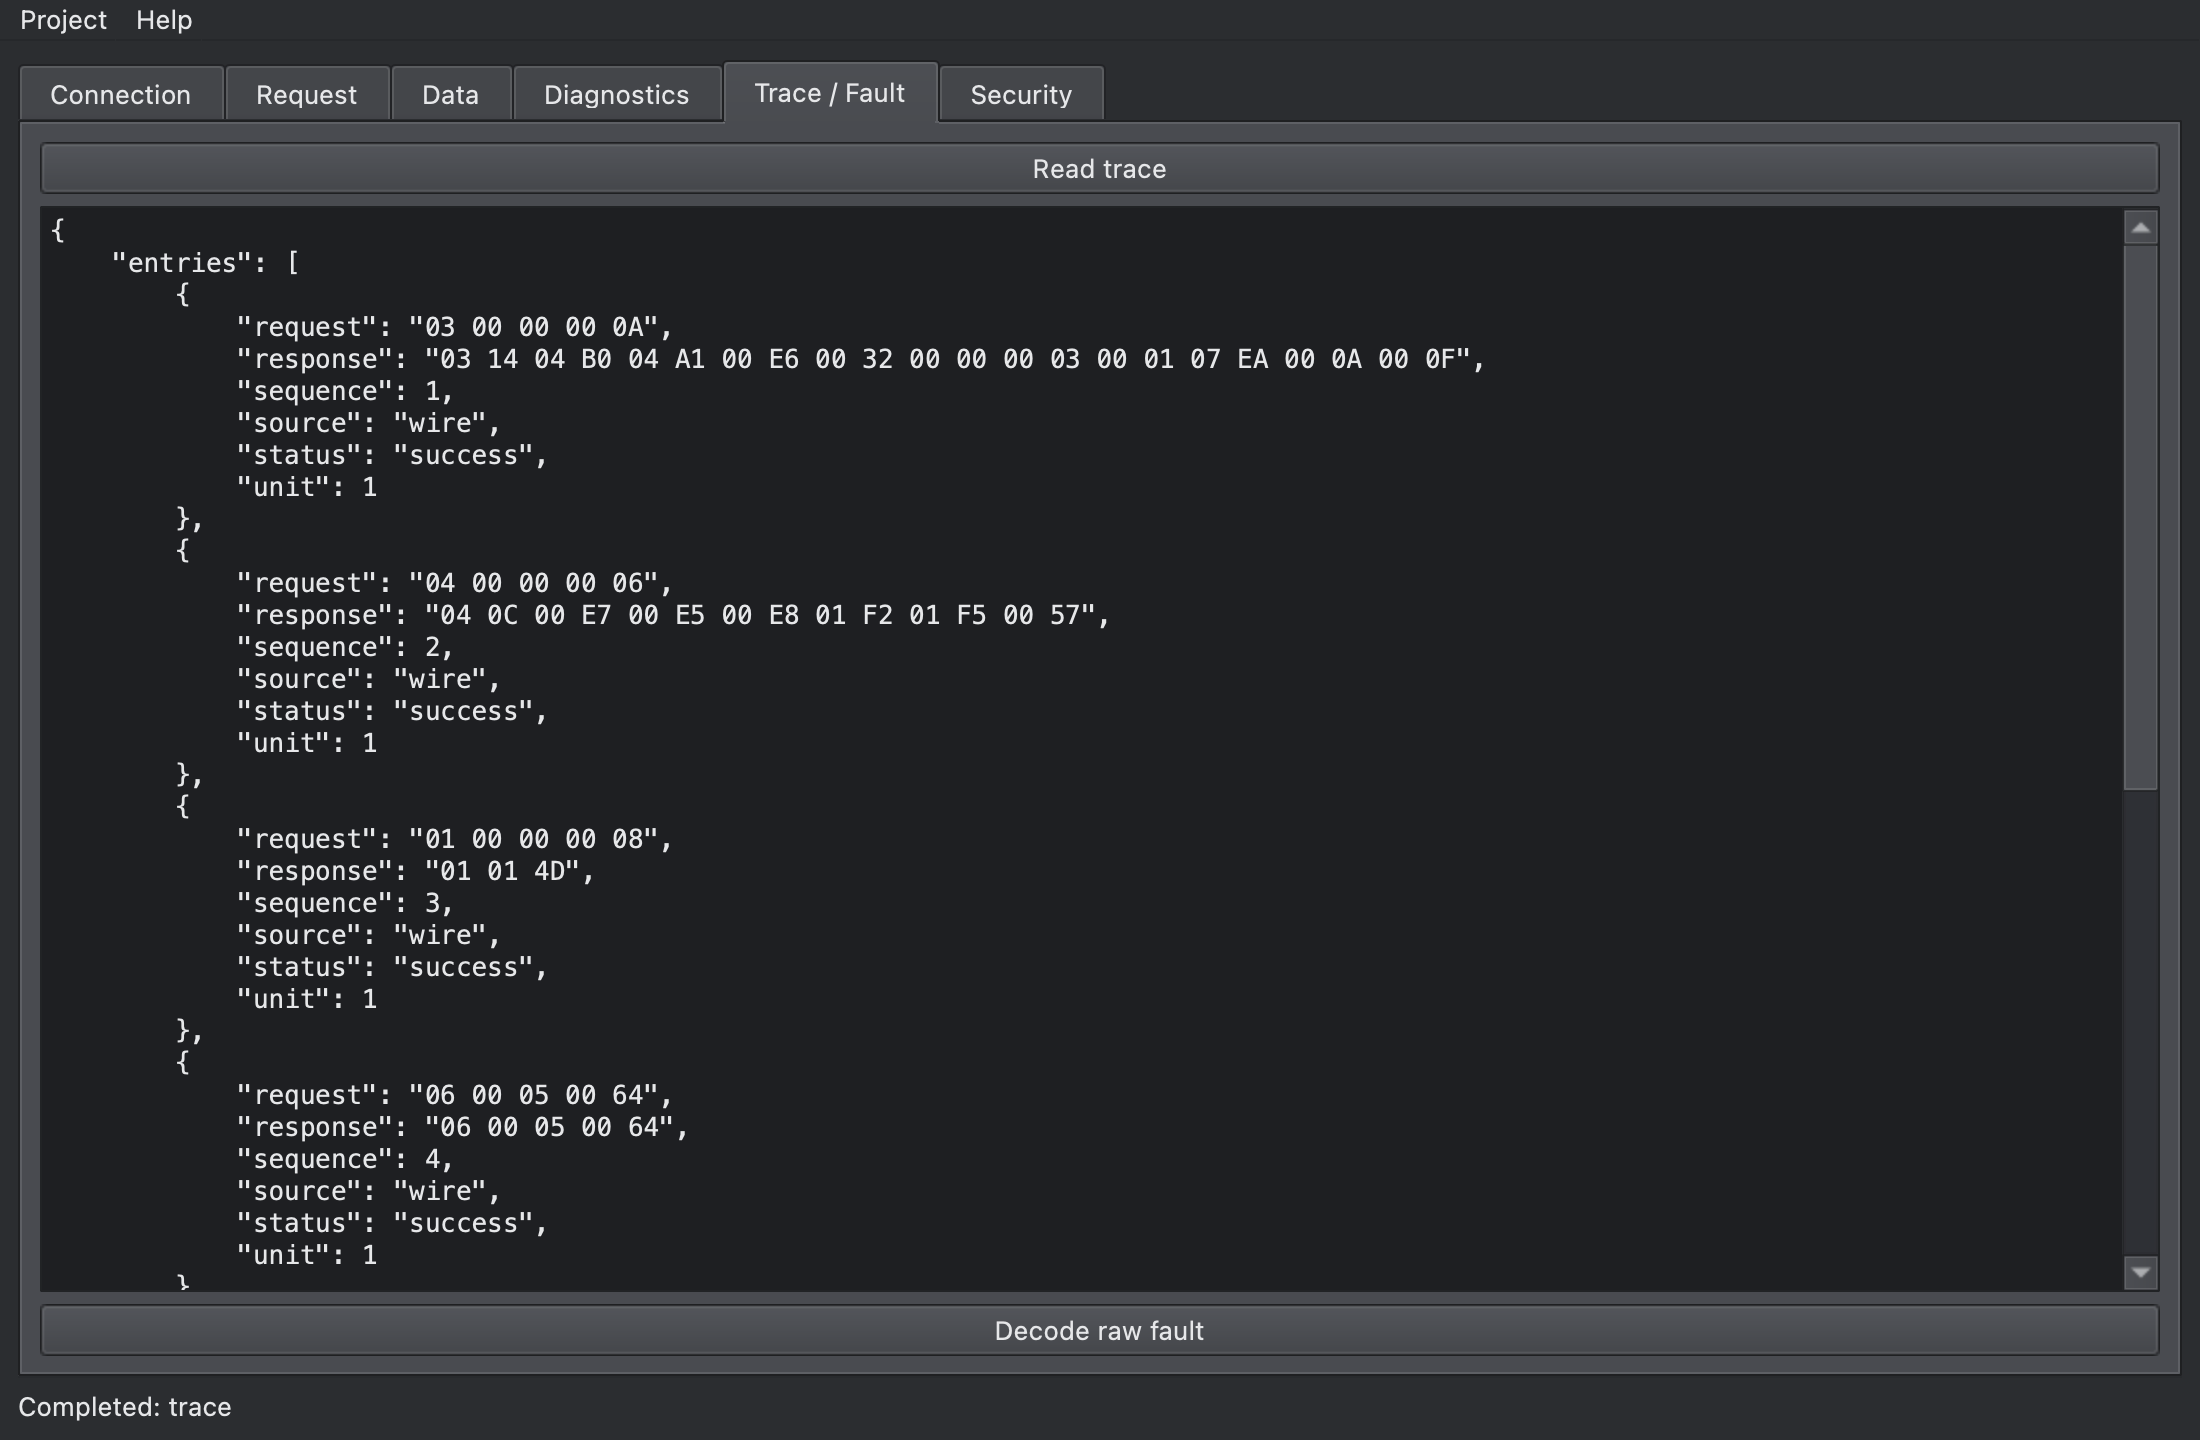
On the Request tab, Execute locally runs a PDU against the server’s own model. Send to peer is for clients sending to a real peer; on a server it reports request failed: Connect a client before sending a request in the status line.
4. Save a project
Section titled “4. Save a project”Choose Project > Save… and save as plant.modbus.json. The project holds the Connection tab’s configuration and the whole model:
{ "config": {"address": "127.0.0.1:1502", "role": "server", "transport": "tcp", ...}, "kind": "pdcomm.modbus.project", "model": {"holding_registers": {"start": 0, "values": [64, 42, 0, ...]}, ...}, "version": 1}- The Security tab’s values are saved too. Certificates and keys are stored as paths only, so fix the paths when you open the project on another computer.
- Project > Open… loads a project. Click Disconnect first; loading while connected reports
project_import failed: Disconnect before loading a project. - An invalid file is rejected and the current state stays as it was. For example, a
versionother than 1 reportsUnsupported Modbus project kind or version.
Now click Disconnect and close the window. Enter quit in the console.
5. Replay the project headless
Section titled “5. Replay the project headless”Wrap the project file in a project_import command, append a read, and feed both to the headless simulator:
jq -c '{action:"project_import",project:.}' plant.modbus.json > replay.jsonlecho '{"action":"execute","pdu":"0300000002"}' >> replay.jsonl"$MODBUS_SDK/bin/pdcomm-modbus-headless" < replay.jsonl{"ok":true,"result":{"loaded":true}}{"ok":true,"result":{"response":[3,4,0,64,0,42],"source":"local","status":"success"}}The headless simulator exits at the end of its input (EOF), with exit code 0 because every command succeeded. Load the same project and connect, and the headless simulator takes over the GUI’s server role.
6. Turn it into a scenario regression test
Section titled “6. Turn it into a scenario regression test”A scenario is an array of commands with expected results; only the fields listed in expect are compared, exactly. Create regression.json:
[ {"command":{"action":"data_set","table":"holding_registers","address":0,"values":[42]}}, {"command":{"action":"execute","pdu":"0300000001"},"expect":{"response":[3,2,0,42],"status":"success"}}, {"command":{"action":"execute","pdu":"0300000000"},"expect":{"response":[131,3],"status":"exception"}}]"$MODBUS_SDK/bin/pdcomm-modbus-headless" --scenario regression.json{"result":{"written":1},"step":1}{"result":{"response":[3,2,0,42],"source":"local","status":"success"},"step":2}{"result":{"response":[131,3],"source":"local","status":"exception"},"step":3}The exit code is 0. Change the second expectation to [3,2,0,43] and run it again: it prints only the first step, writes Scenario step 2 field response did not match to standard error and exits with code 1, so a CI job can judge the result by the exit code.
7. Call the same commands through MCP
Section titled “7. Call the same commands through MCP”The MCP server exposes the same commands as modbus_<action> tools. An AI tool normally runs it, but you can check it by piping JSON-RPC into it:
printf '%s\n' \ '{"jsonrpc":"2.0","id":1,"method":"initialize","params":{"protocolVersion":"2025-11-25","capabilities":{},"clientInfo":{"name":"tutorial","version":"1"}}}' \ '{"jsonrpc":"2.0","method":"notifications/initialized"}' \ '{"jsonrpc":"2.0","id":2,"method":"tools/call","params":{"name":"modbus_execute","arguments":{"pdu":"0300000001"}}}' \ | "$MODBUS_SDK/bin/pdcomm-modbus-mcp"{"id":1,"jsonrpc":"2.0","result":{"capabilities":{"tools":{"listChanged":false}},"protocolVersion":"2025-11-25","serverInfo":{"name":"pdcomm-modbus","version":"1.0.0"}}}{"id":2,"jsonrpc":"2.0","result":{"content":[{"text":"{\"response\":[3,2,0,0],\"source\":\"local\",\"status\":\"success\"}","type":"text"}],"isError":false}}A new MCP session starts with an empty model, so the value is 0. To see the earlier state, load the same project with modbus_project_import. The MCP server guide shows how to connect AI tools.
Next steps
Section titled “Next steps”- The simulator GUI describes every tab.
- Diagnose failures and report them continues with reproducing and recording failures.