Simulator GUI
The PDComm OPC UA Simulator is a Qt application that runs an OPC UA server and a client in one window. Use it to try connections, security, the address space, subscriptions, events, history and PubSub without writing code. The GUI uses the same simulator engine as the headless program and the MCP server: each button runs one headless action.
Start the simulator
Section titled “Start the simulator”Run it from where you unpacked the apps package:
open "$OPCUA_APPS/PDComm OPC UA Simulator.app"On Windows and Linux, run bin/pdcomm-opcua-simulator from the package. To check an installation, run the built-in self-test without a window. It starts the server, connects, disconnects, stops the server and exits.
QT_QPA_PLATFORM=offscreen "$OPCUA_APPS/PDComm OPC UA Simulator.app/Contents/MacOS/pdcomm-opcua-simulator" --smoke-testsmoke server_start oksmoke connect oksmoke disconnect oksmoke server_stop okWhen every line says ok, the exit code is 0.
The window
Section titled “The window”Eight workspace tabs run along the top, and the status line at the bottom shows the result of the last action: server_start completed on success, connect failed: ... on failure. A failed action shows in red; a successful action whose item result is a permission denial shows in amber.
| Tab | What it does |
|---|---|
| Connection & Security | Starts the simulator’s server and connects a client session. |
| Address Space | Browses nodes and lists the simulator server’s variables. |
| Read / Write / Methods | Reads and writes attributes and calls methods. |
| Subscriptions | Subscribes to data changes and receives notifications. |
| Events & Conditions | Subscribes to events and acknowledges and confirms alarms. |
| History | Reads raw history. |
| PubSub | Publishes and receives UADP messages over UDP or MQTT. |
| Trace & Diagnostics | Shows the record of actions and controls the diagnostic log. |
Open… and Save… in the Project menu load and save the configuration and the server’s variable values as a JSON project file. Project files never contain passwords or private key contents; for certificates and keys they store file paths only.
Connection & Security
Section titled “Connection & Security”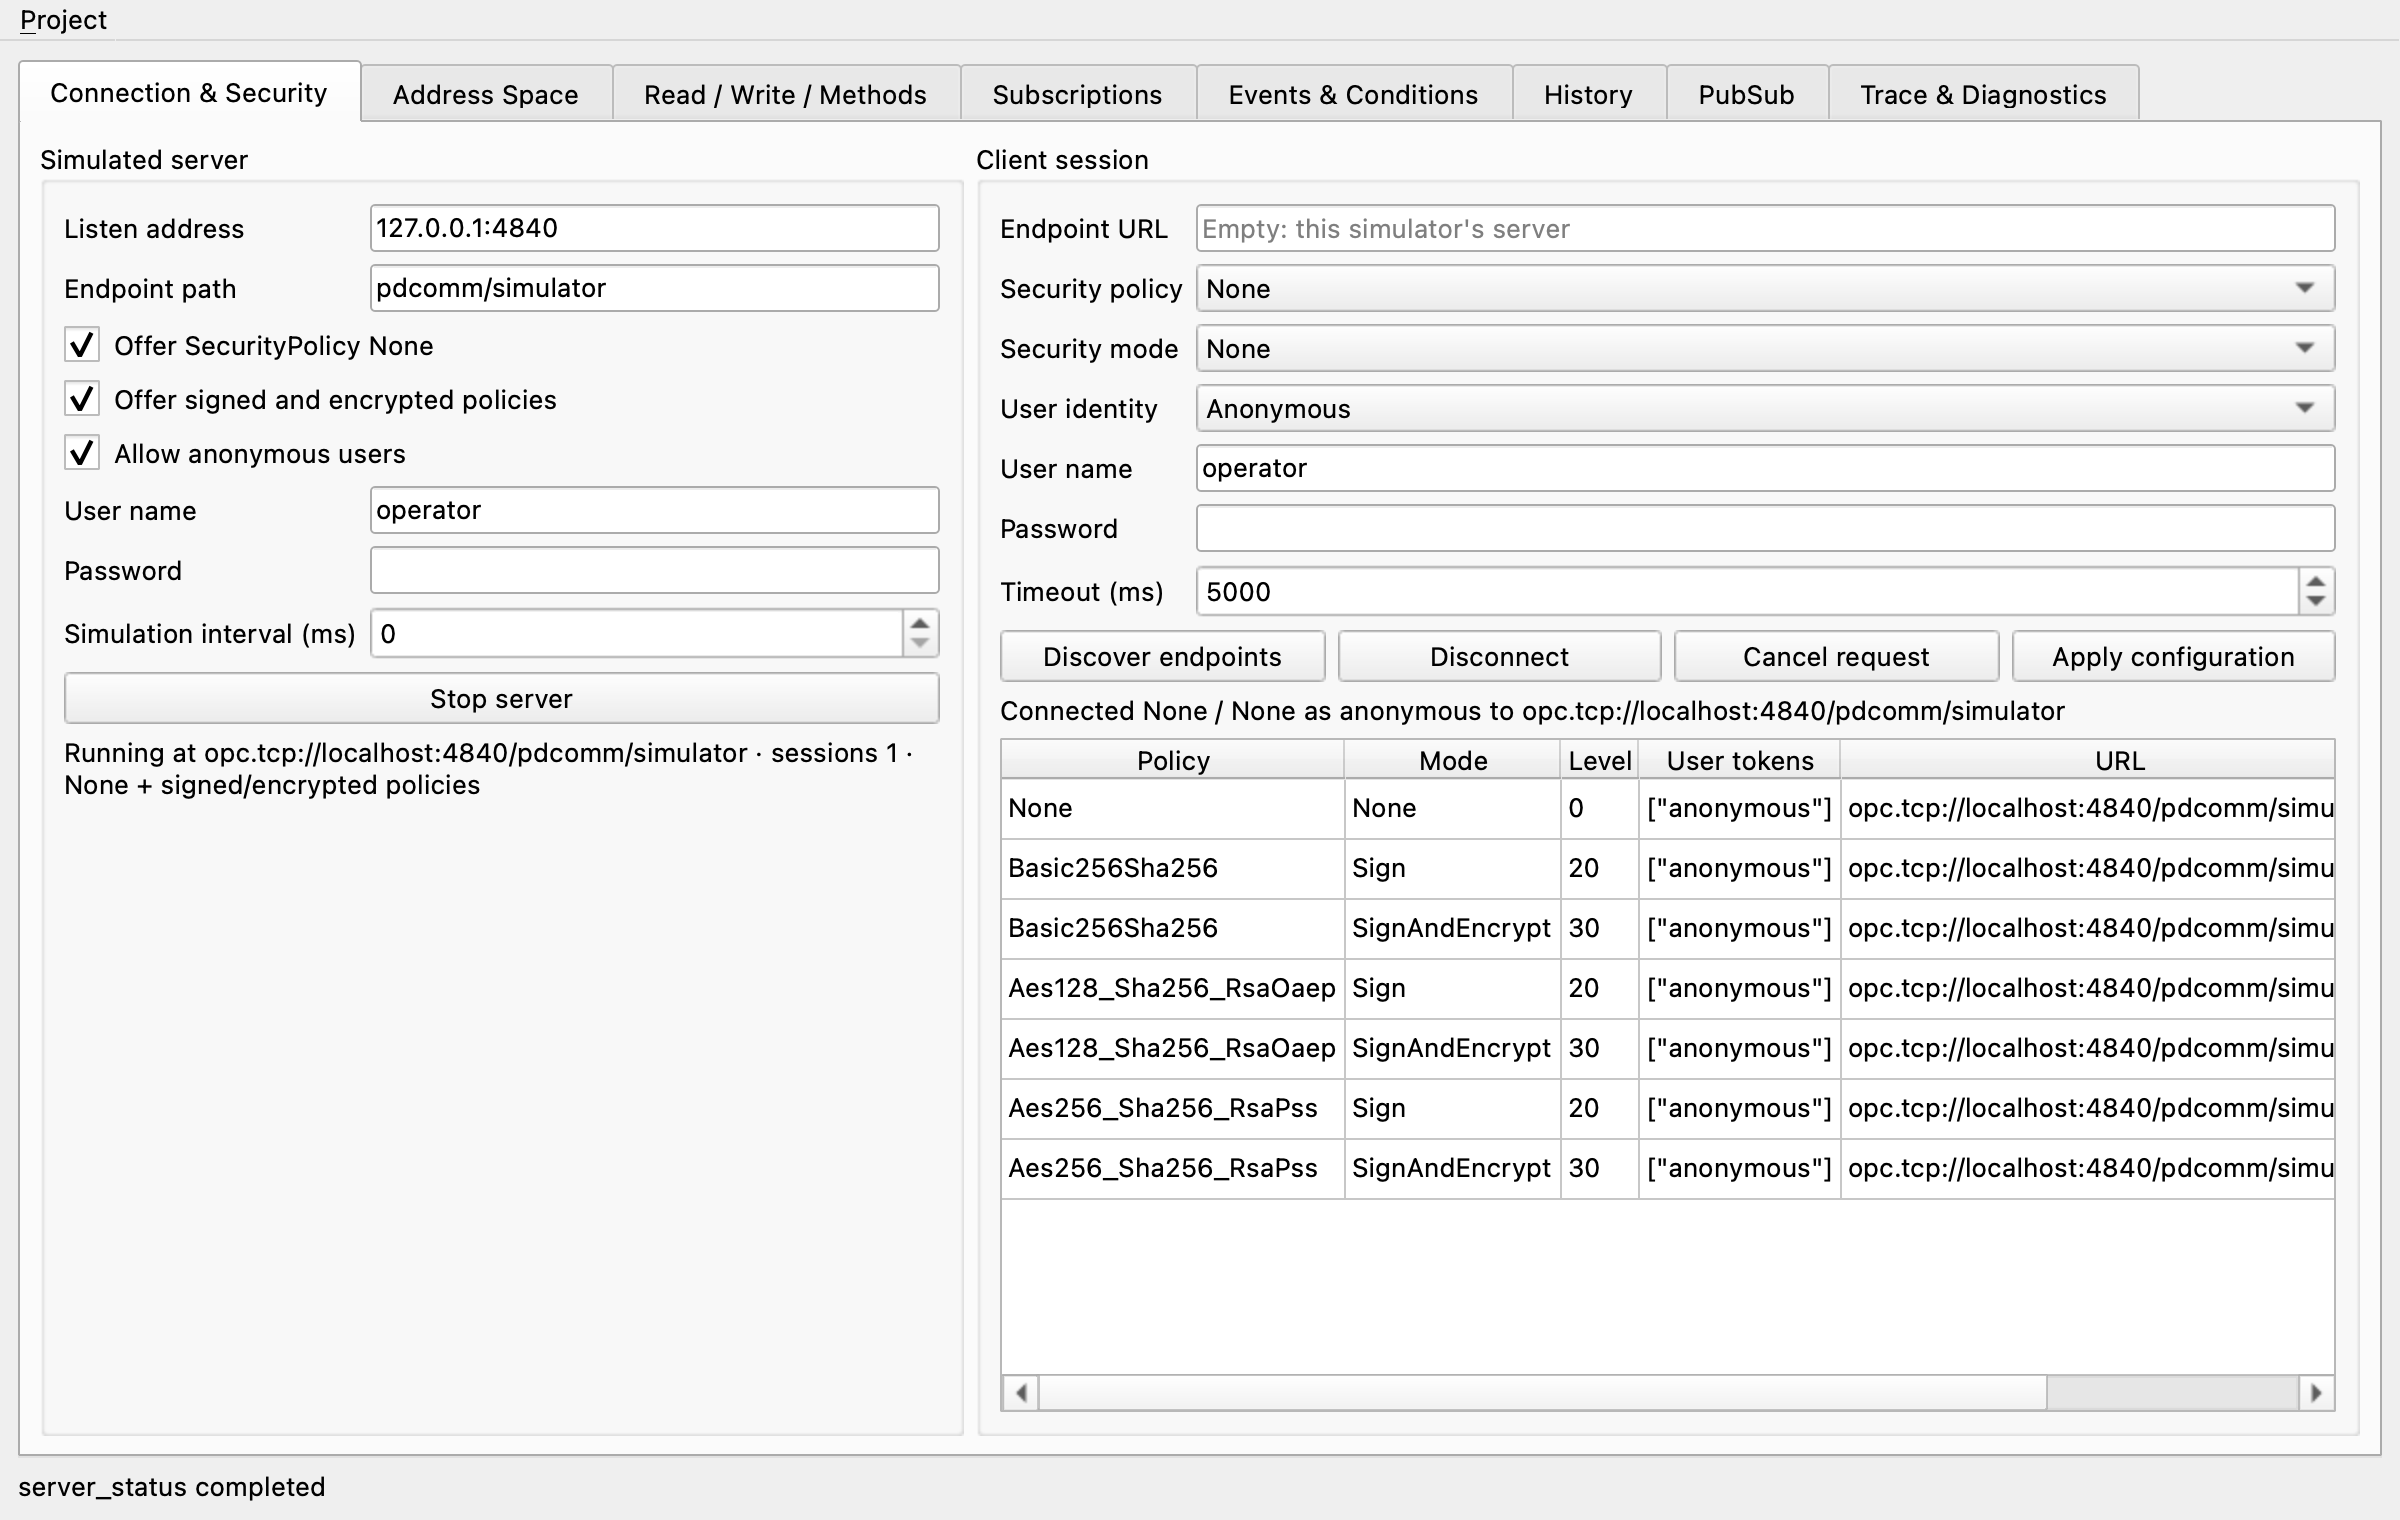
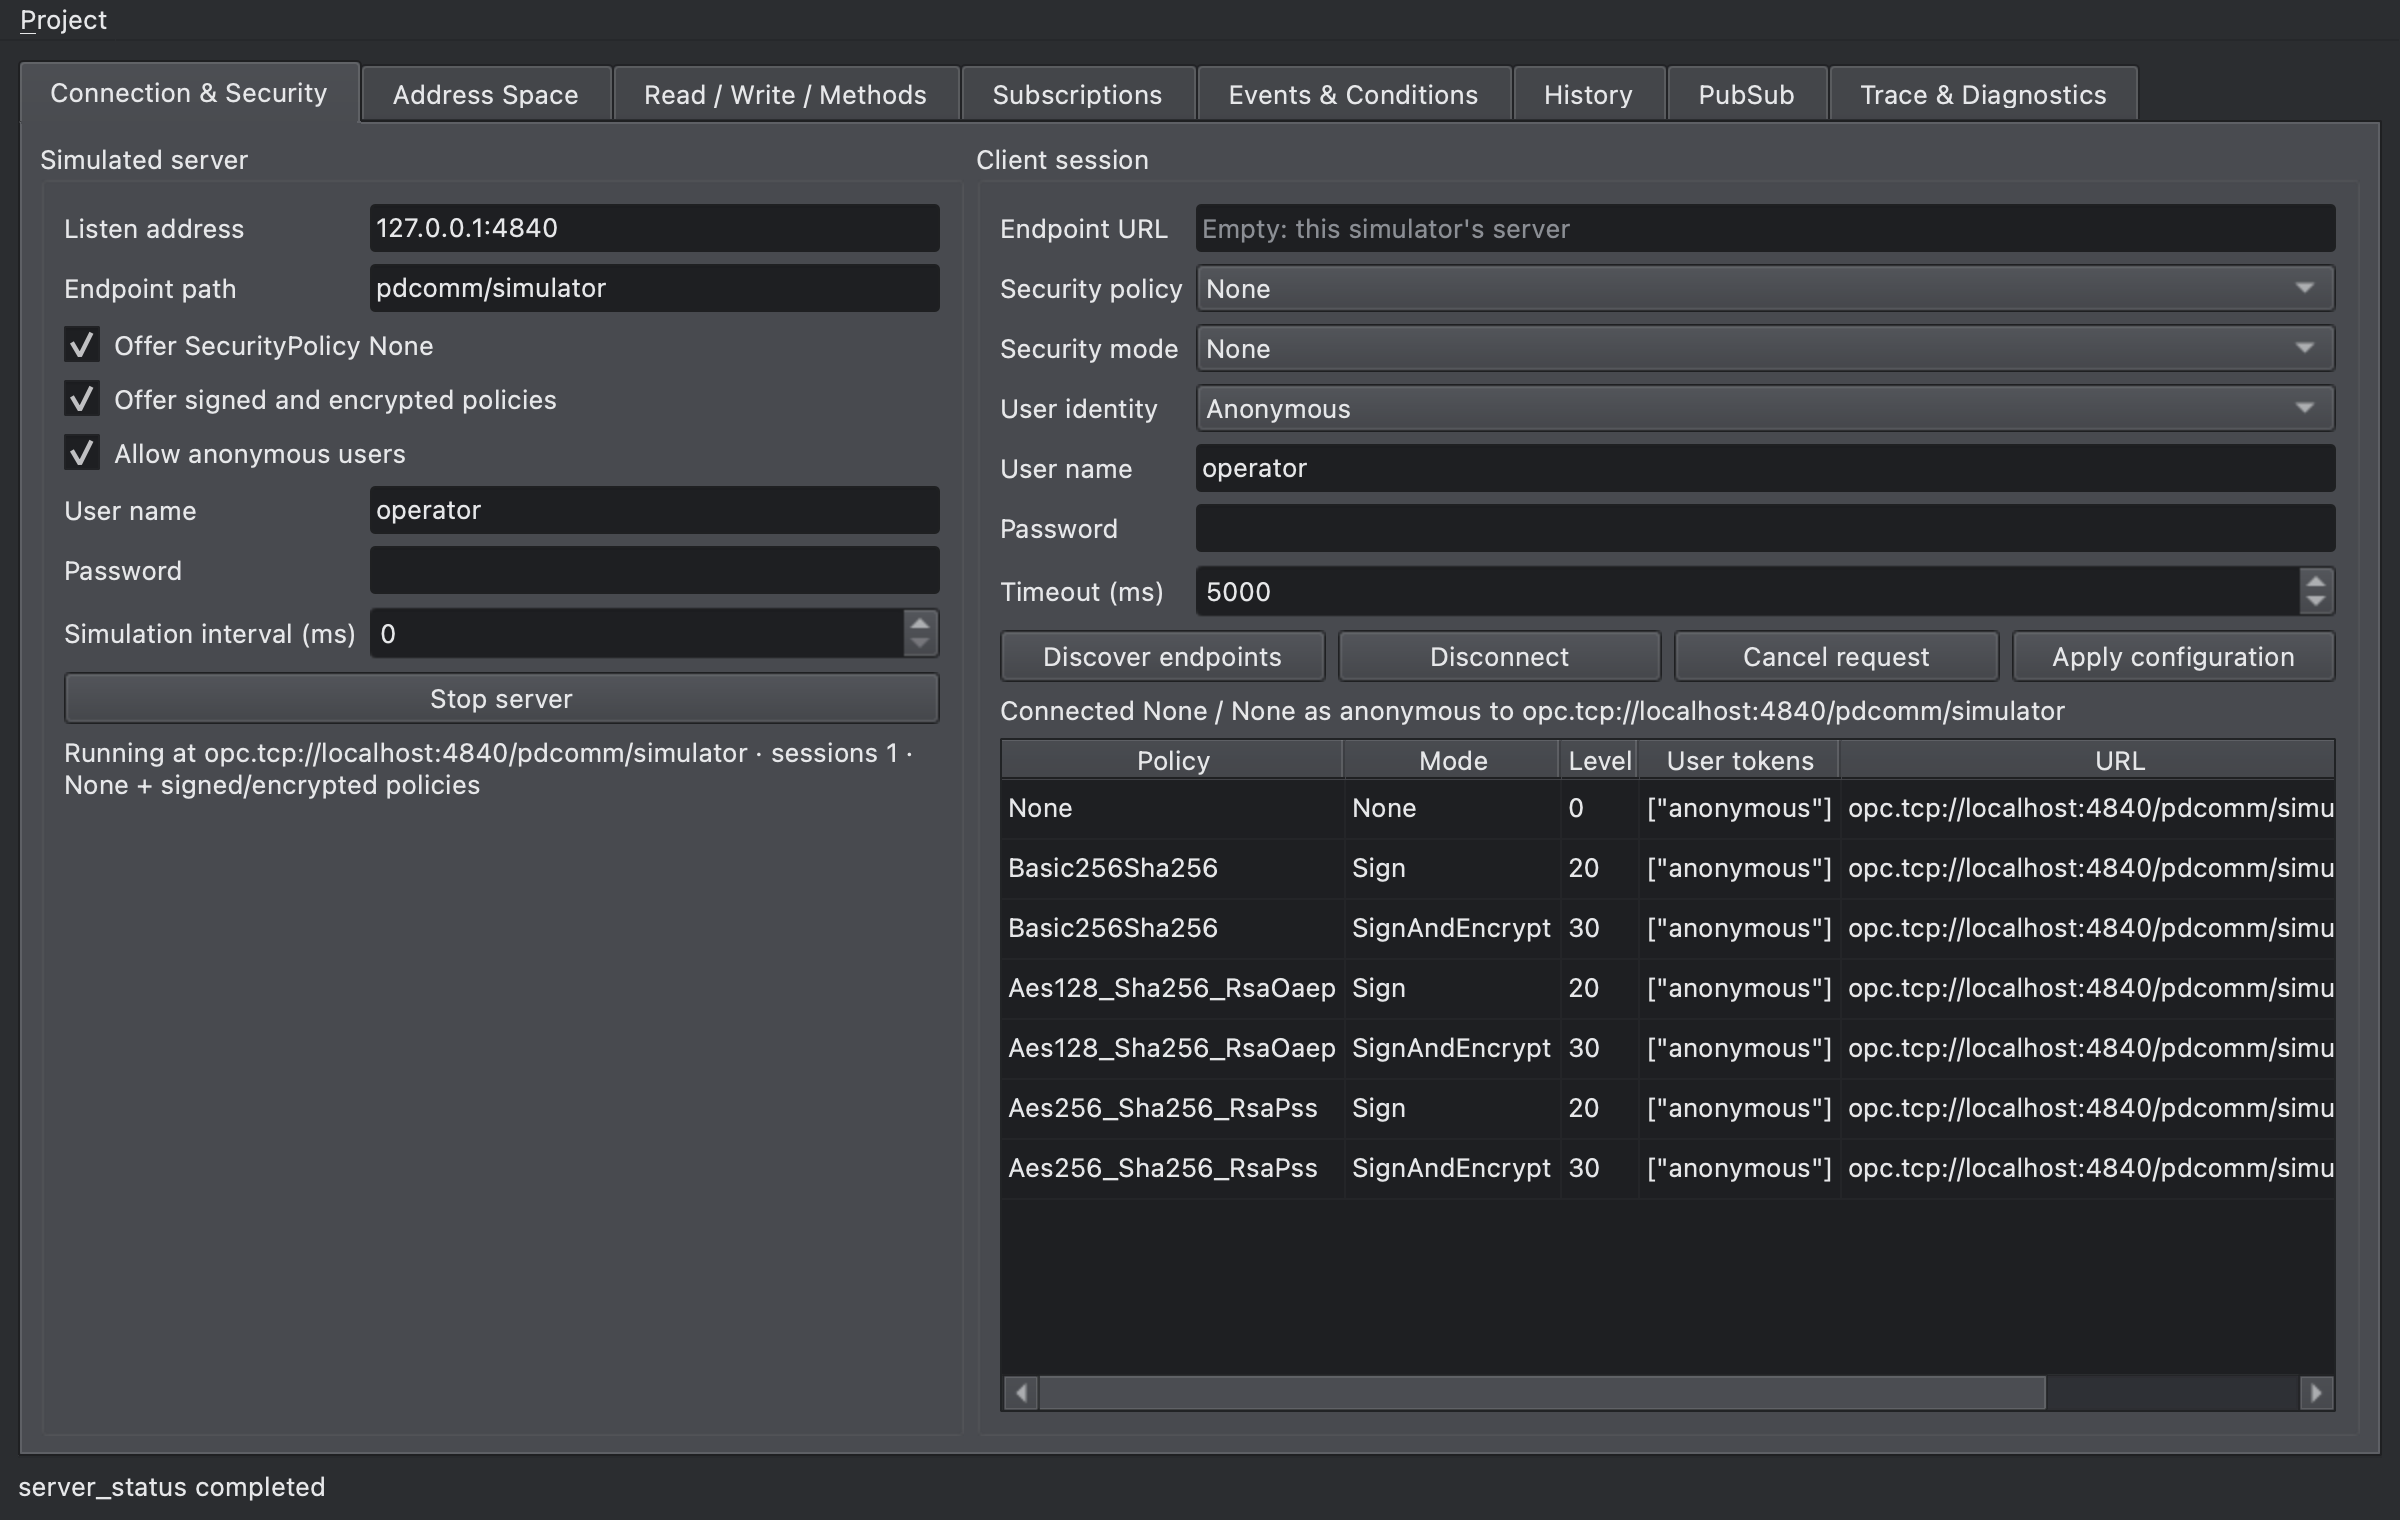
The Simulated server group on the left configures the simulator’s server:
| Field | Description |
|---|---|
| Listen address | The server’s listen address; port 0 picks a free port. |
| Endpoint path | The path of the endpoint URL (default pdcomm/simulator) |
| Offer SecurityPolicy None | Advertises a None endpoint. |
| Offer signed and encrypted policies | Advertises Sign and SignAndEncrypt endpoints for the three security policies. |
| Allow anonymous users | Accepts anonymous users. |
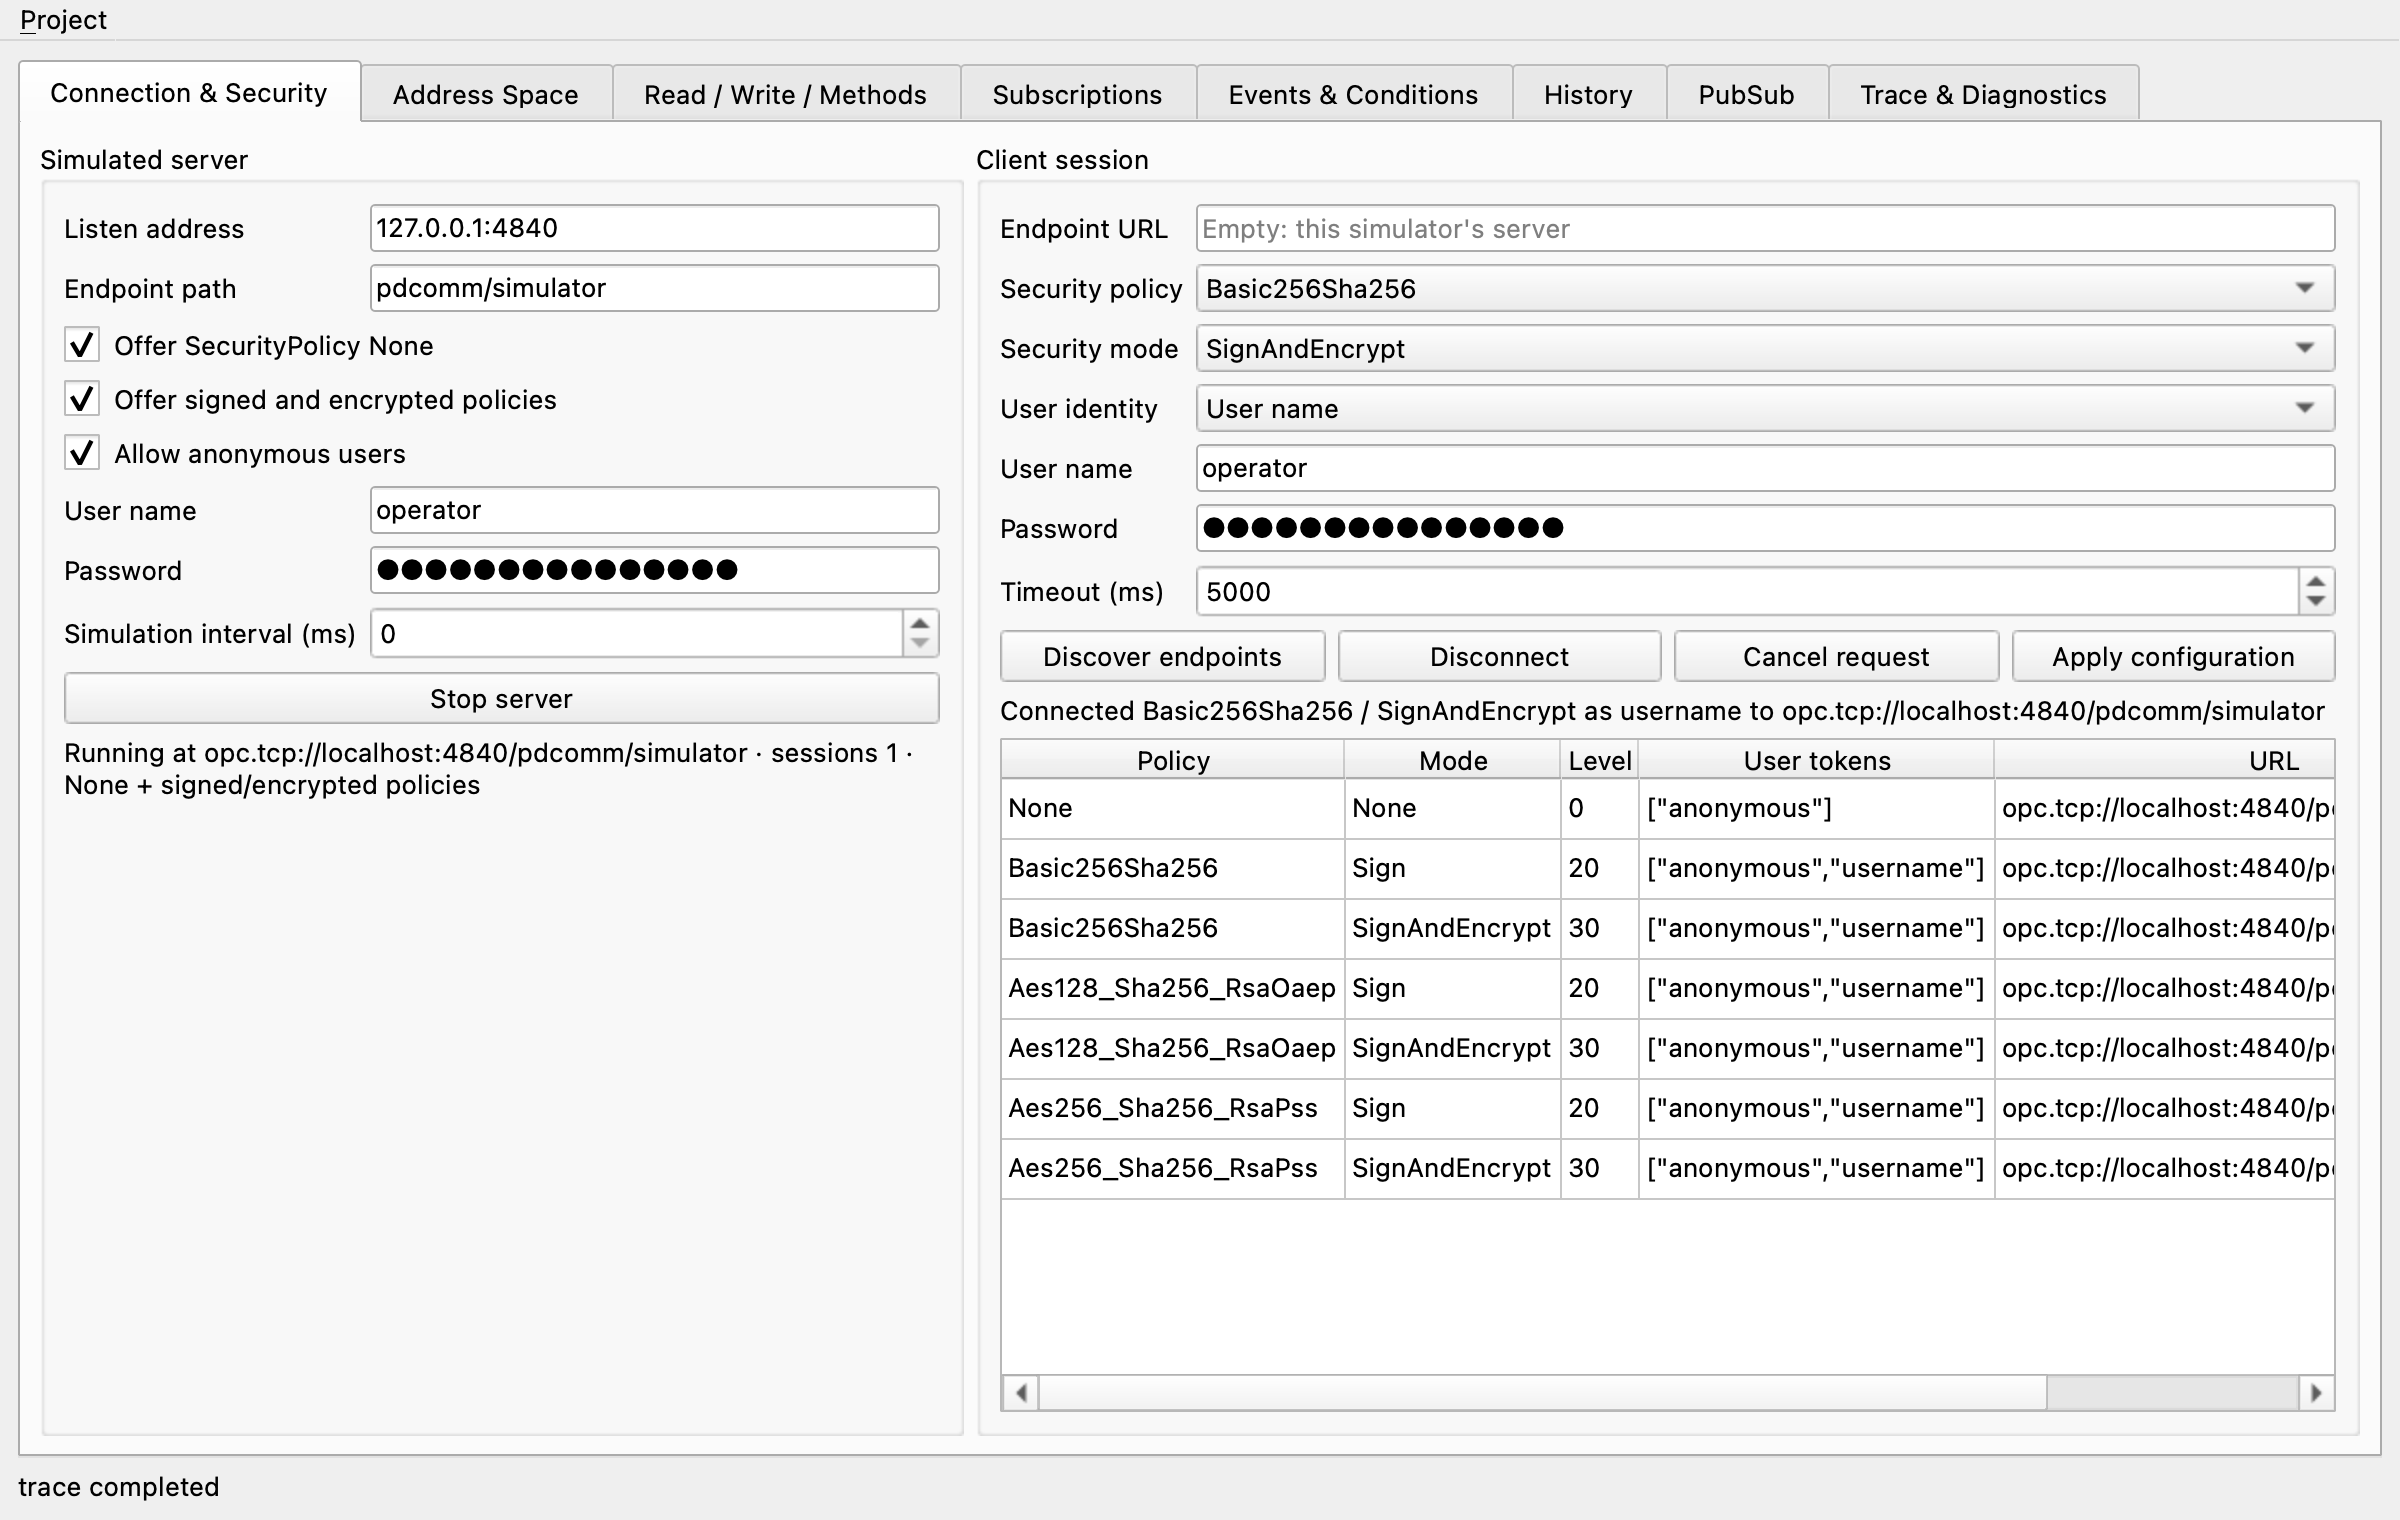
| User name, Password | The user account to accept. With an empty password, no user name token is advertised. |
| Simulation interval (ms) | How often Simulator.Counter grows; 0 stops it. |
Start server starts the server, and the group shows its address, session count and security scope, as in Running at opc.tcp://localhost:4840/pdcomm/simulator · sessions 1 · None + signed/encrypted policies. The button turns into Stop server.
The Client session group on the right configures the simulator’s client:
| Field | Description |
|---|---|
| Endpoint URL | The server to connect to; empty connects to this simulator’s server. |
| Security policy, Security mode | The policy and mode to request; the server must advertise the combination. |
| User identity | Anonymous or User name |
| User name, Password | The account for User name |
| Timeout (ms) | The timeout of each network exchange and each request |
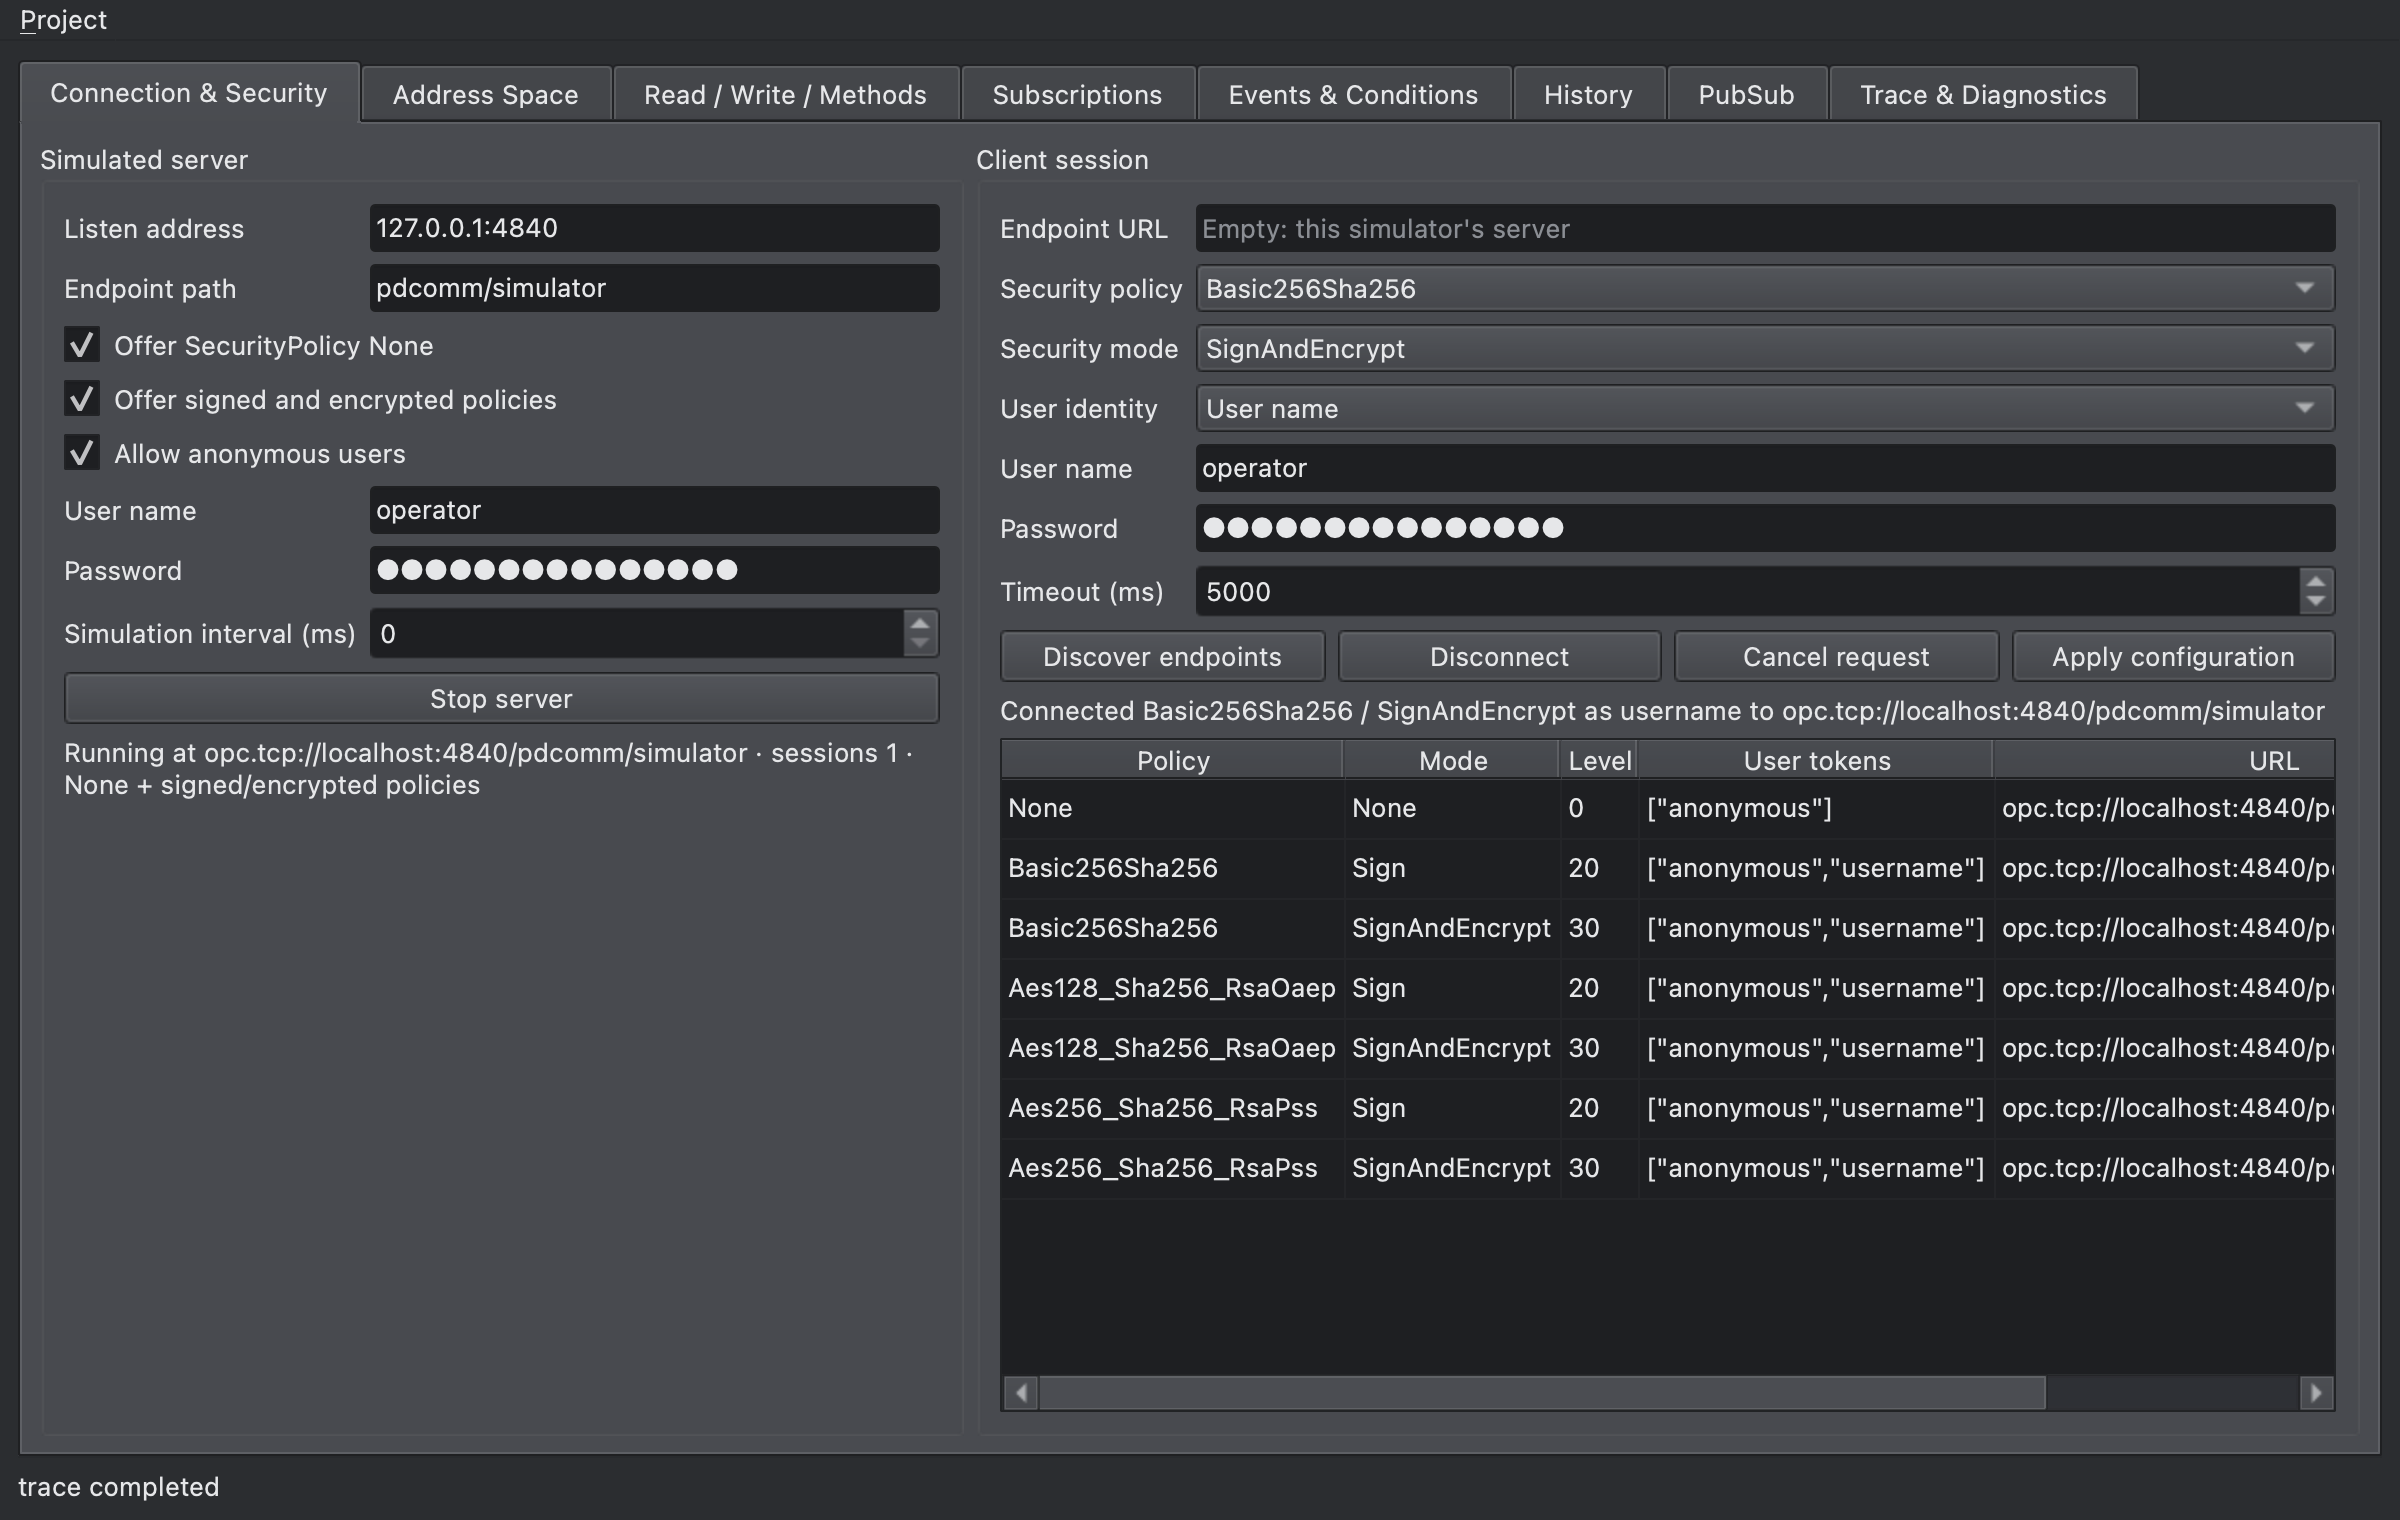
Discover endpoints lists the server’s endpoints in the table. Connect opens and activates a session; once connected, the client status reads like Connected Basic256Sha256 / SignAndEncrypt as username to opc.tcp://... and the button turns into Disconnect. Cancel request cancels the running request, and Apply configuration applies the settings on screen.
Below, the server has a password and the client is connected with Basic256Sha256, SignAndEncrypt and User name. Because the server has a password, its secure endpoints advertise the username token.
Address Space
Section titled “Address Space”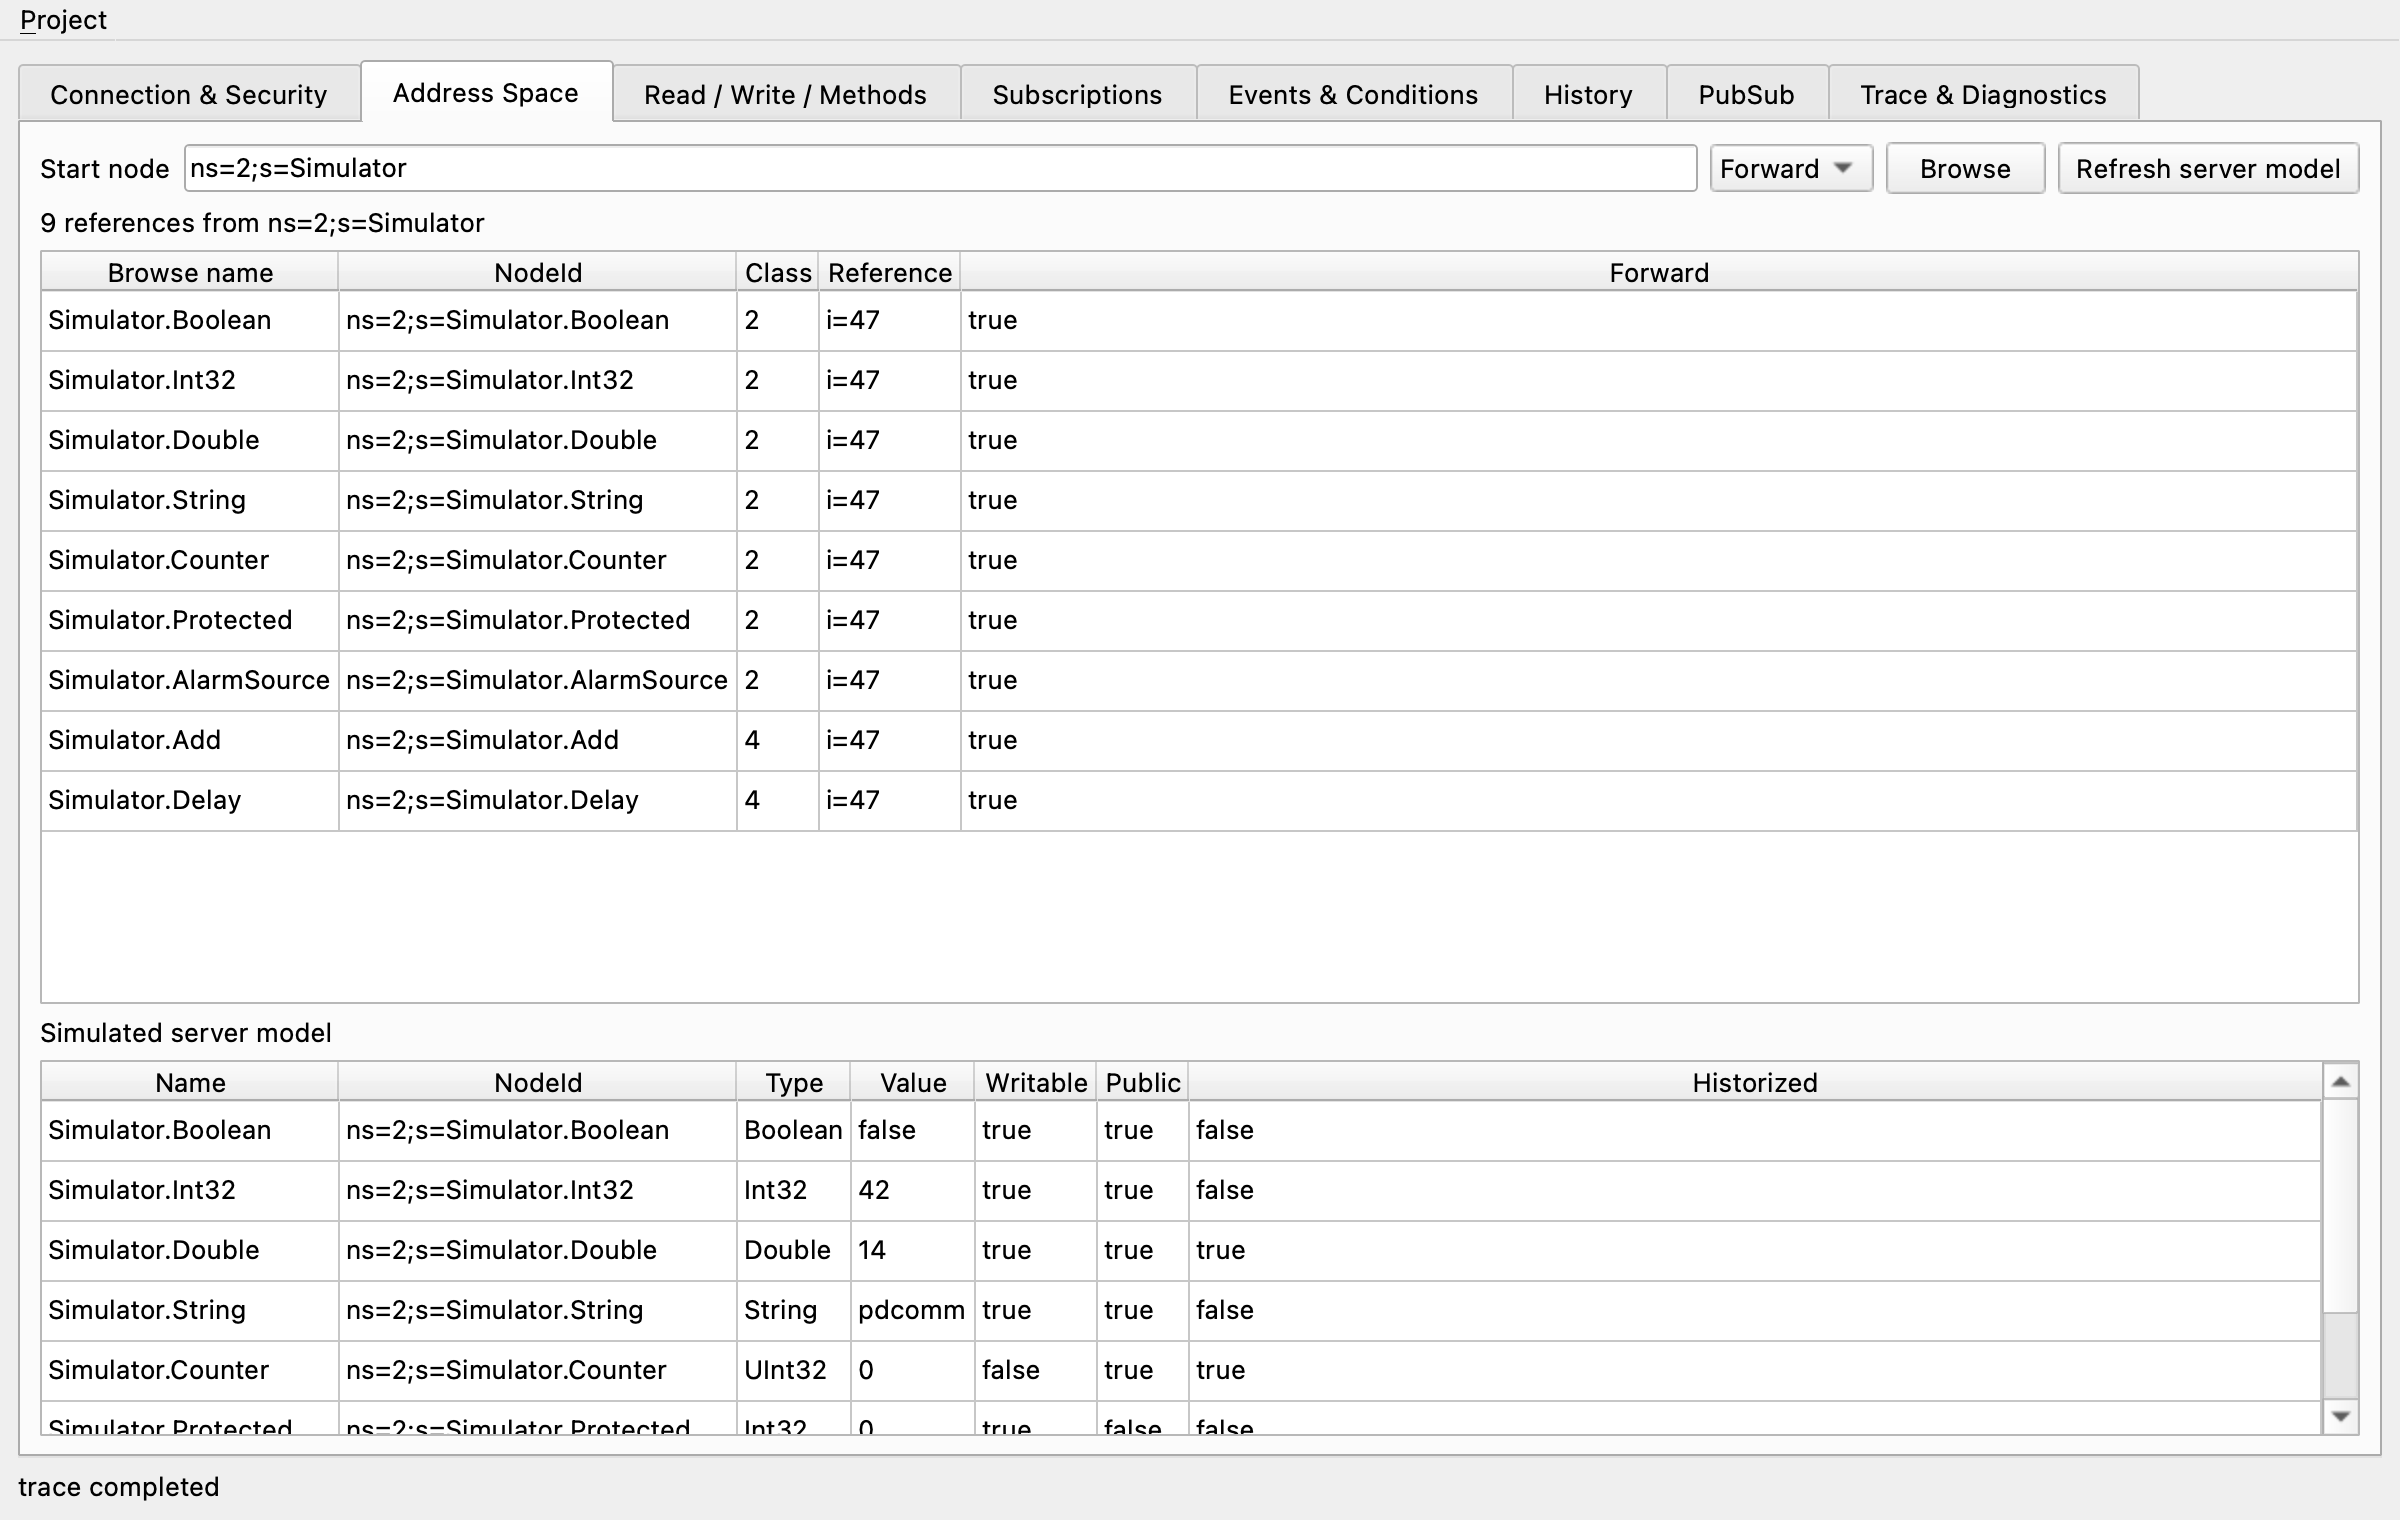
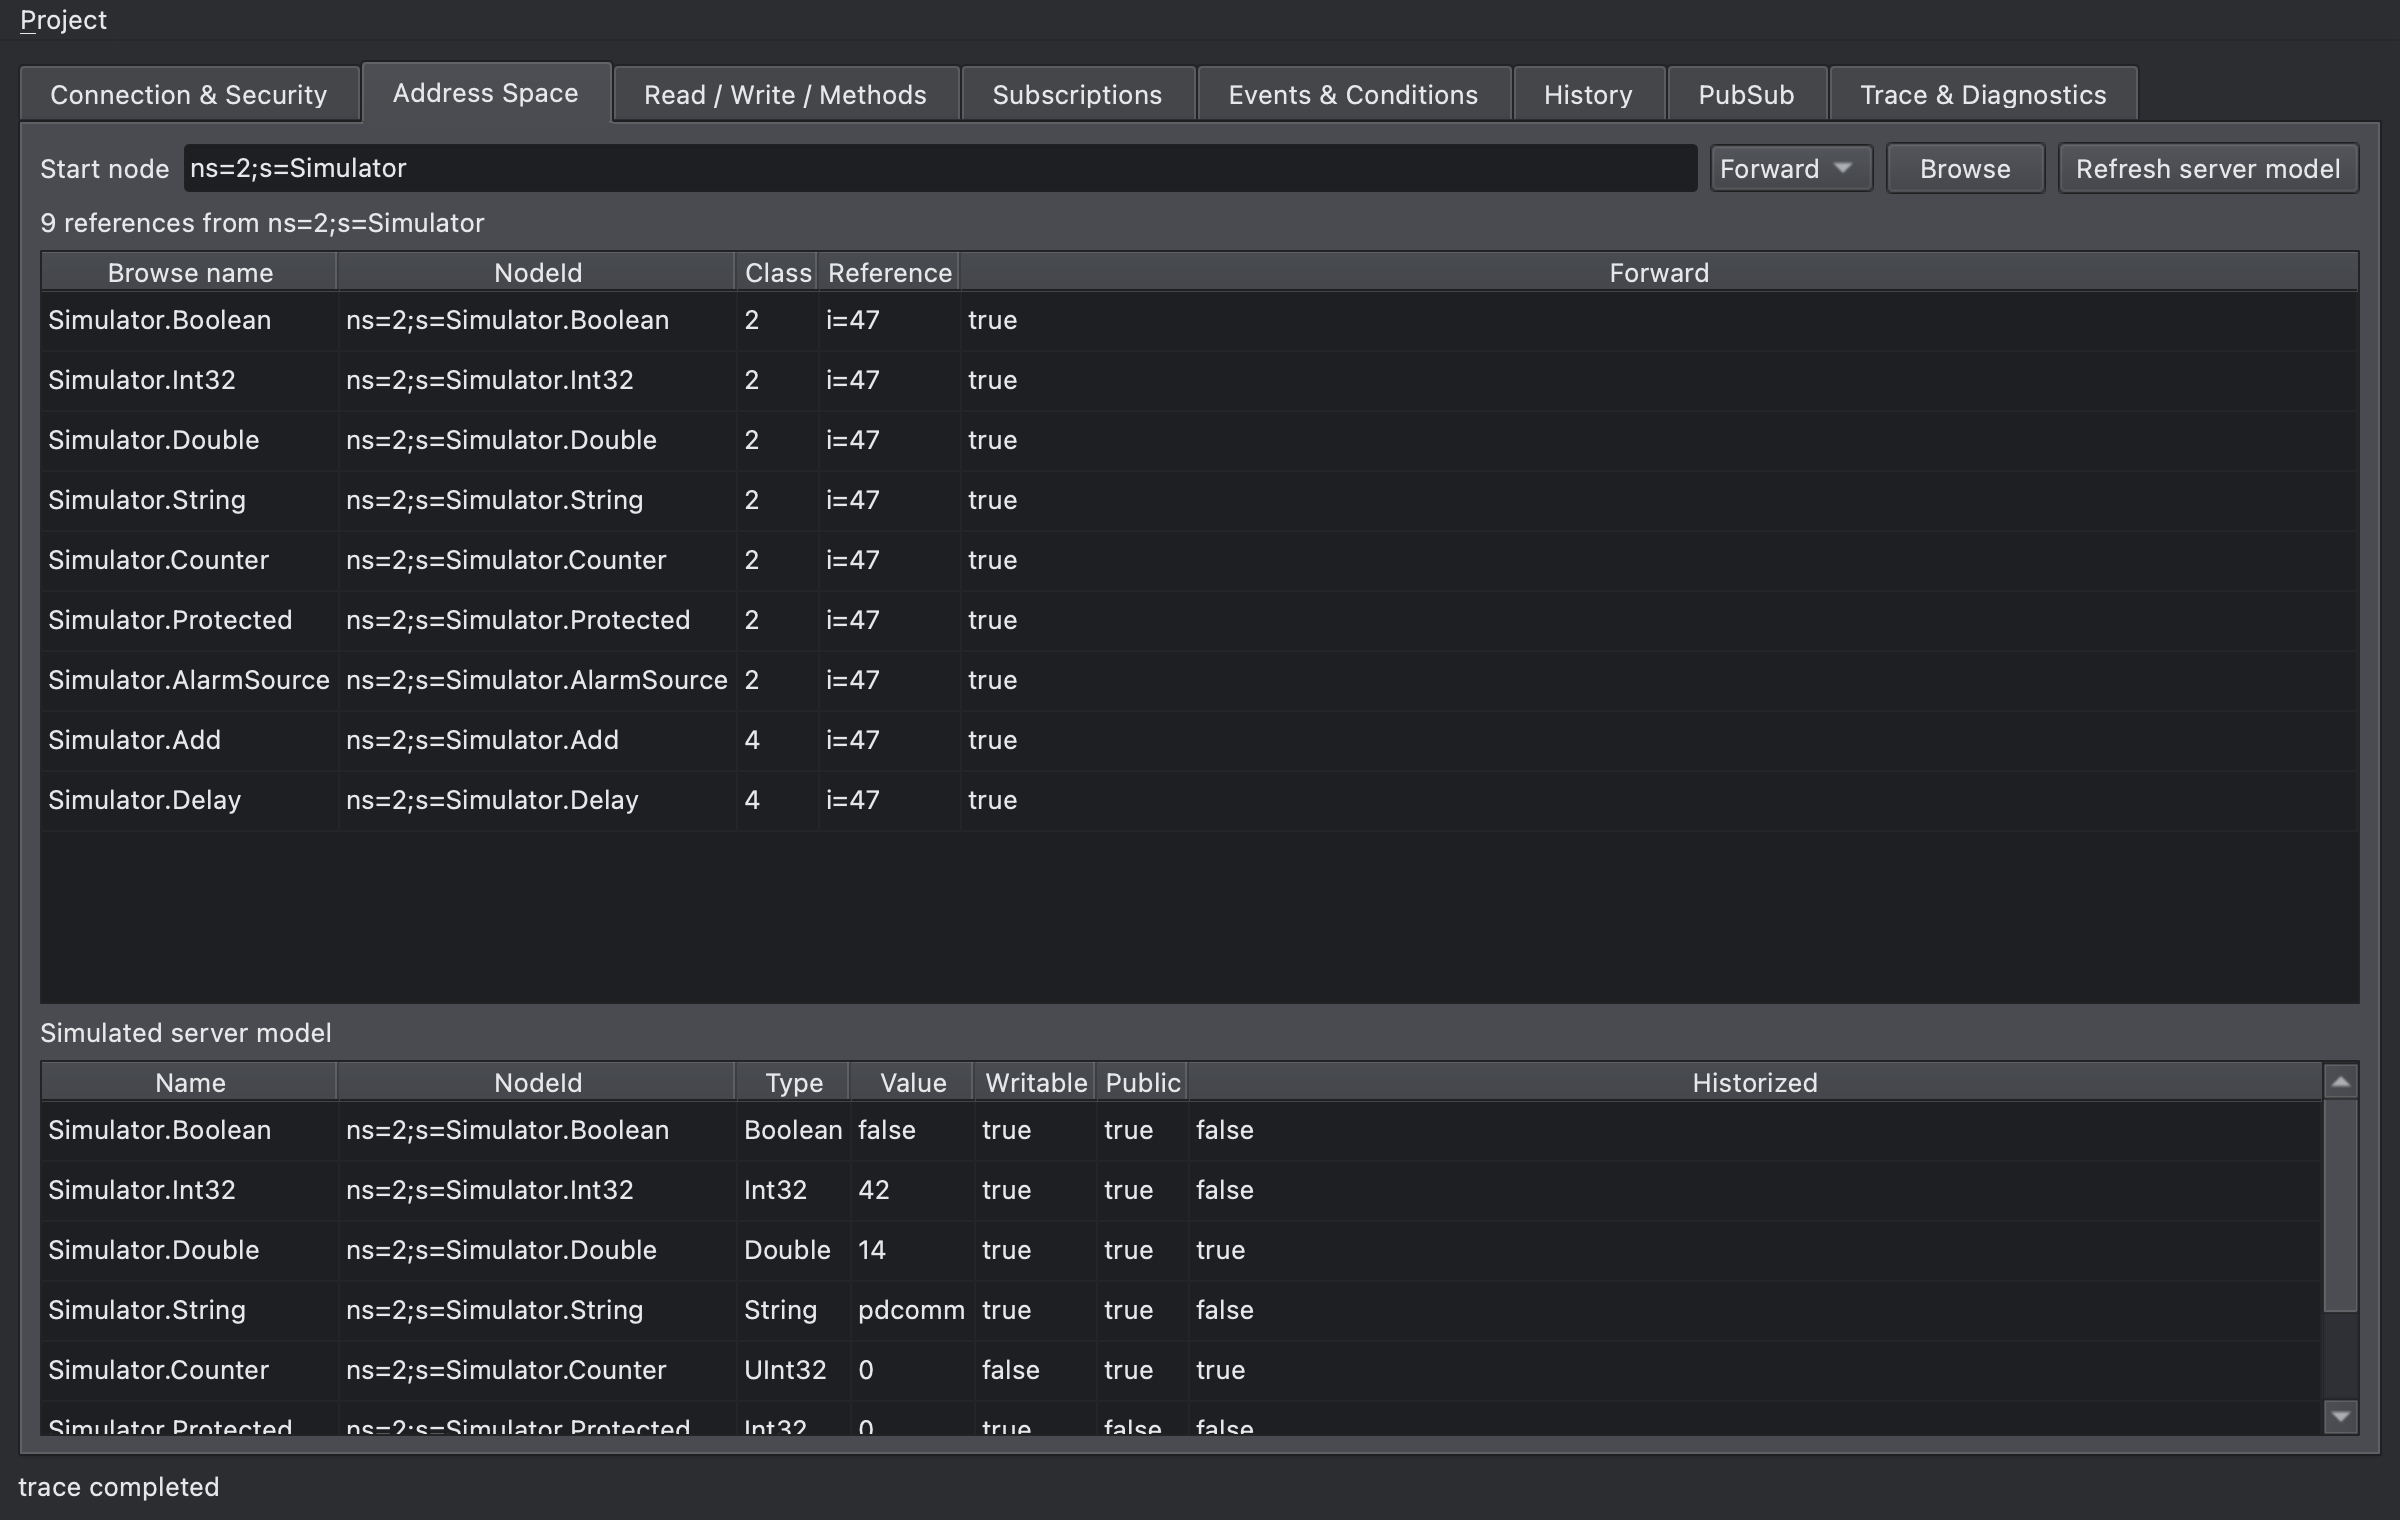
Enter a NodeId in Start node, pick a direction (Forward or Inverse) and click Browse. The table shows Browse name, NodeId, Class (the NodeClass value), Reference (the reference type) and Forward. Double-click a row to make that node the Start node, so you can walk down the hierarchy.
Refresh server model lists the simulator server’s variables in the Simulated server model table. This table reads the server’s internal values directly, not through OPC UA services, so it works without a connected client.
Read / Write / Methods
Section titled “Read / Write / Methods”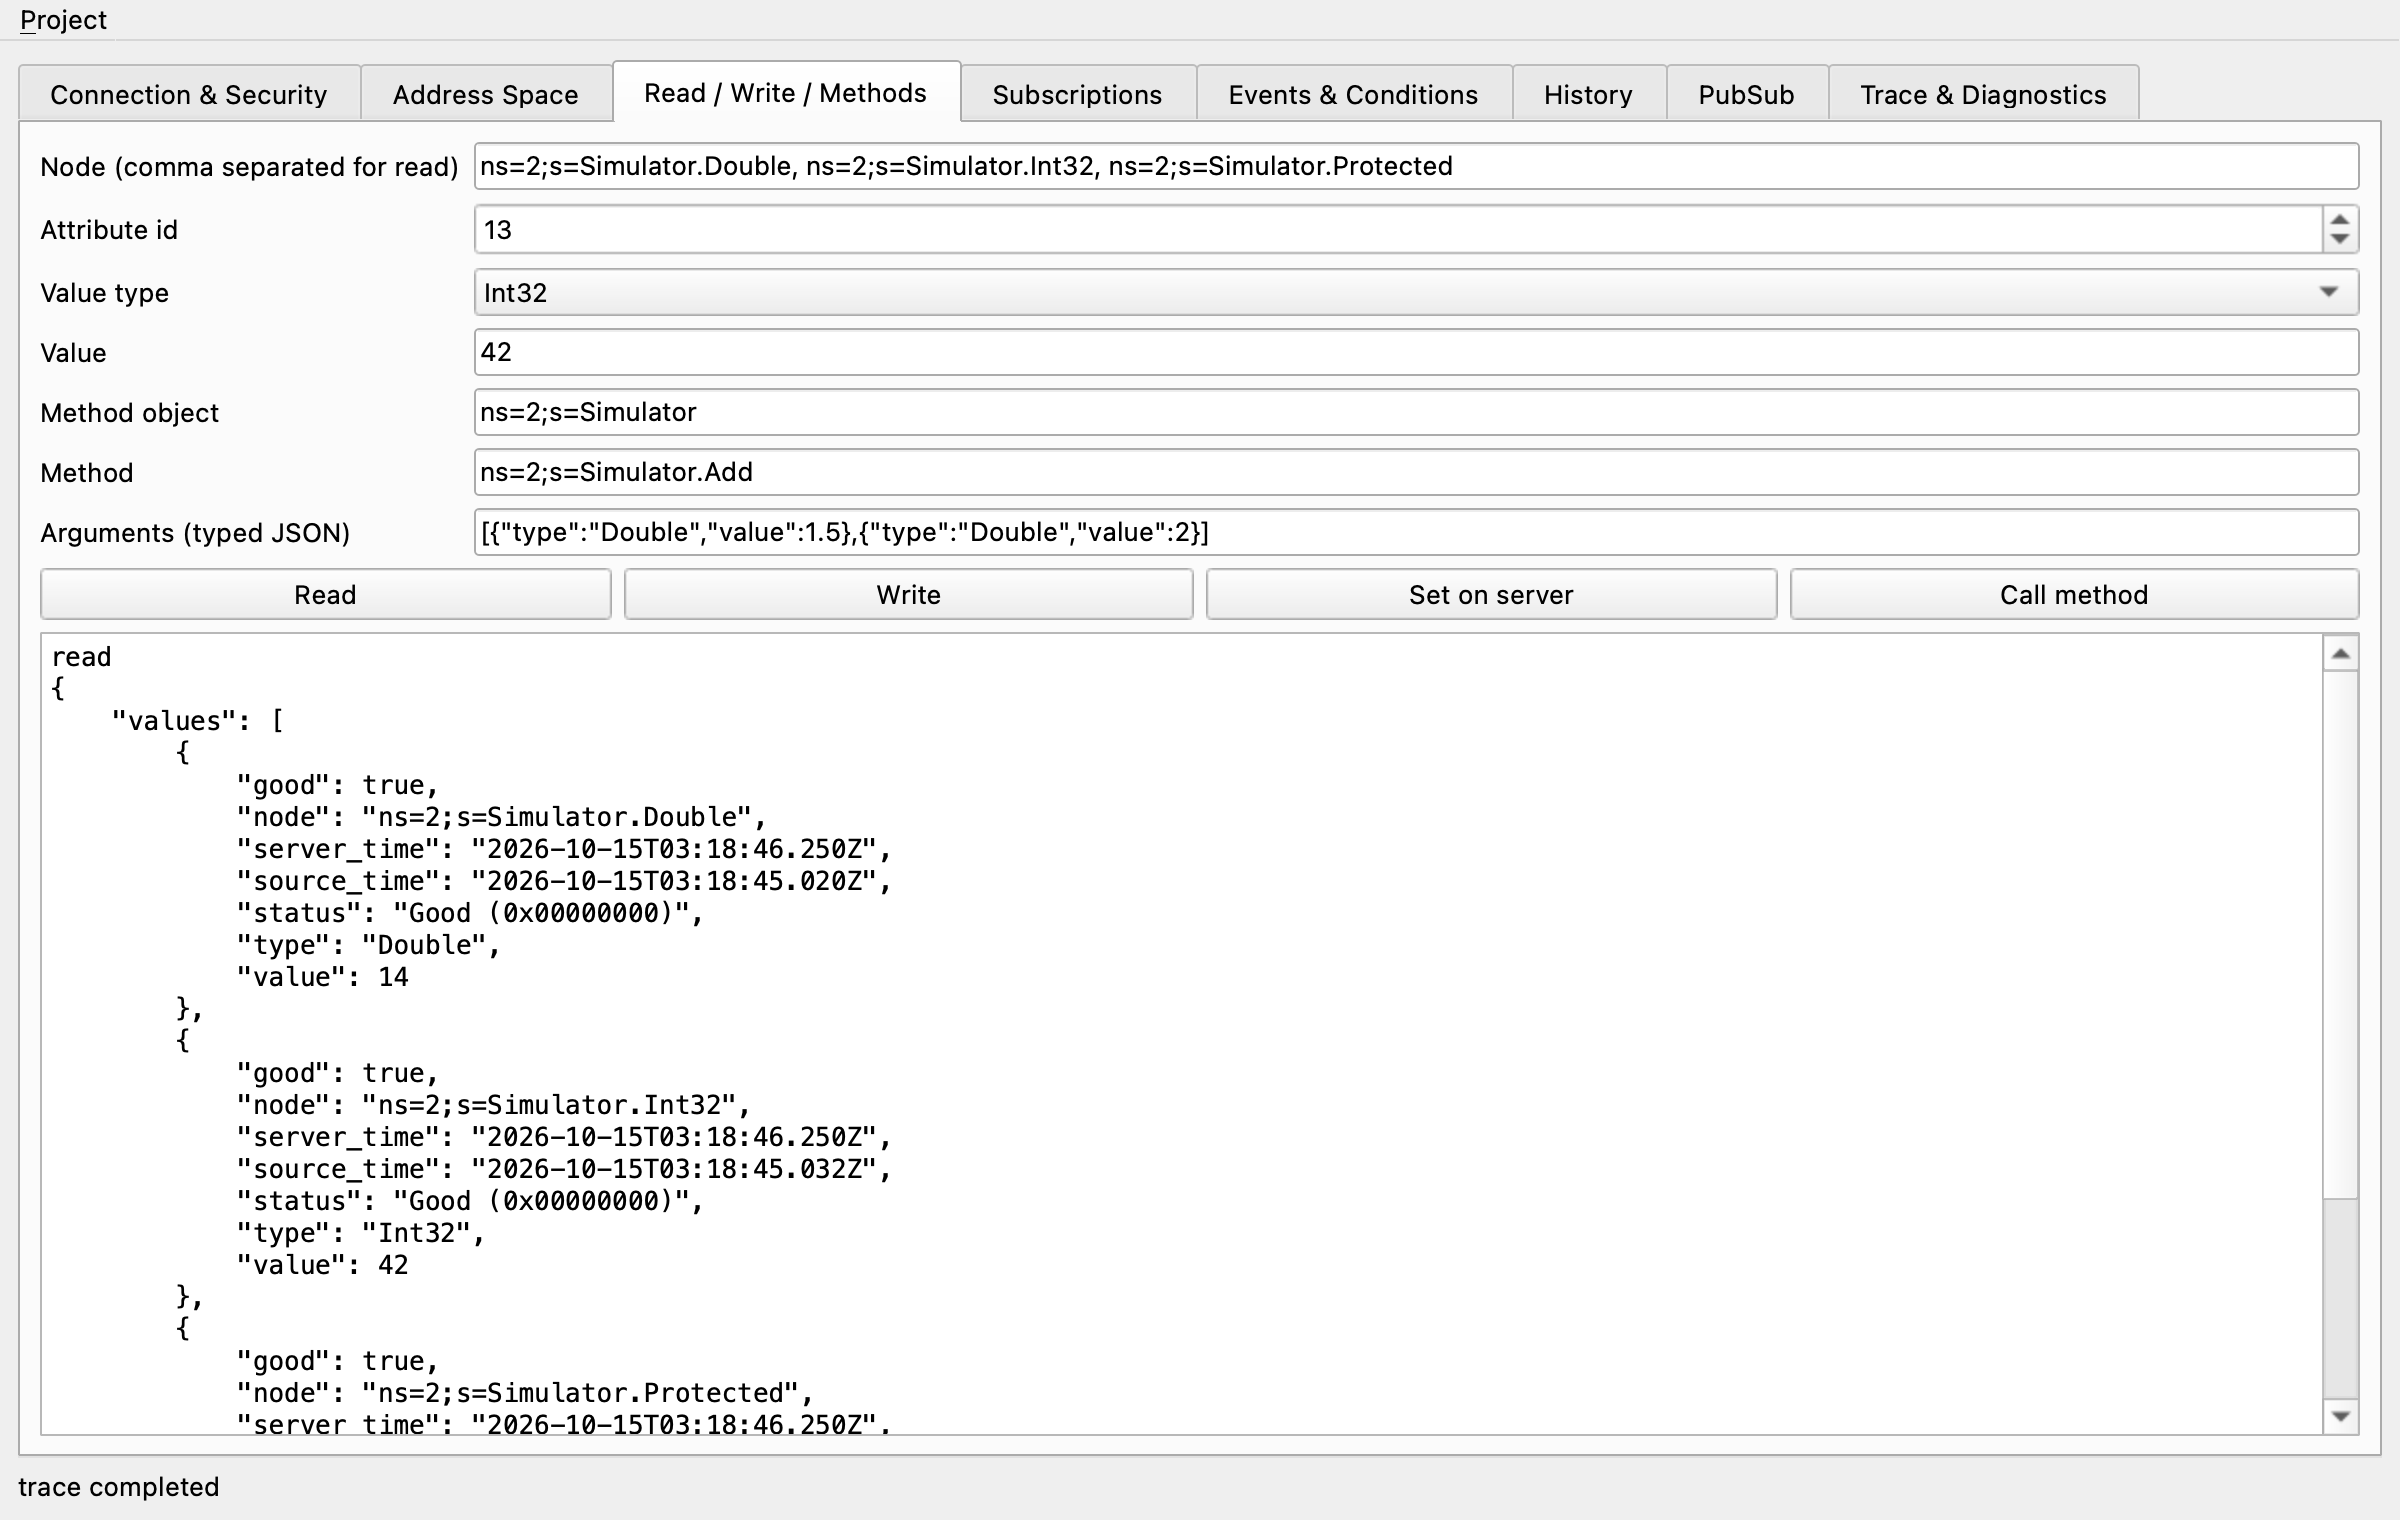
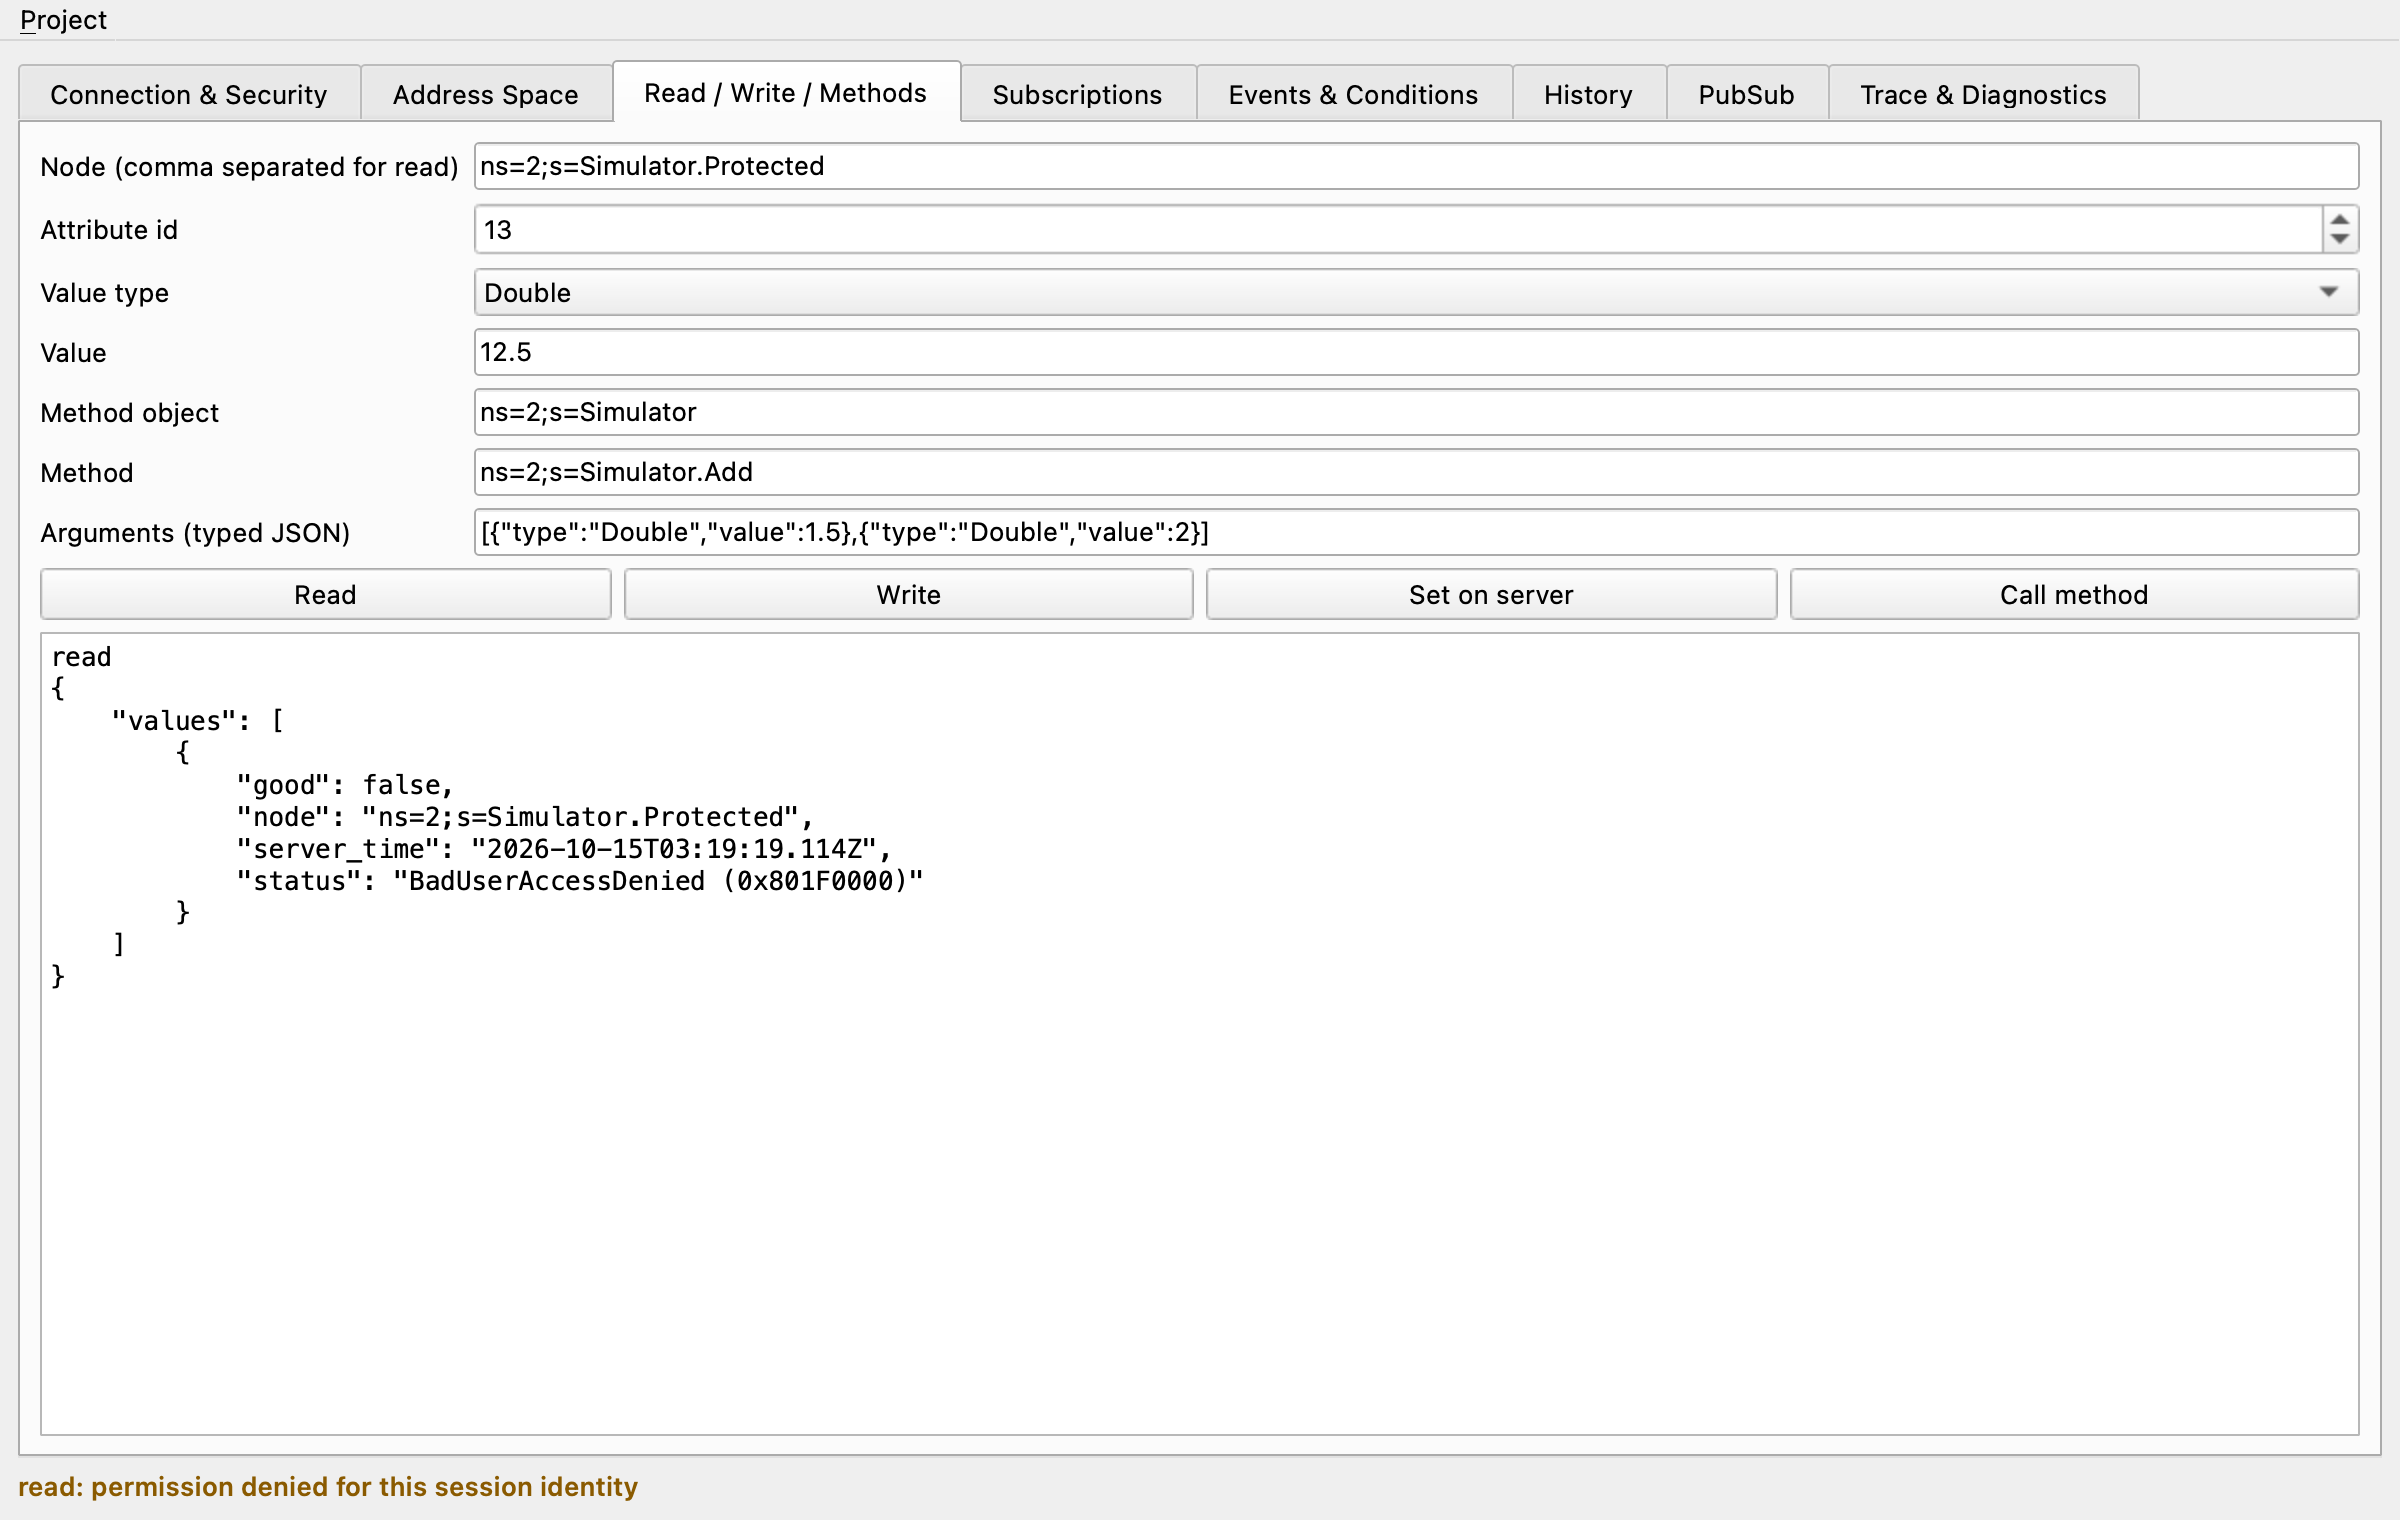
| Field | Description |
|---|---|
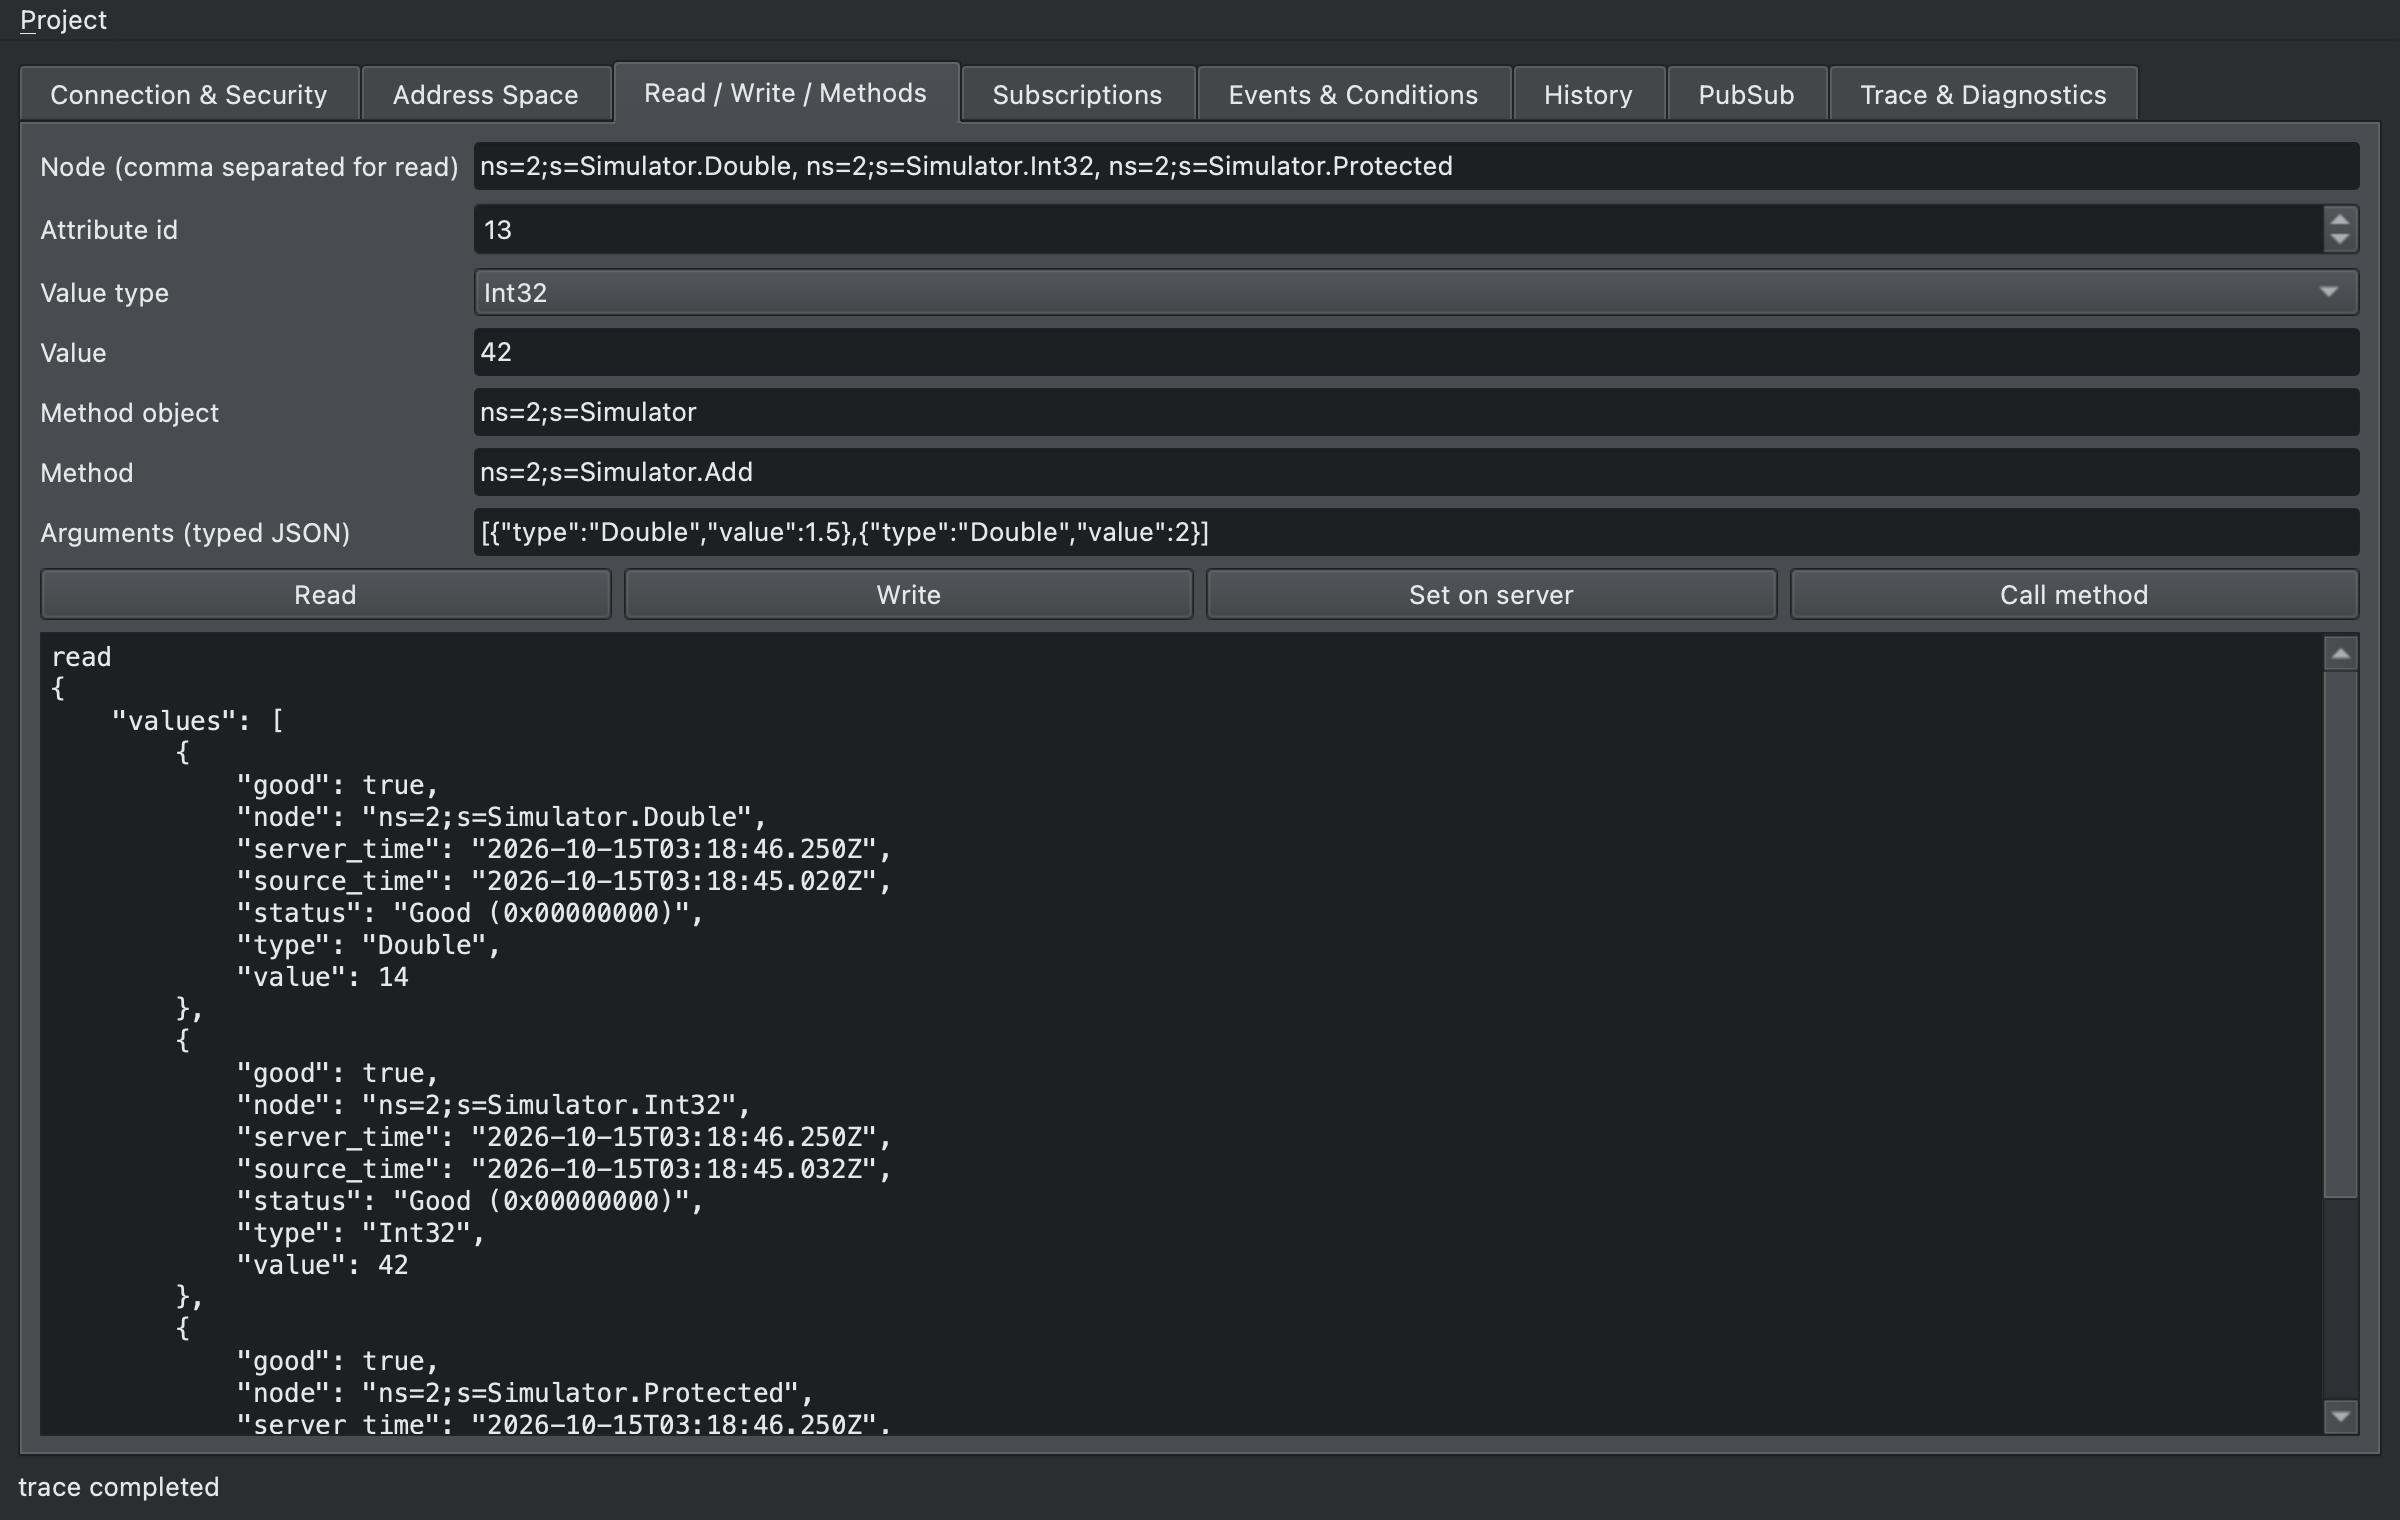
| Node (comma separated for read) | The node to use; for reads, list several nodes separated by commas. |
| Attribute id | The attribute to read (default 13, Value) |
| Value type, Value | Type and value to write |
| Method object, Method | NodeIds of the method’s object and of the method |
| Arguments (typed JSON) | Input arguments such as [{"type":"Double","value":1.5}] |
Read and Write send services through the client session. Set on server changes the value inside the server directly, bypassing the client, which mimics a value changed by the equipment. Call method calls the method. The results appear below as JSON.
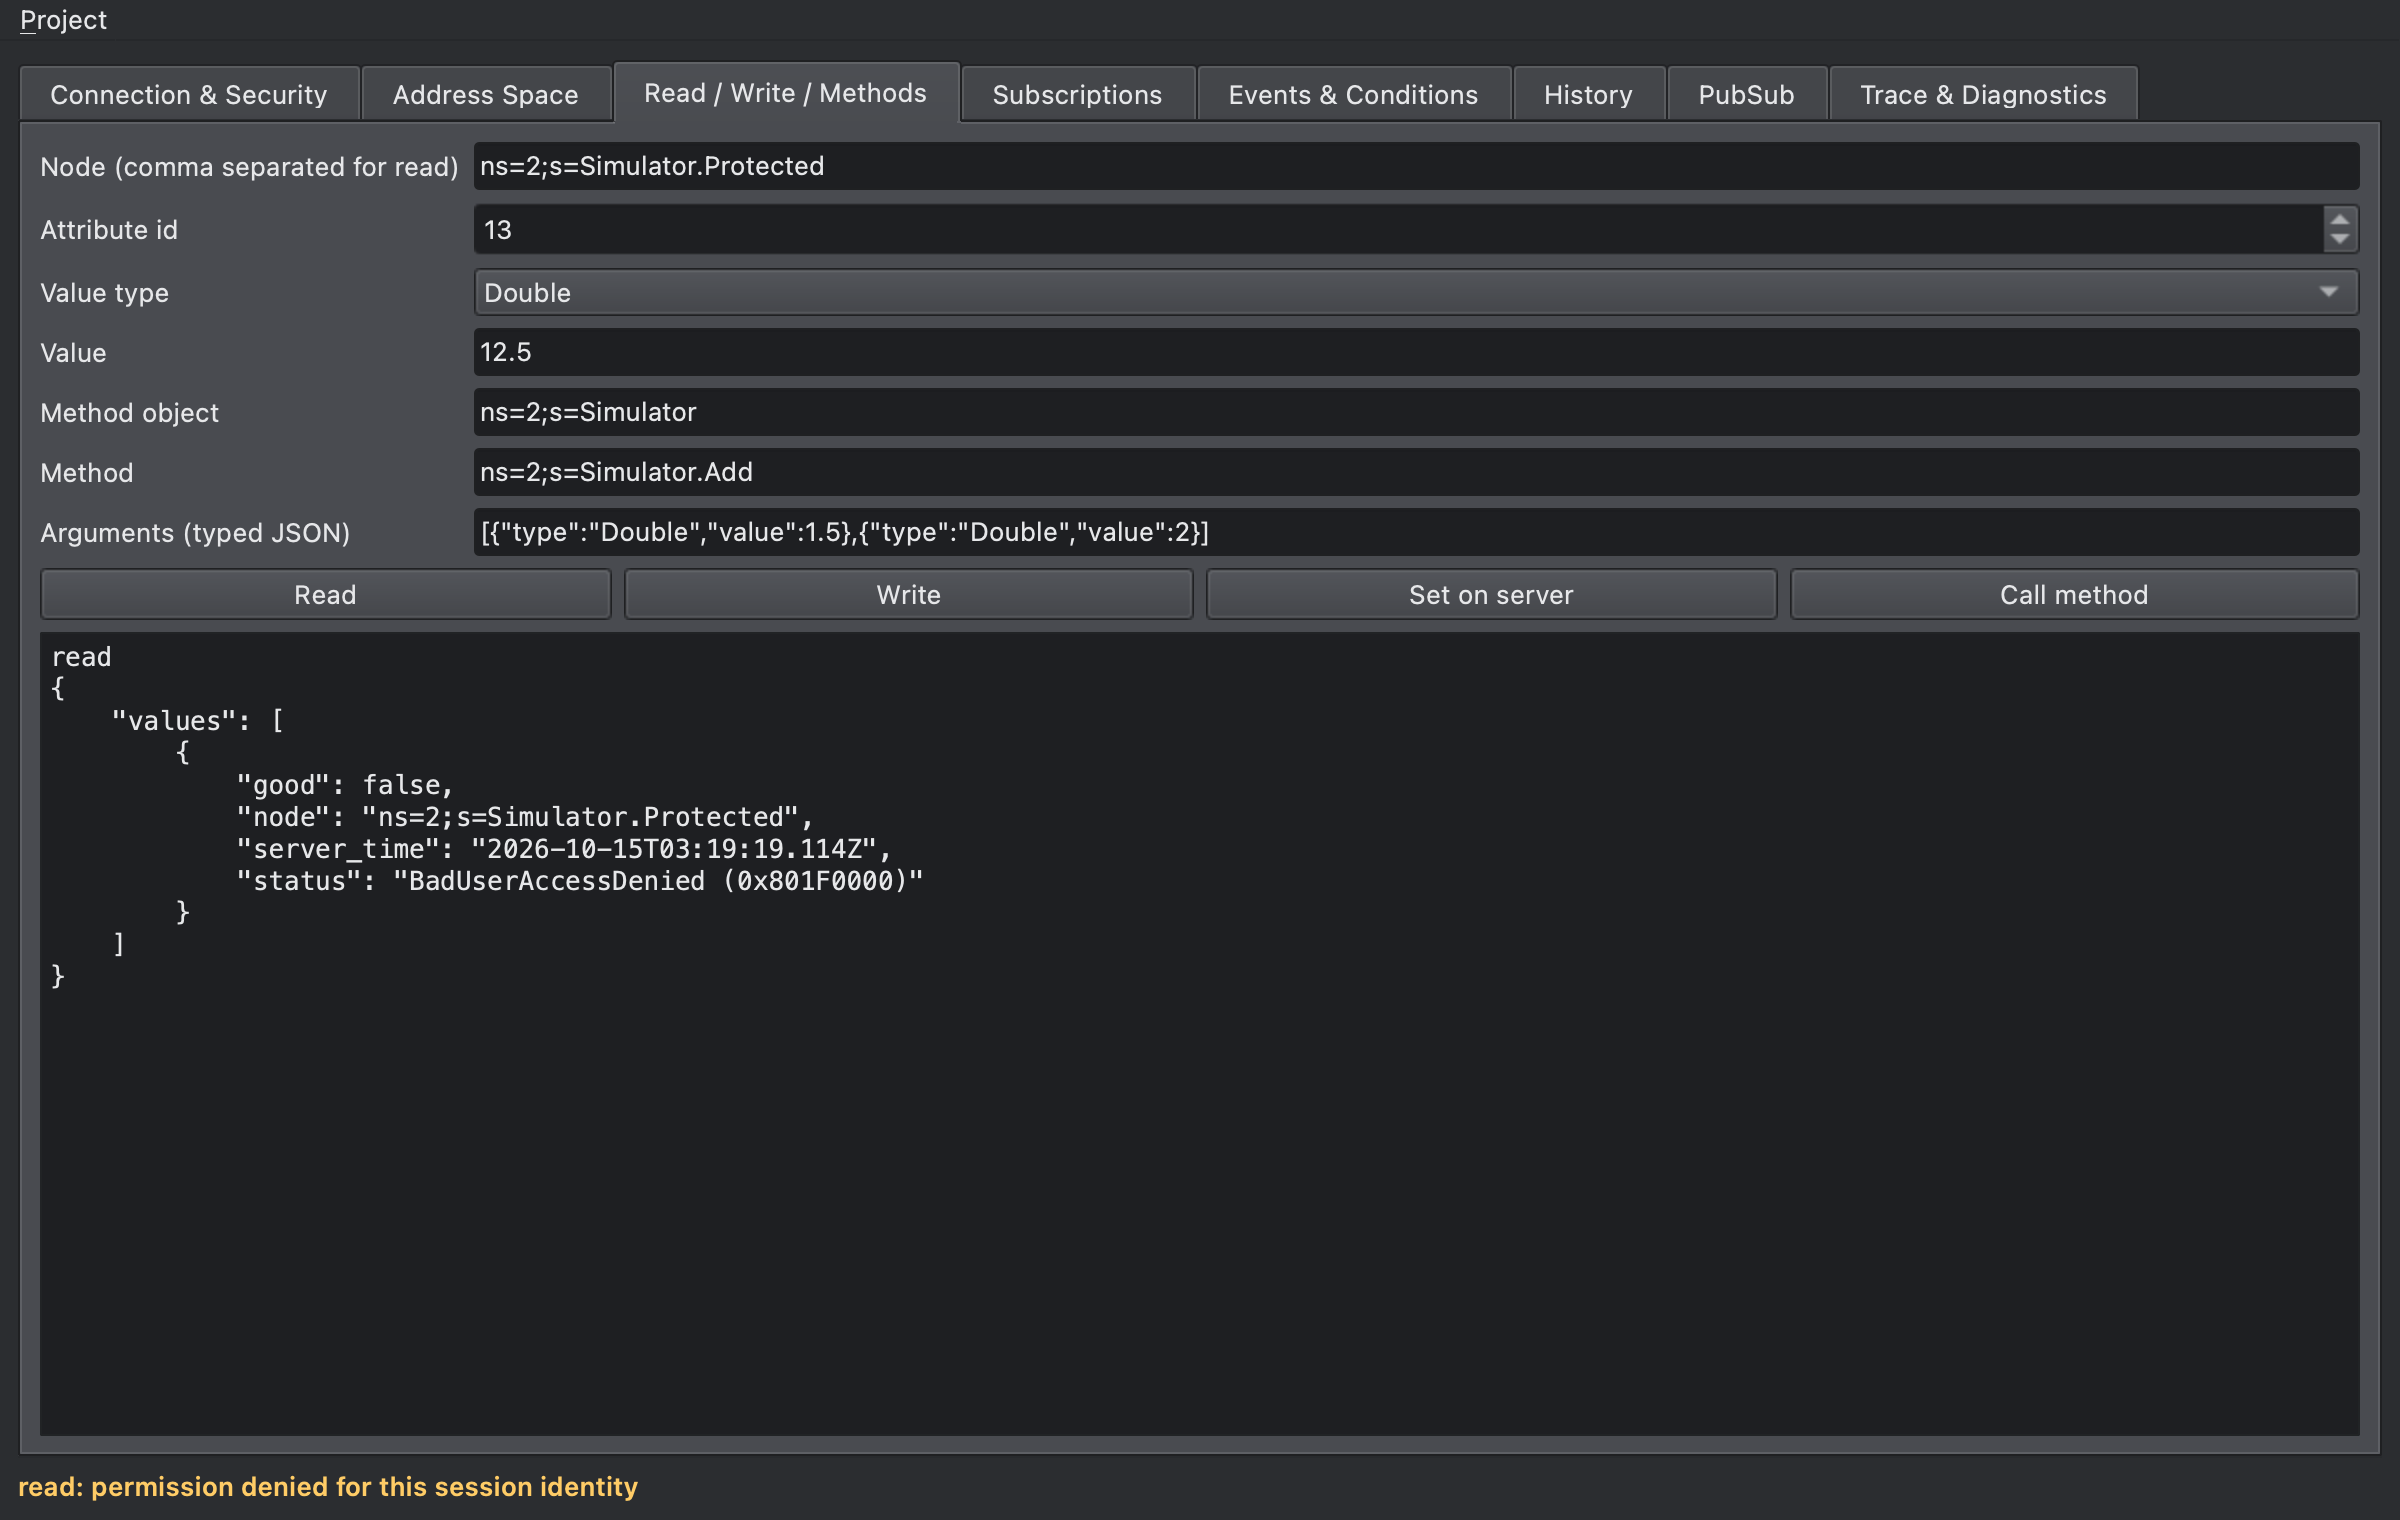
Reading Simulator.Protected from an anonymous session gives the item result BadUserAccessDenied, and the status line shows read: permission denied for this session identity in amber:
Subscriptions
Section titled “Subscriptions”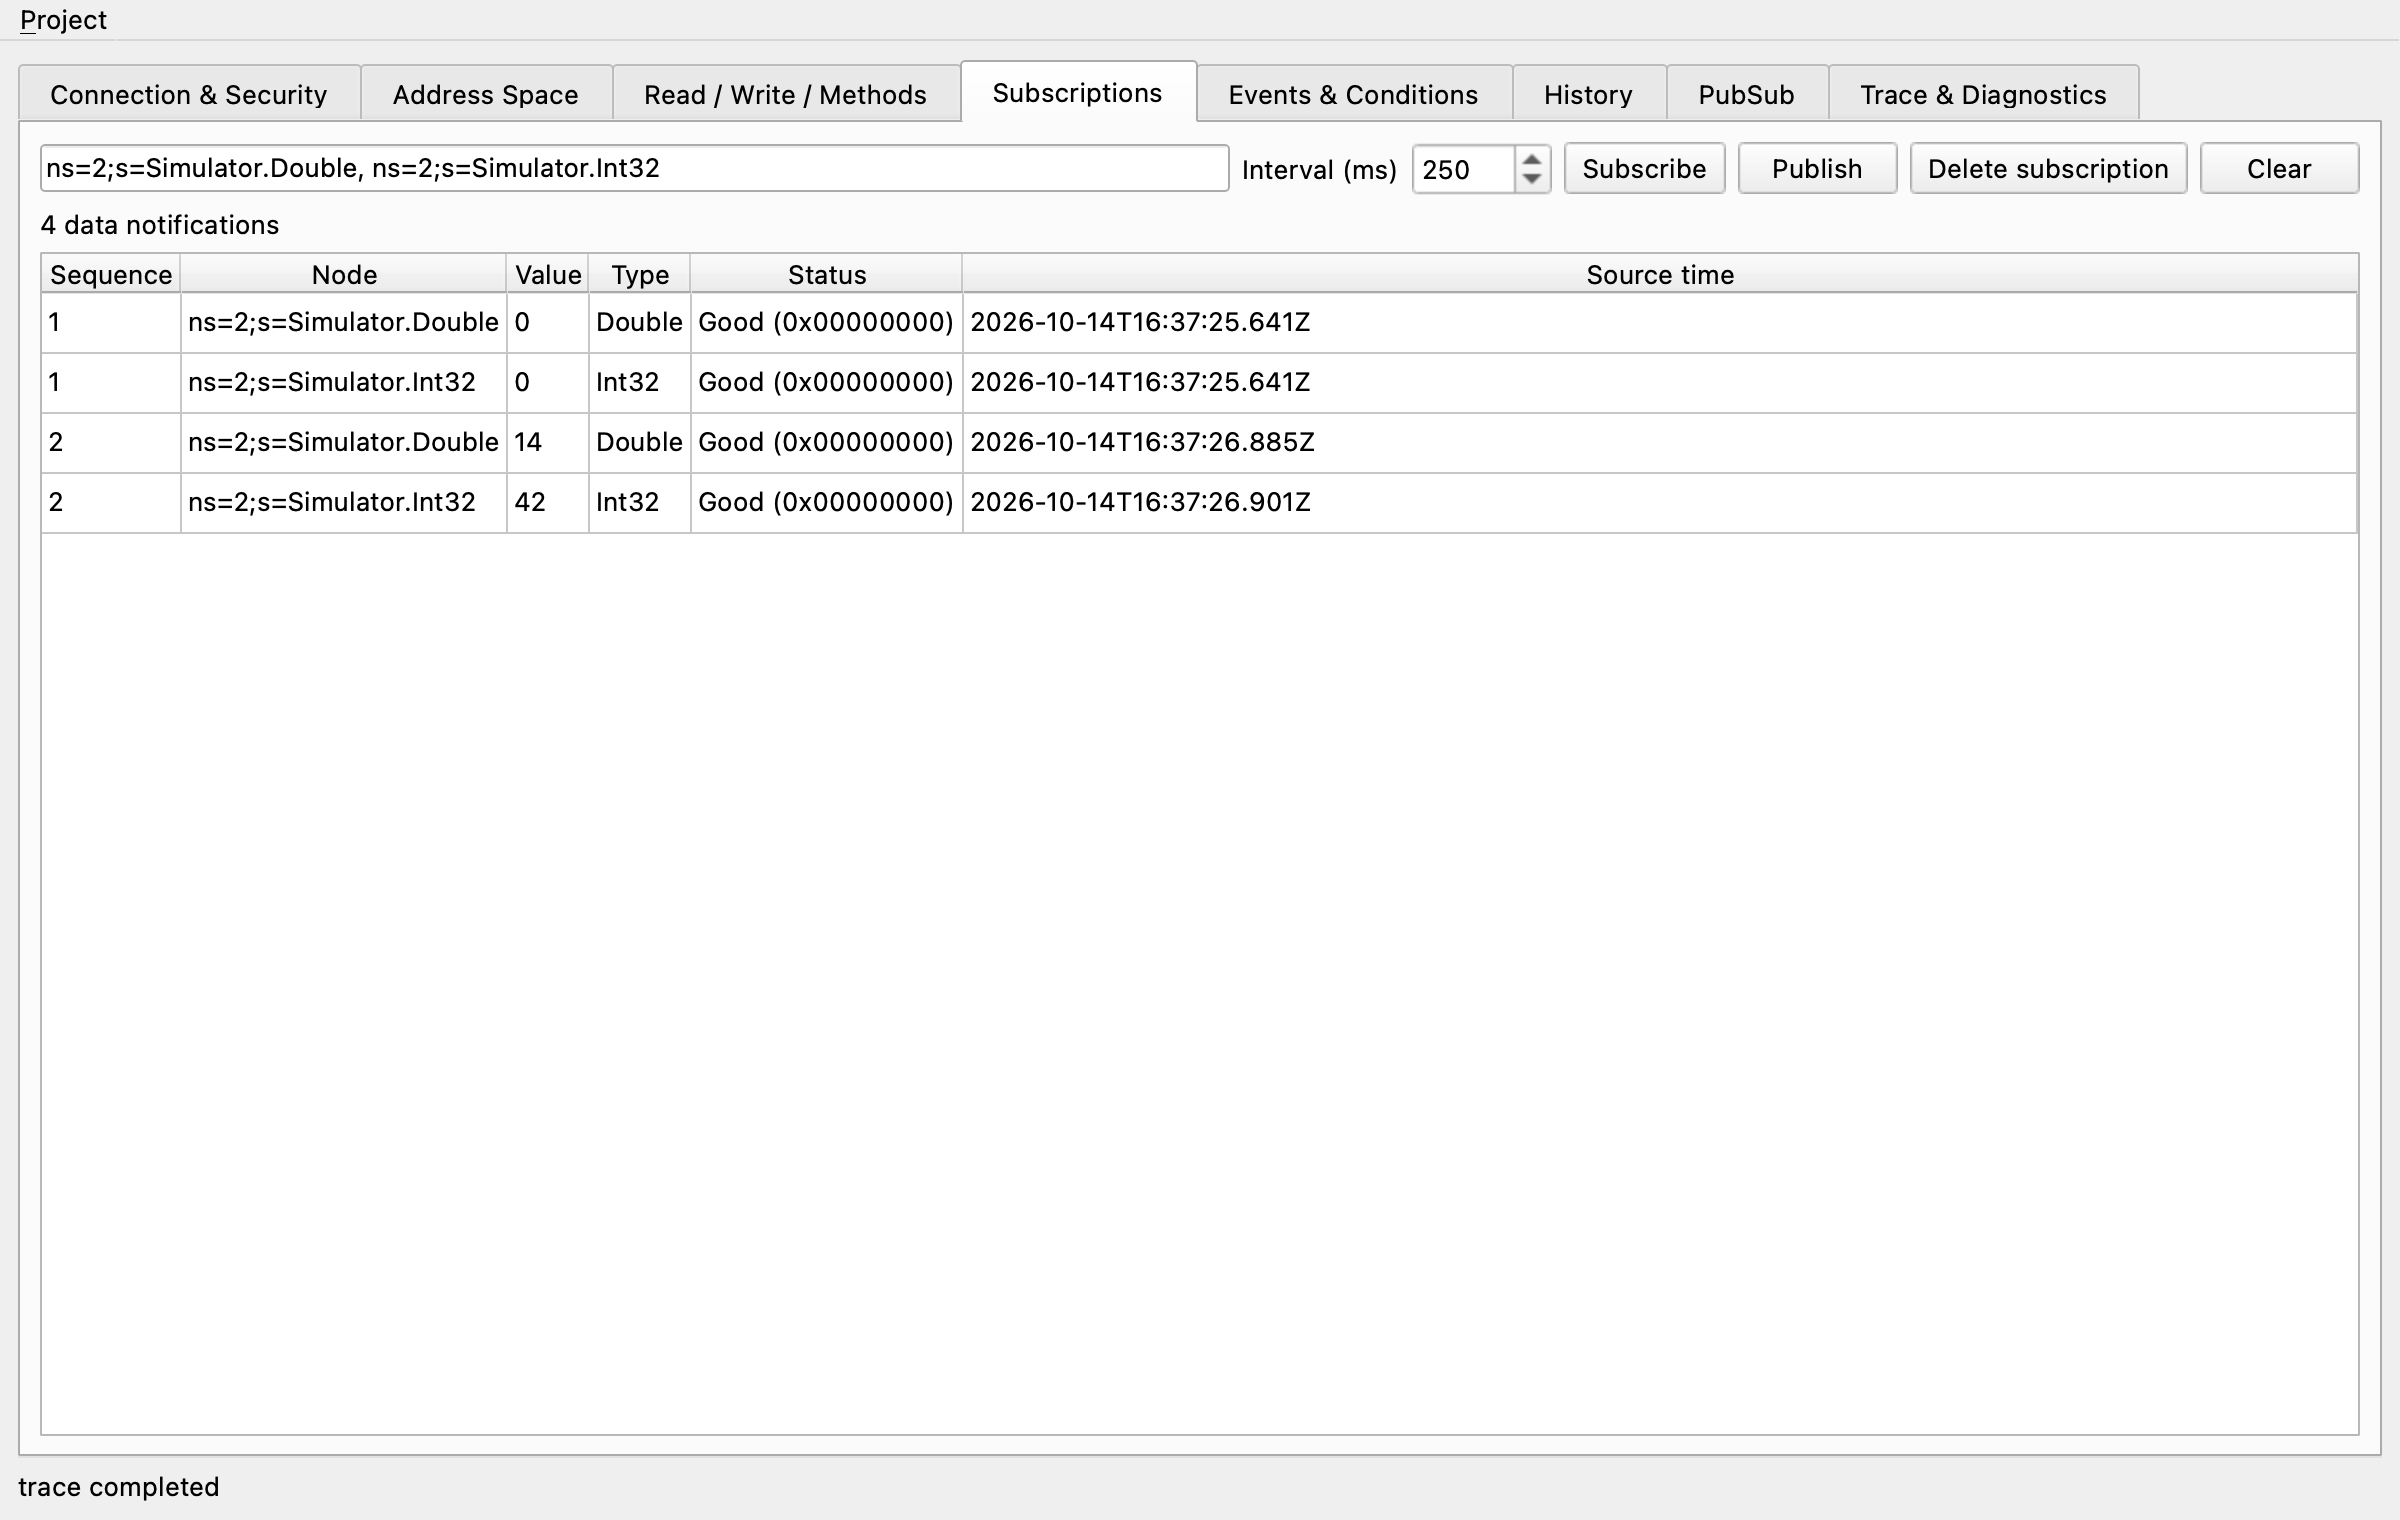
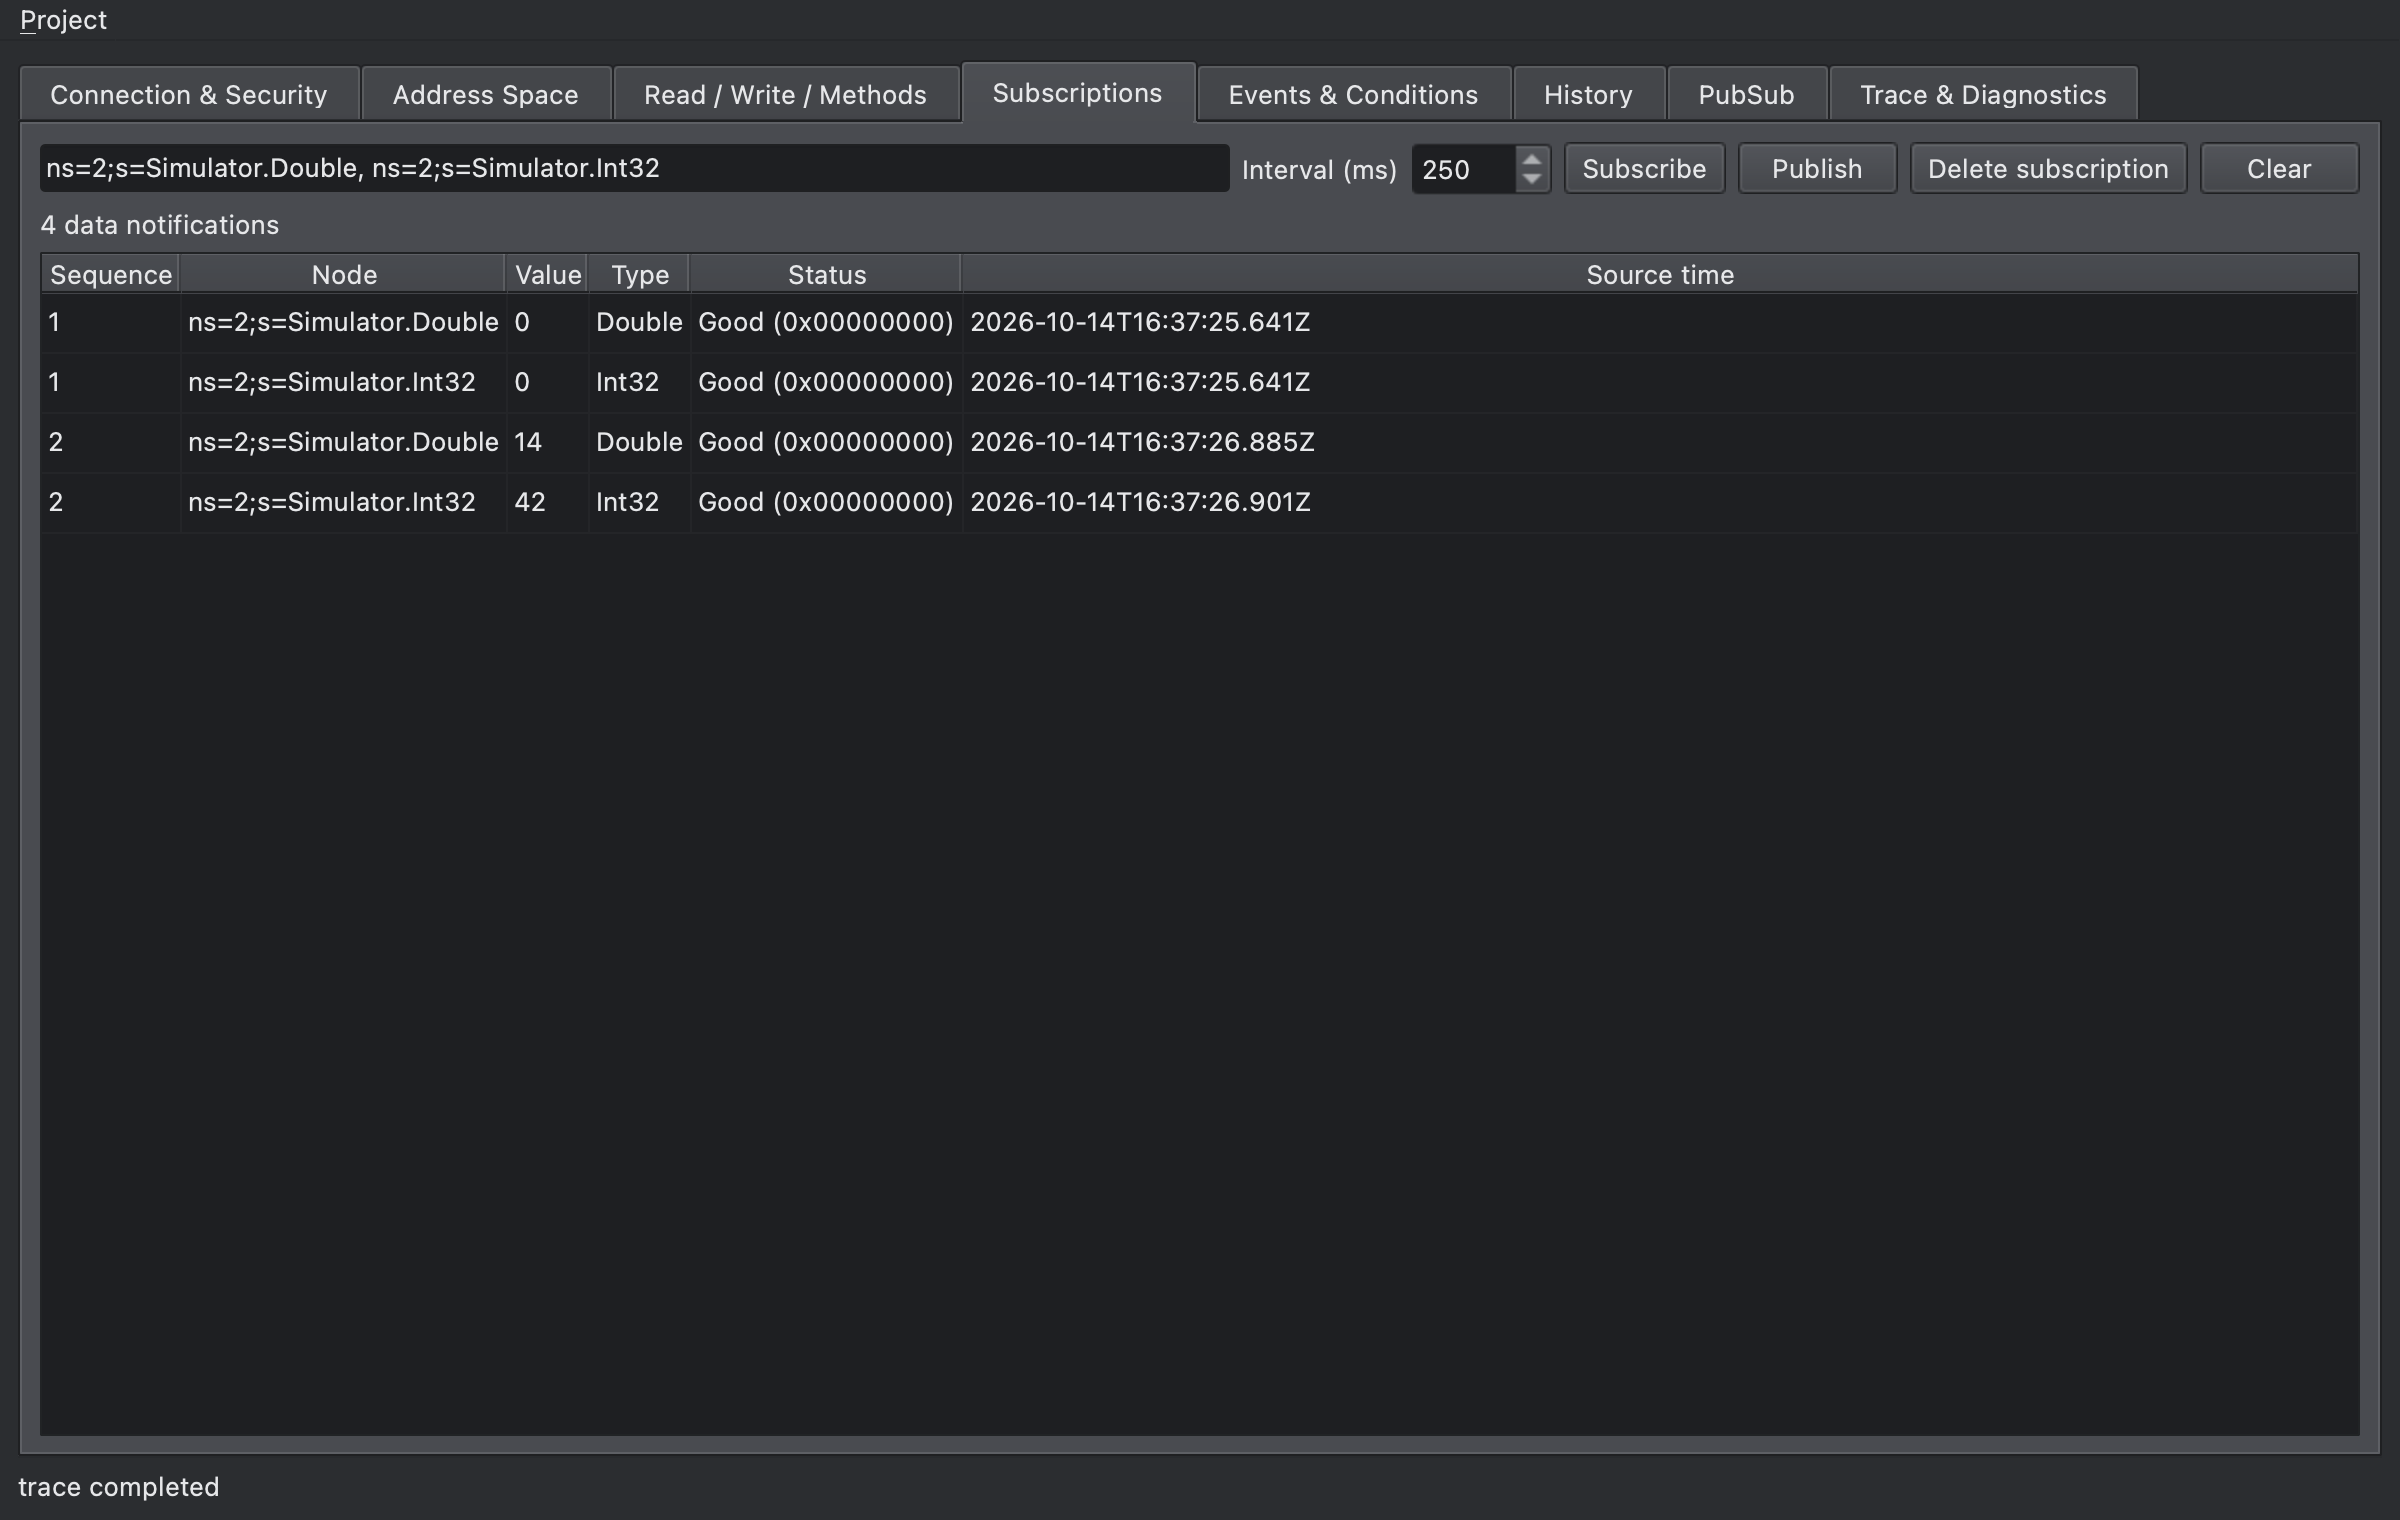
List nodes separated by commas, set Interval (ms) and click Subscribe. Each click on Publish sends two Publish requests and adds the received notifications to the table, which shows Sequence (the notification message’s sequence number), Node, Value, Type, Status and Source time. Delete subscription deletes the subscription, and Clear empties the table and the stored notifications.
Events & Conditions
Section titled “Events & Conditions”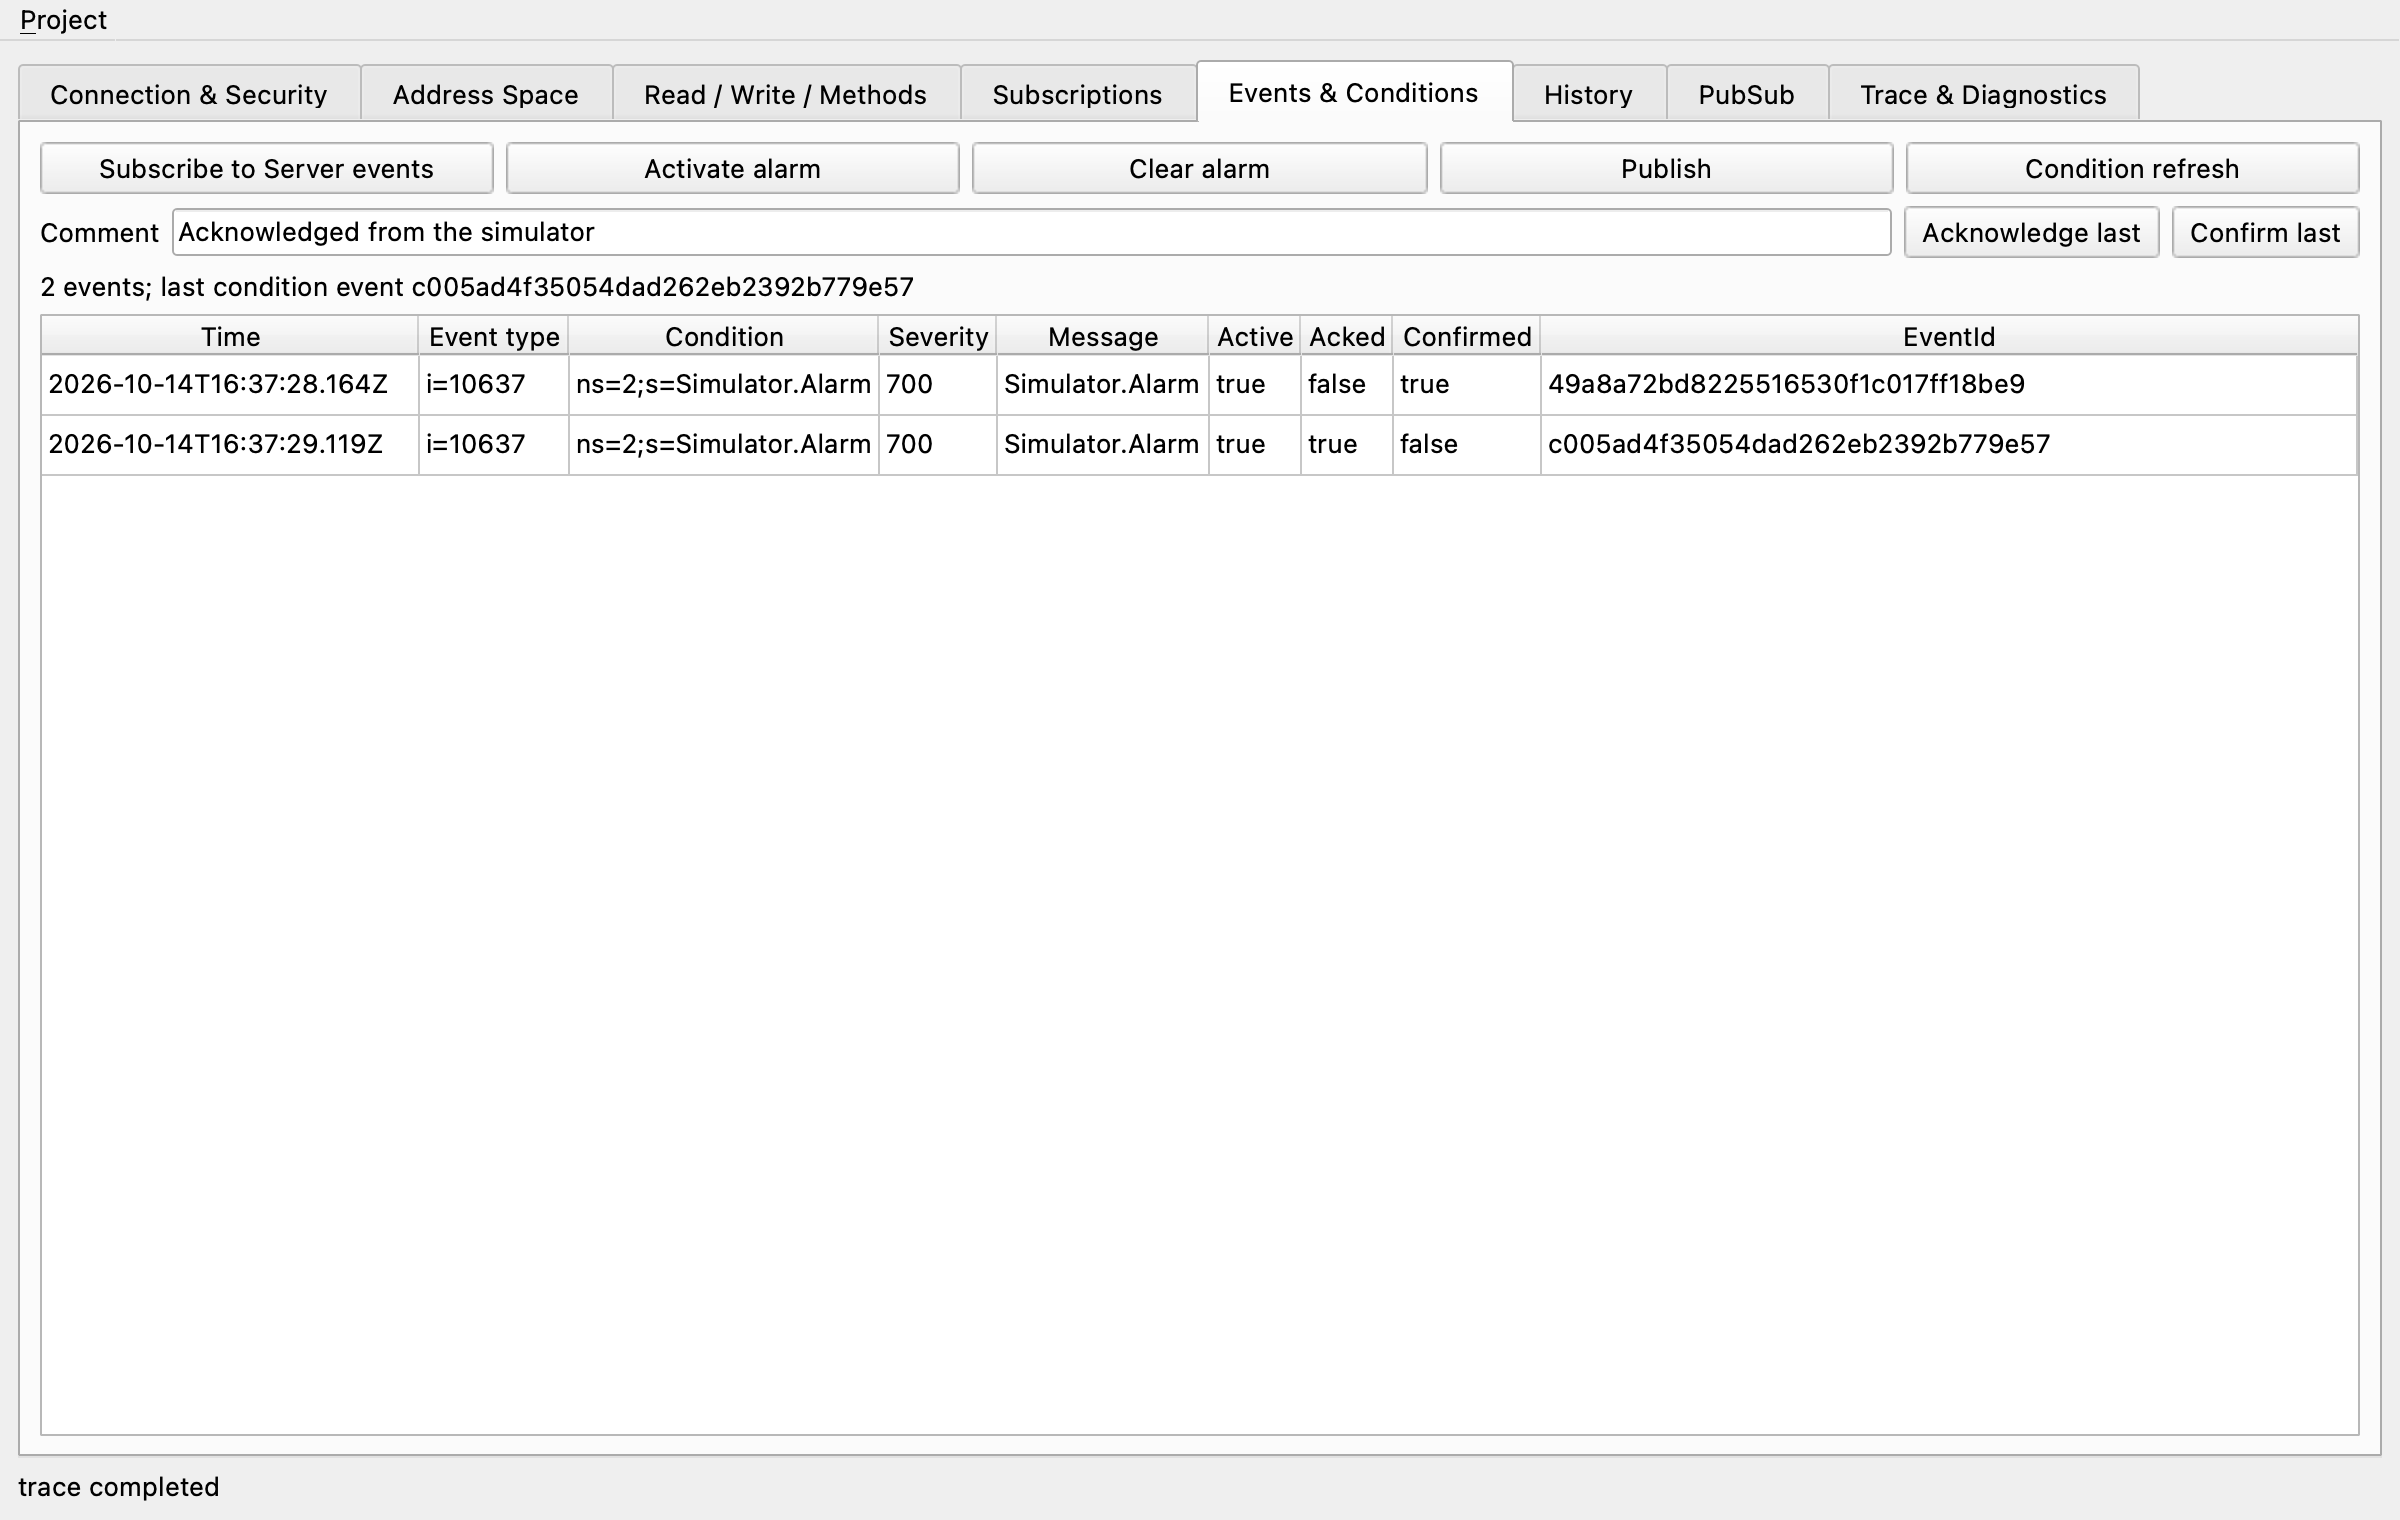
- Subscribe to Server events subscribes to the Server object’s events.
- Activate alarm sets
Simulator.AlarmSourceto true; Clear alarm sets it to false. - Publish receives events. The table shows Time, Event type, Condition, Severity, Message, Active, Acked, Confirmed and EventId.
- Type a Comment and click Acknowledge last or Confirm last, which use the EventId of the last condition event. Click Publish again to see the new state.
- Condition refresh gets the current condition states again.
History
Section titled “History”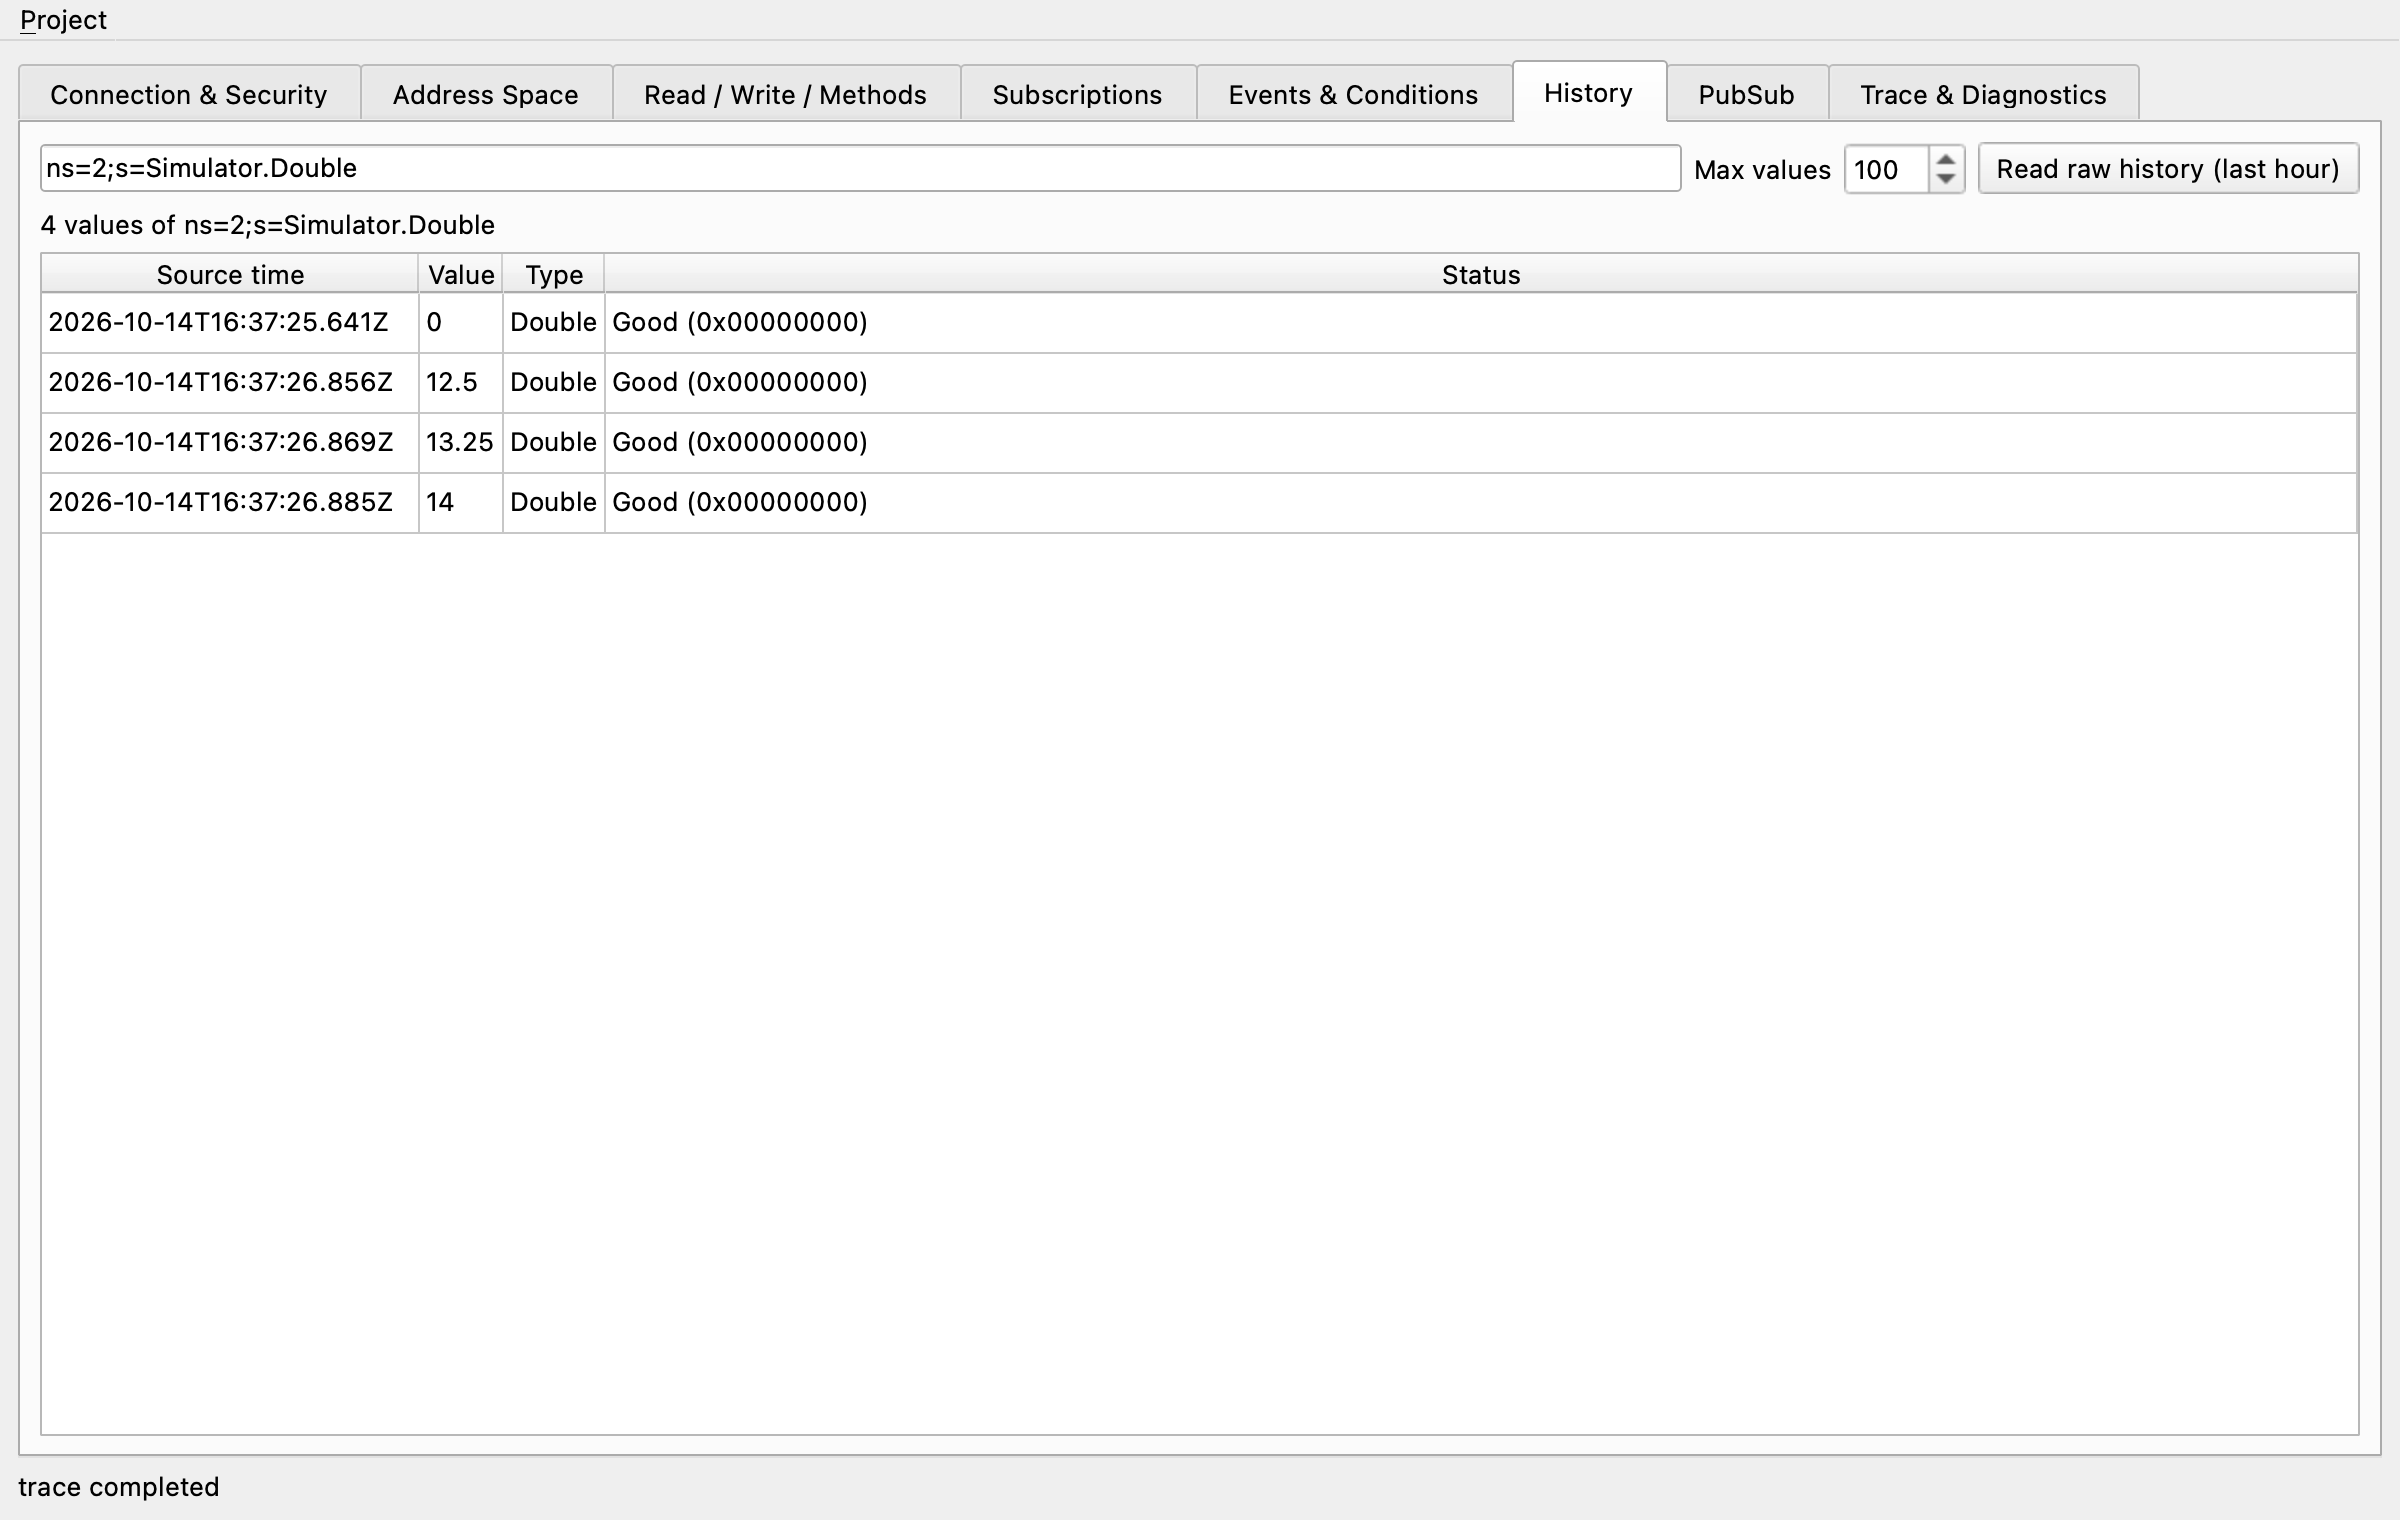
Choose the node and Max values, then click Read raw history (last hour) to read the last hour of raw history. The historized nodes are Simulator.Double and Simulator.Counter. When more values remain, the state line adds more available; to continue with the continuation point, use history_read in the headless simulator.
PubSub
Section titled “PubSub”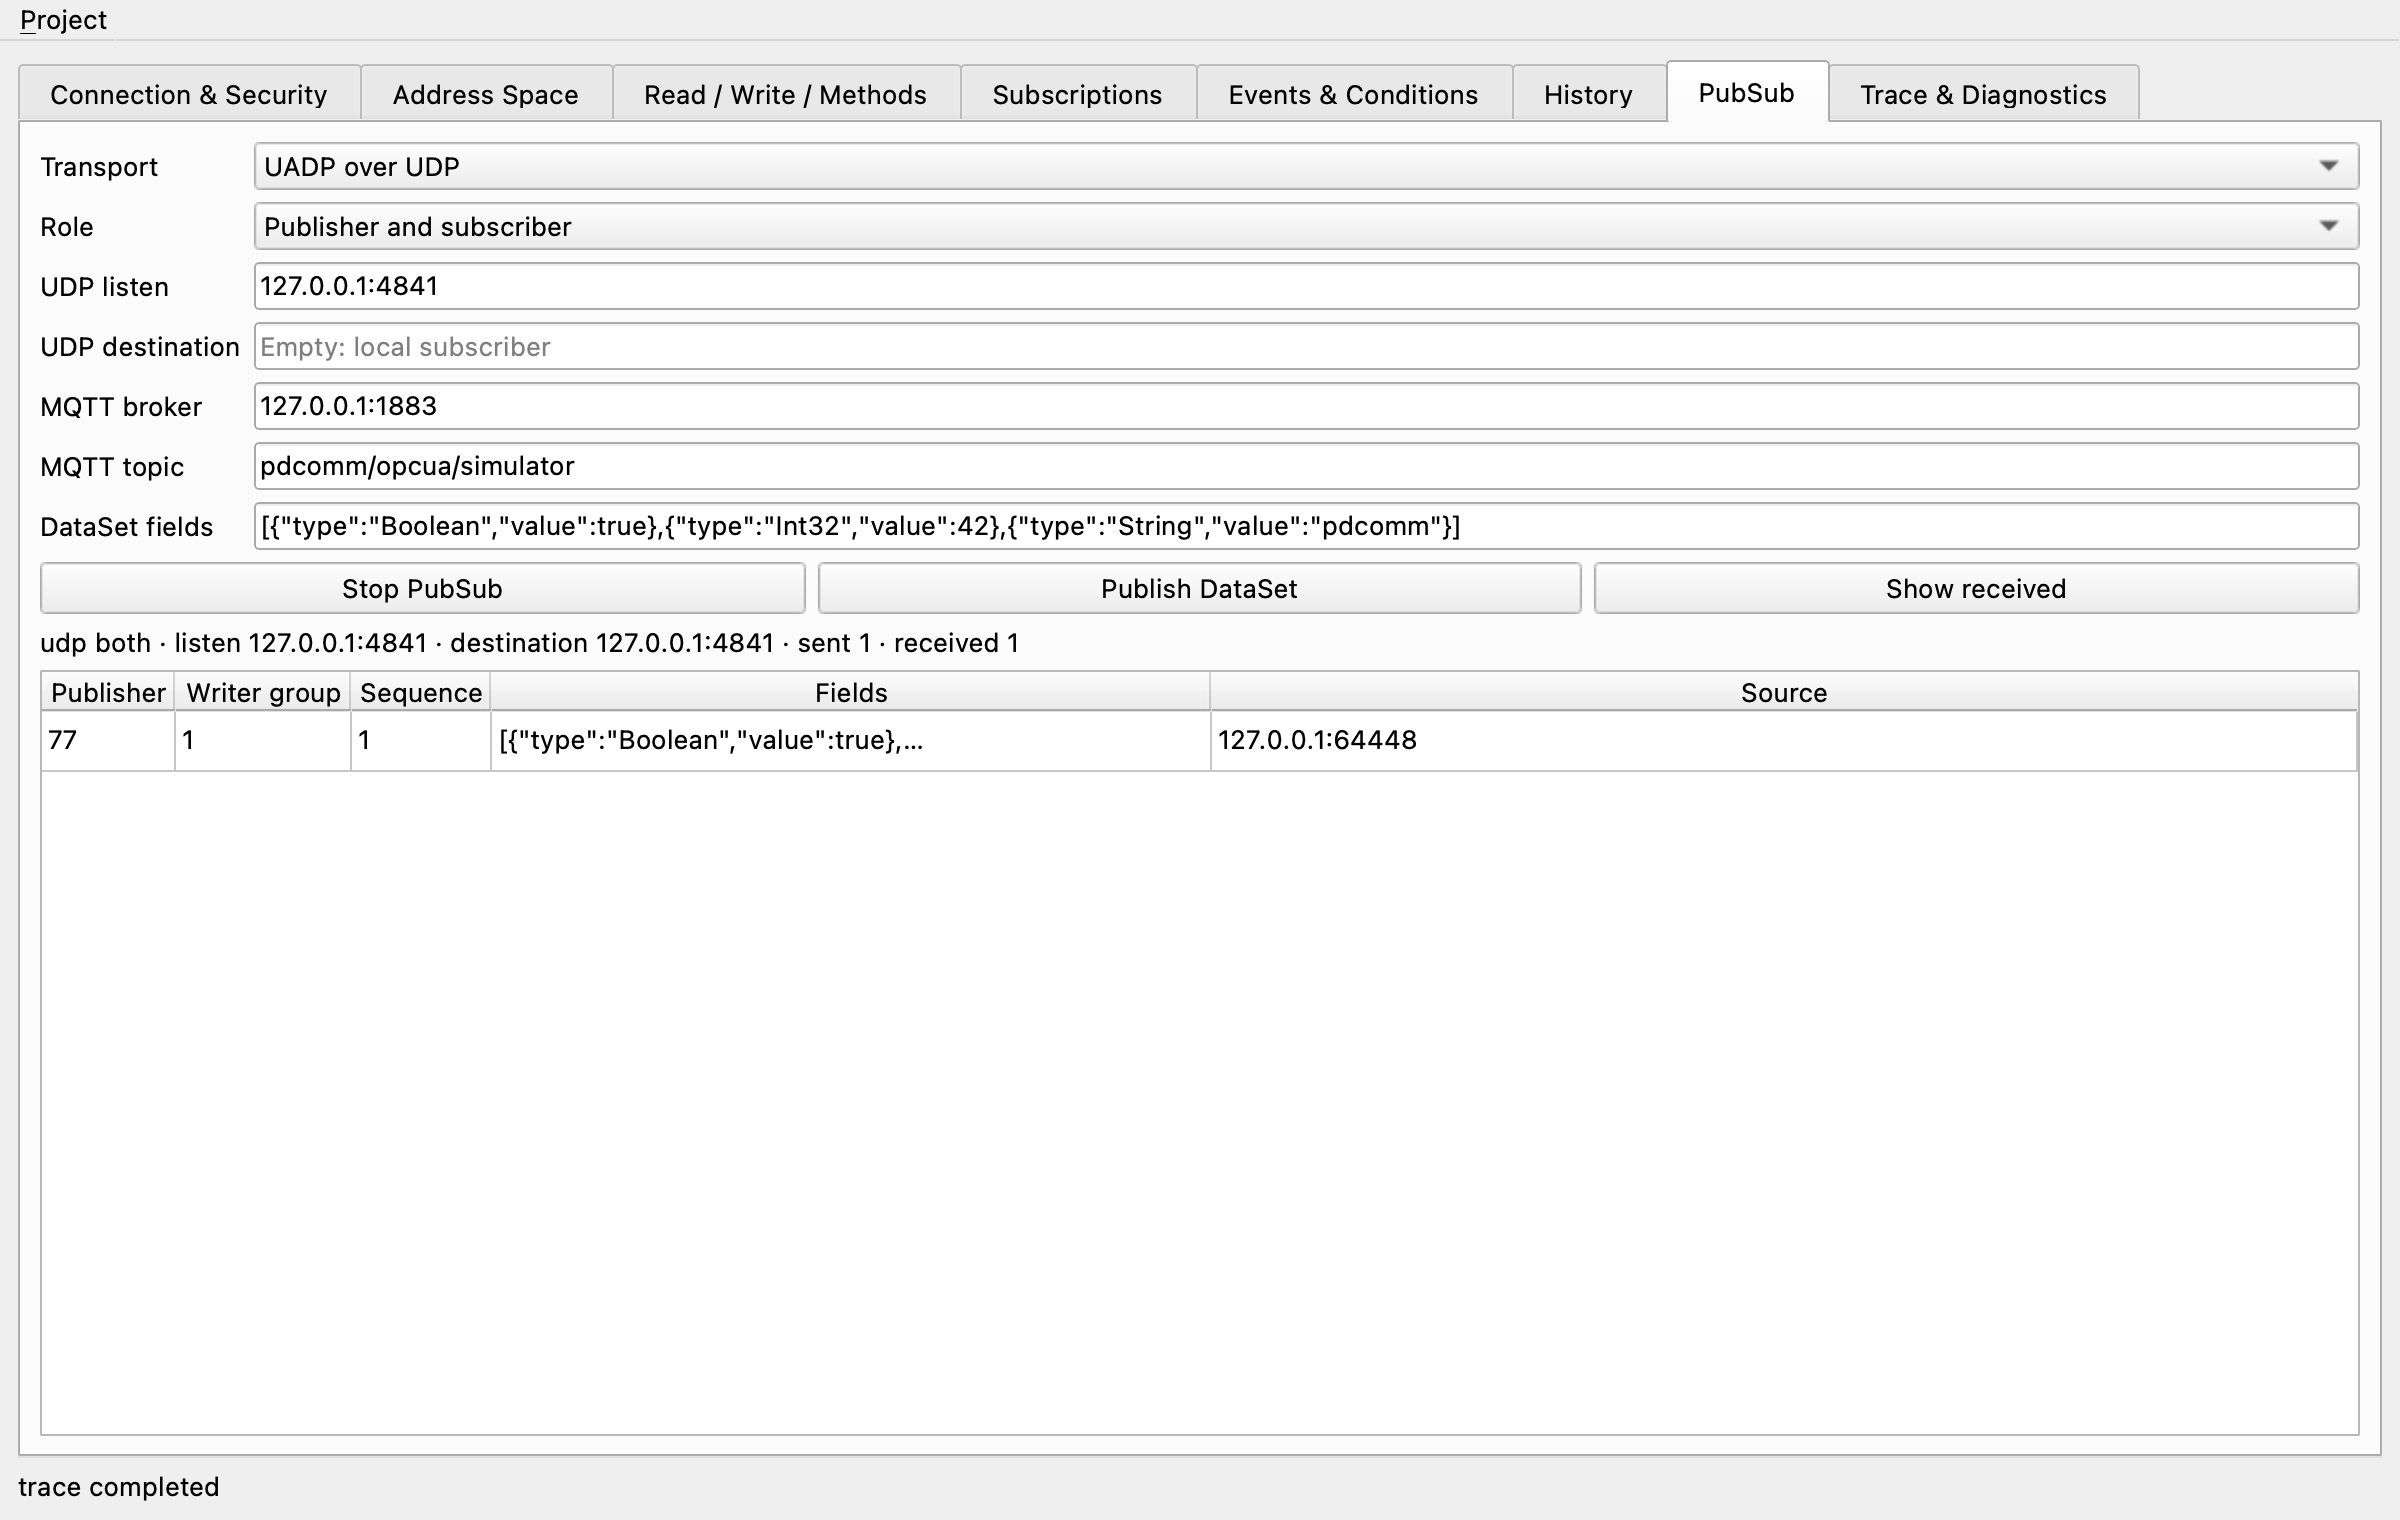
| Field | Description |
|---|---|
| Transport | UADP over UDP or UADP over MQTT |
| Role | Publisher and subscriber, Publisher or Subscriber |
| UDP listen | The subscriber’s UDP listen address |
| UDP destination | Where the publisher sends; empty sends to this simulator’s subscriber. |
| MQTT broker, MQTT topic | Broker address and topic of the MQTT transport |
| DataSet fields | The fields to publish, as a typed JSON array |
Start PubSub starts it and Publish DataSet publishes. Show received adds received messages to the table and refreshes the status. The table shows Publisher, Writer group, Sequence, Fields and Source.
Trace & Diagnostics
Section titled “Trace & Diagnostics”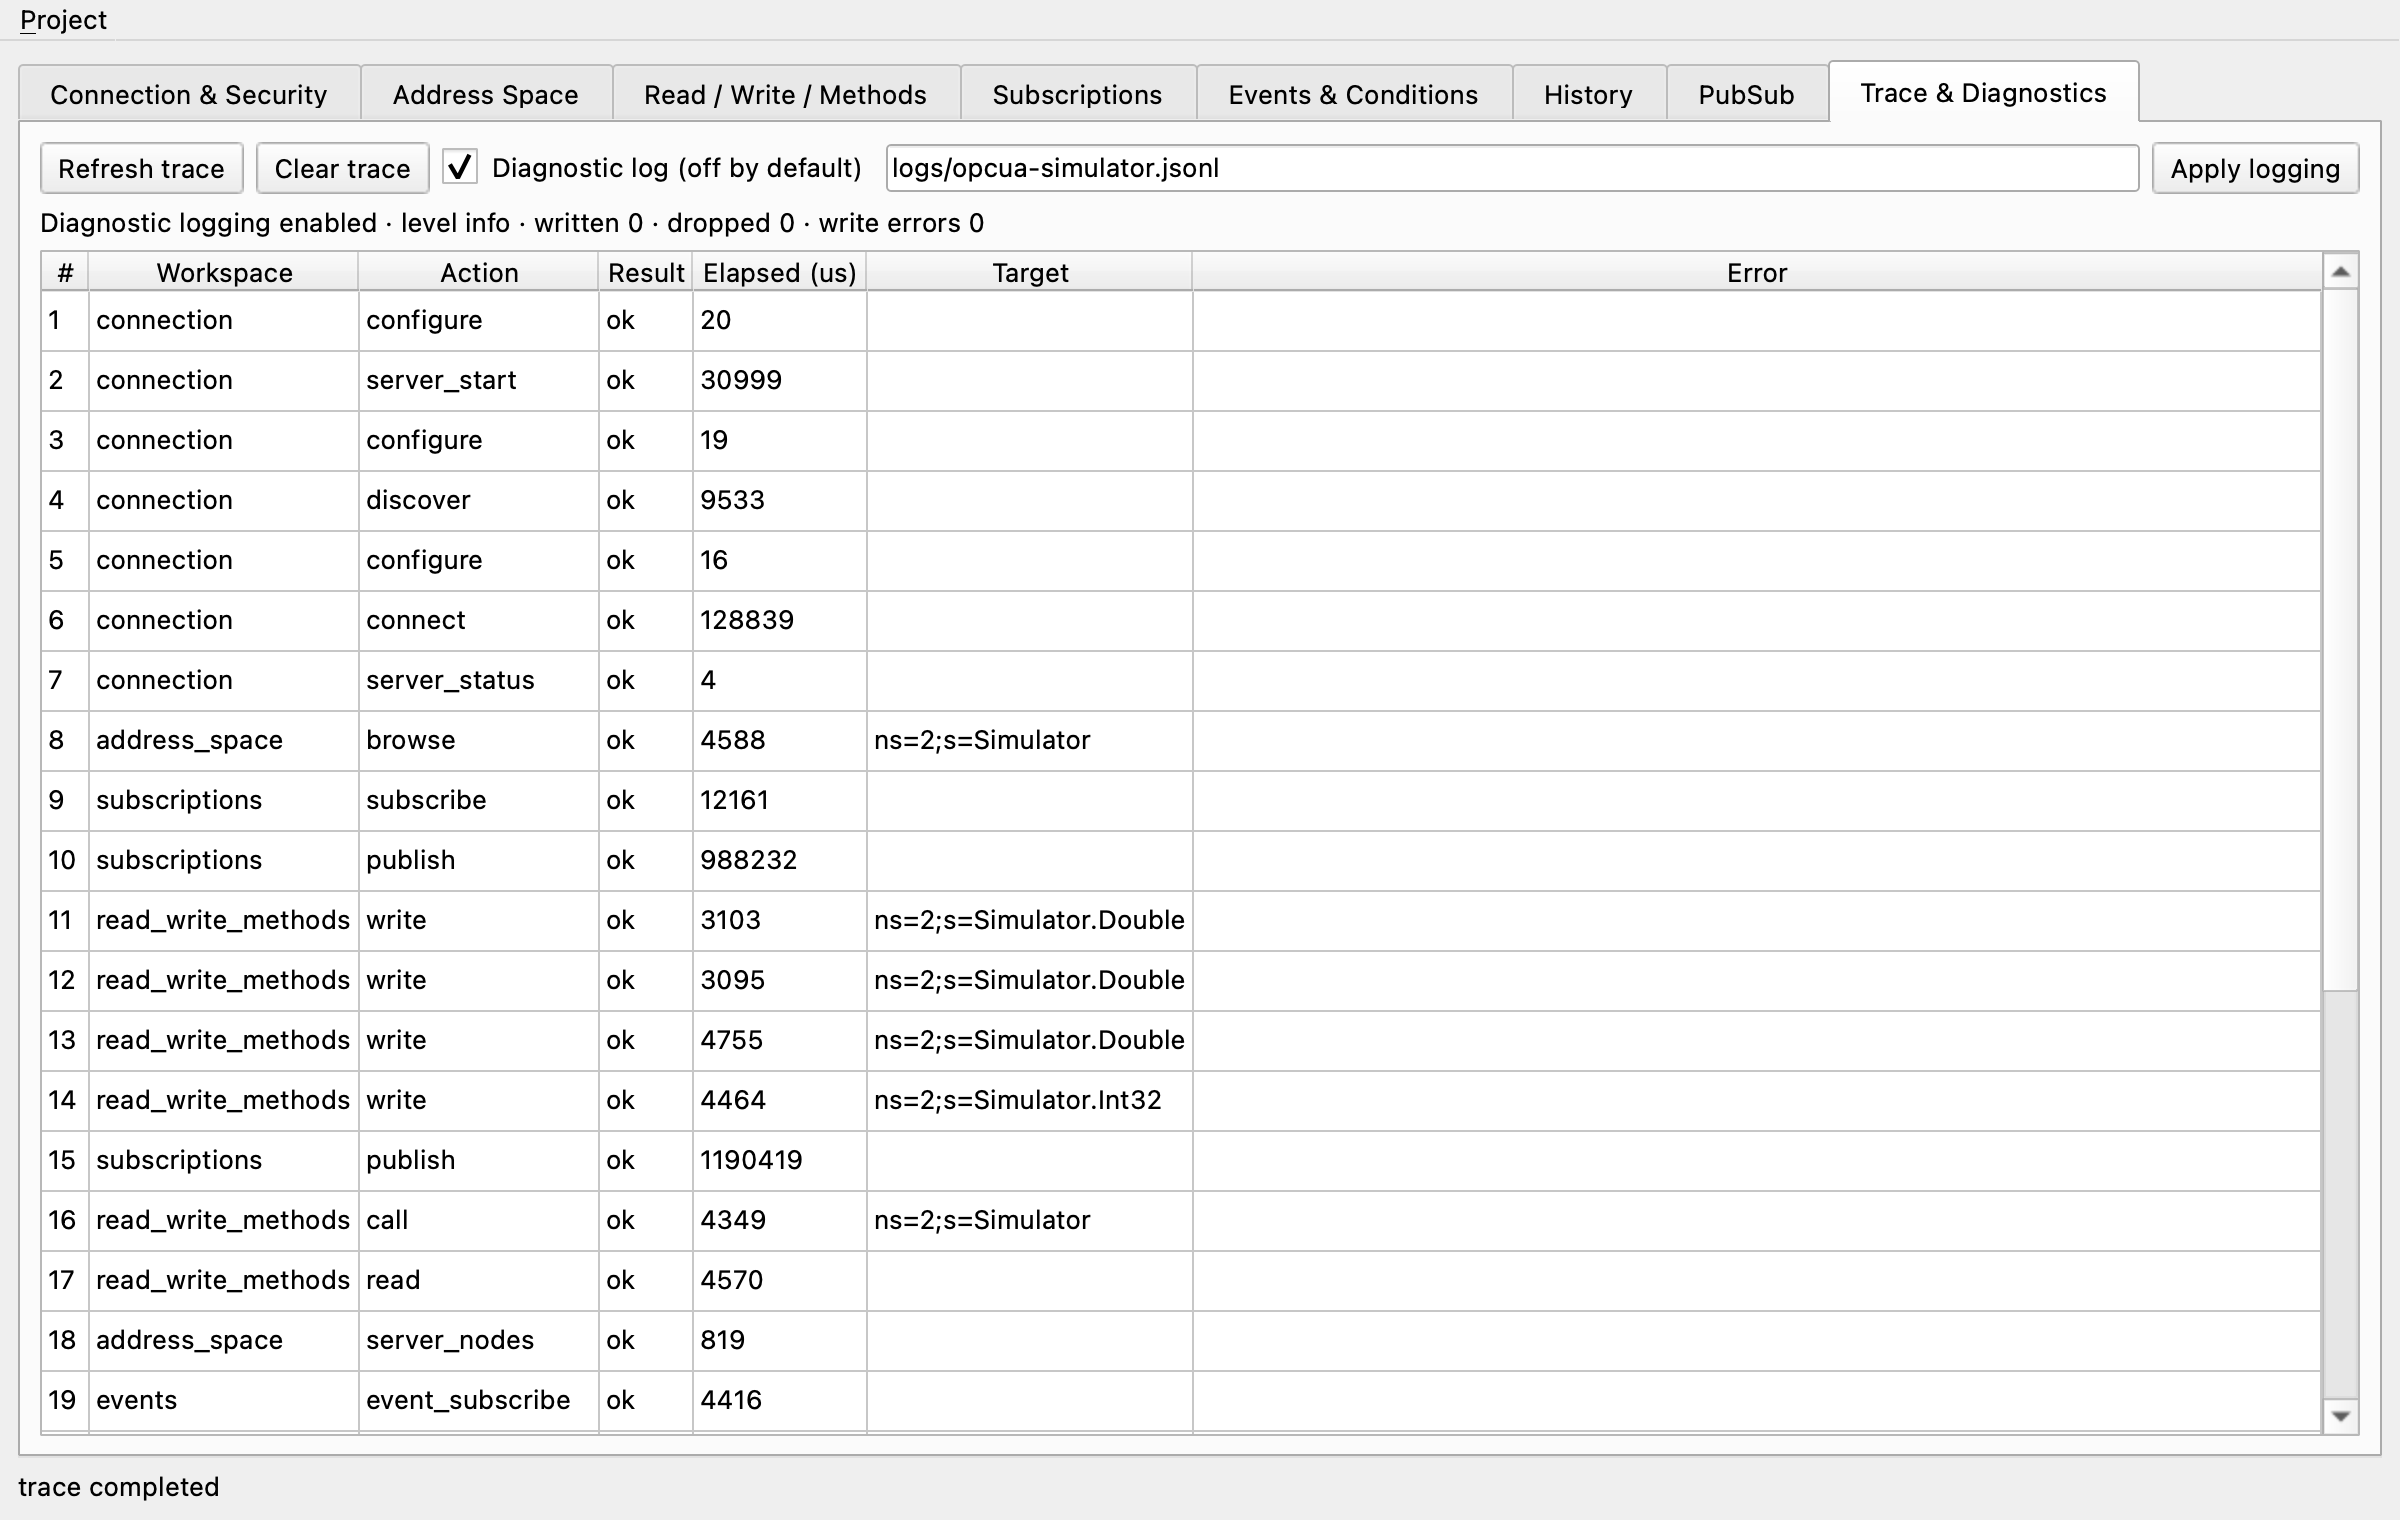
Refresh trace shows the record of the actions the simulator ran, with #, Workspace, Action, Result, Elapsed (us), Target and Error. It keeps the latest 1000 entries; Clear trace empties it.
Select Diagnostic log (off by default), enter a log file path and click Apply logging to write a diagnostic log. The folder in the path must already exist. Timeouts and diagnostics explains the log format and how to use it.
Connection errors
Section titled “Connection errors”When you enter an unreachable address in Endpoint URL and click Connect, the status line shows the error in red:
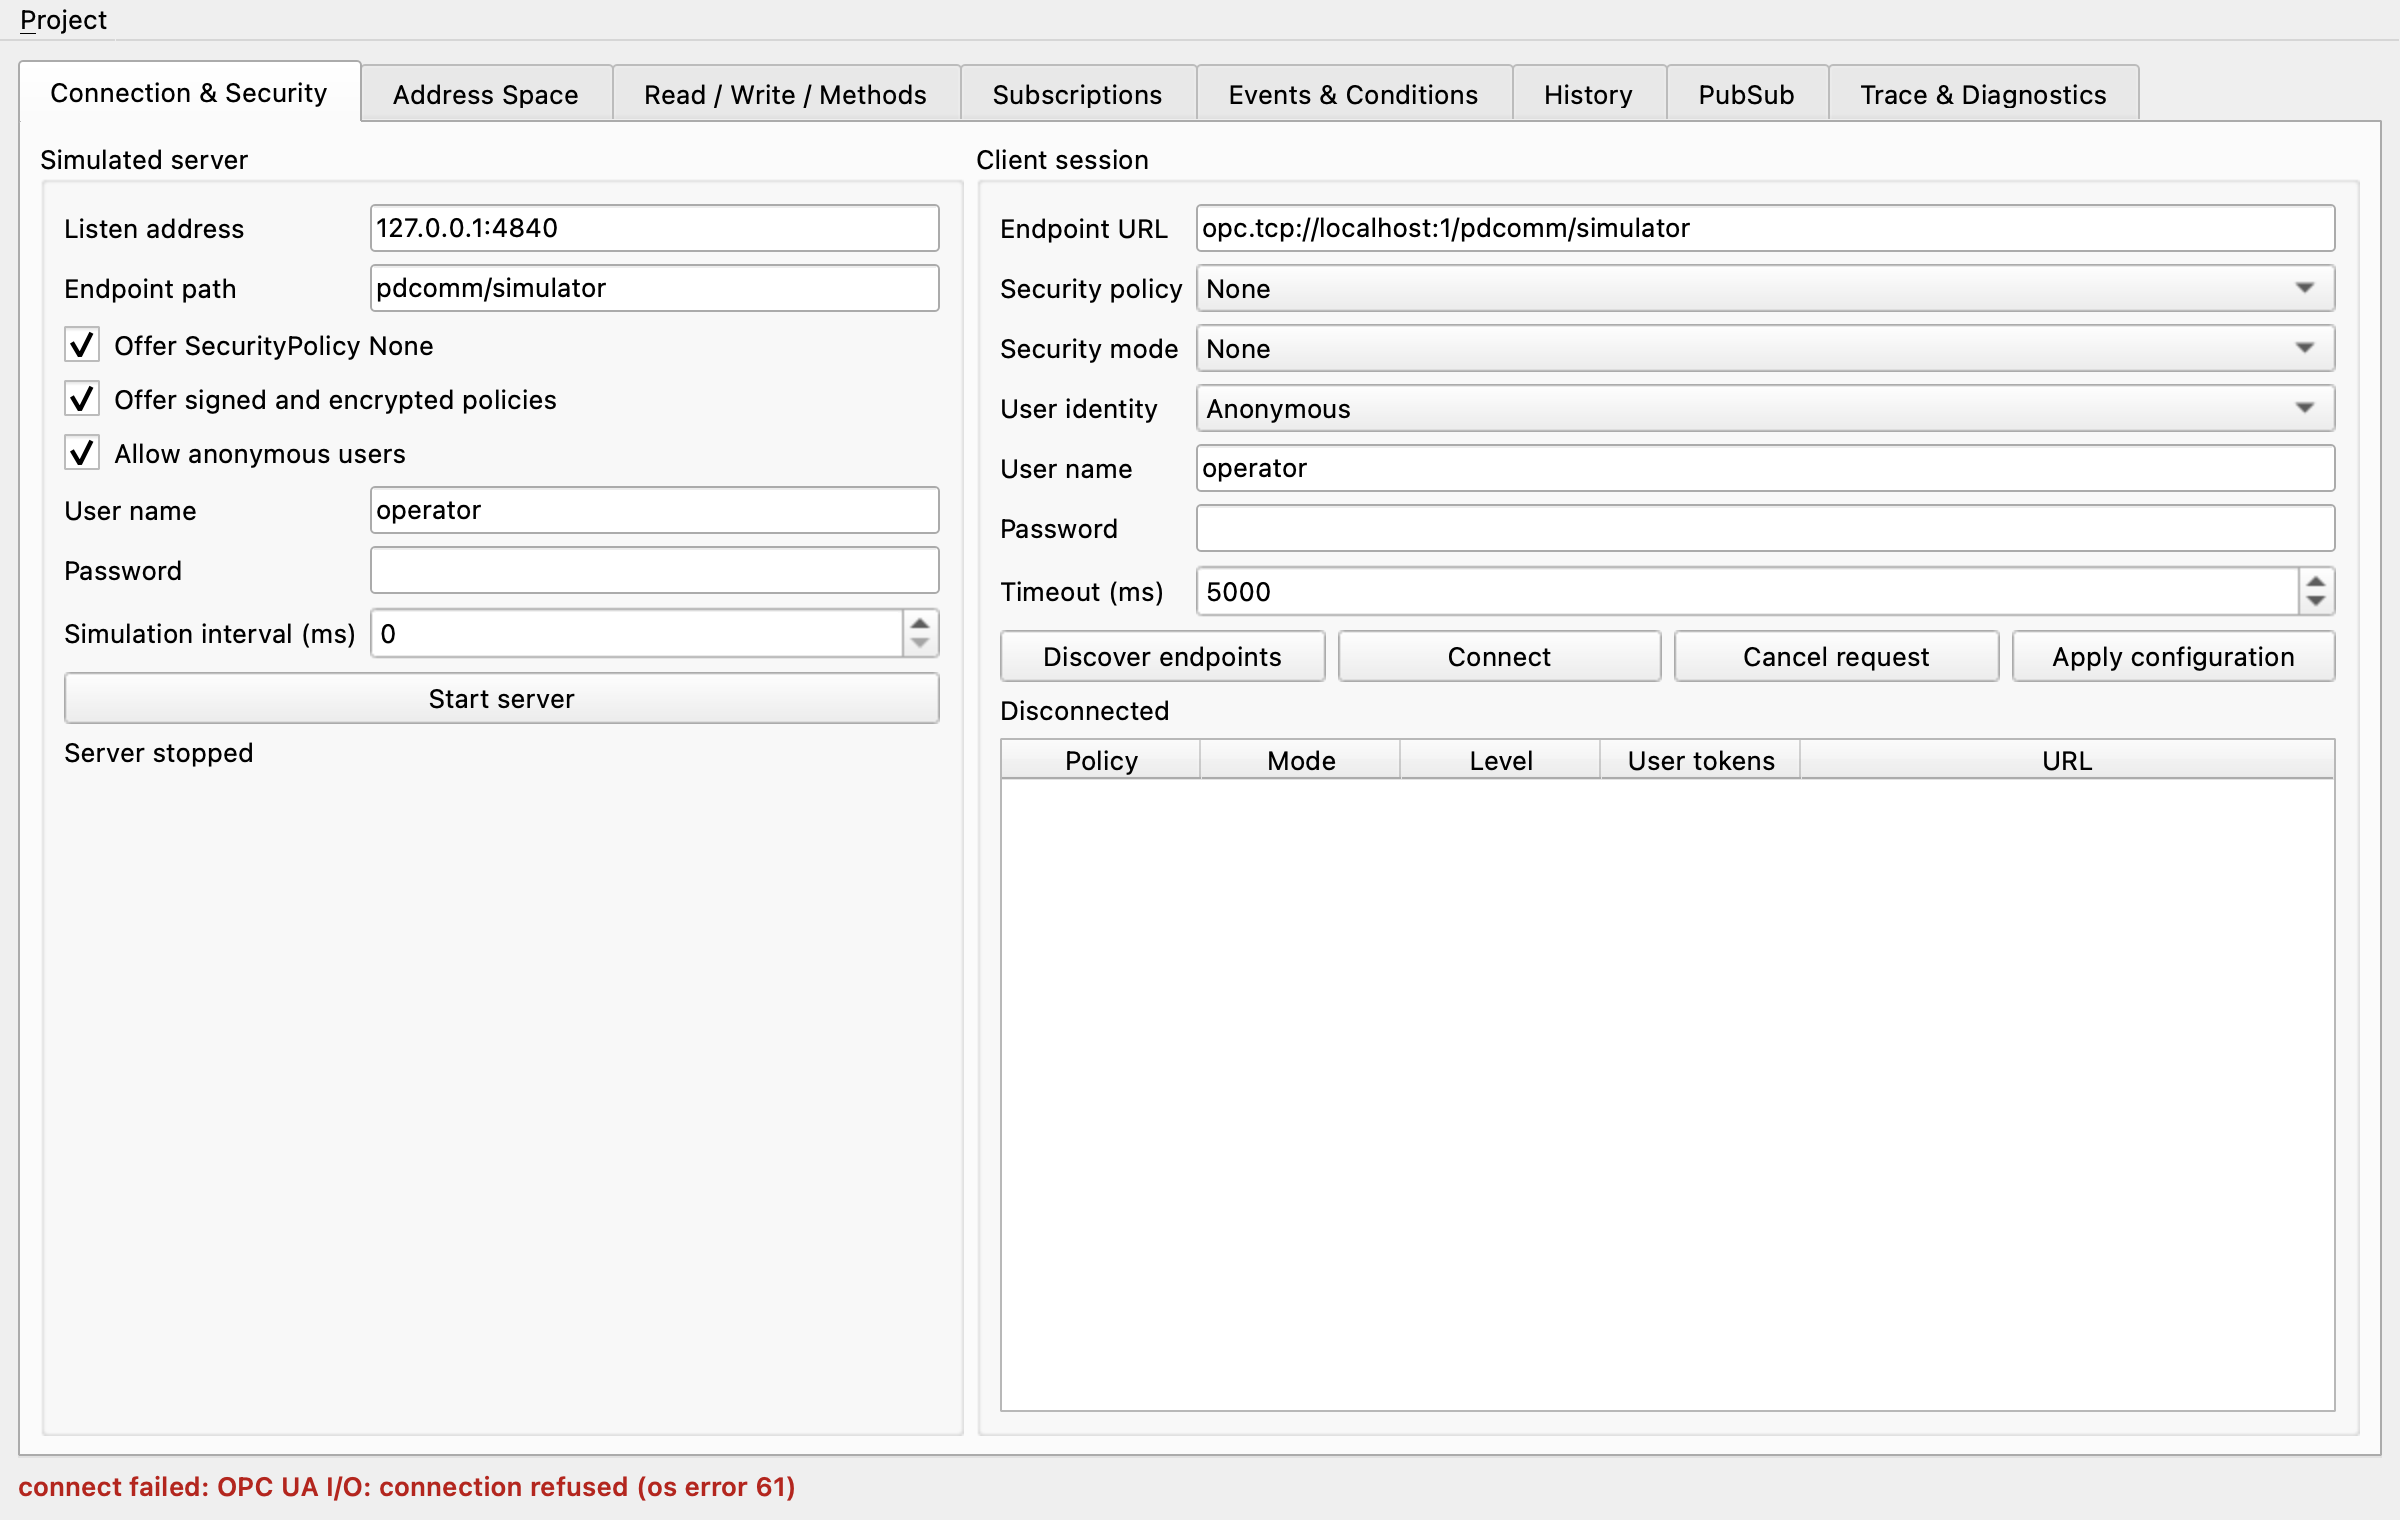
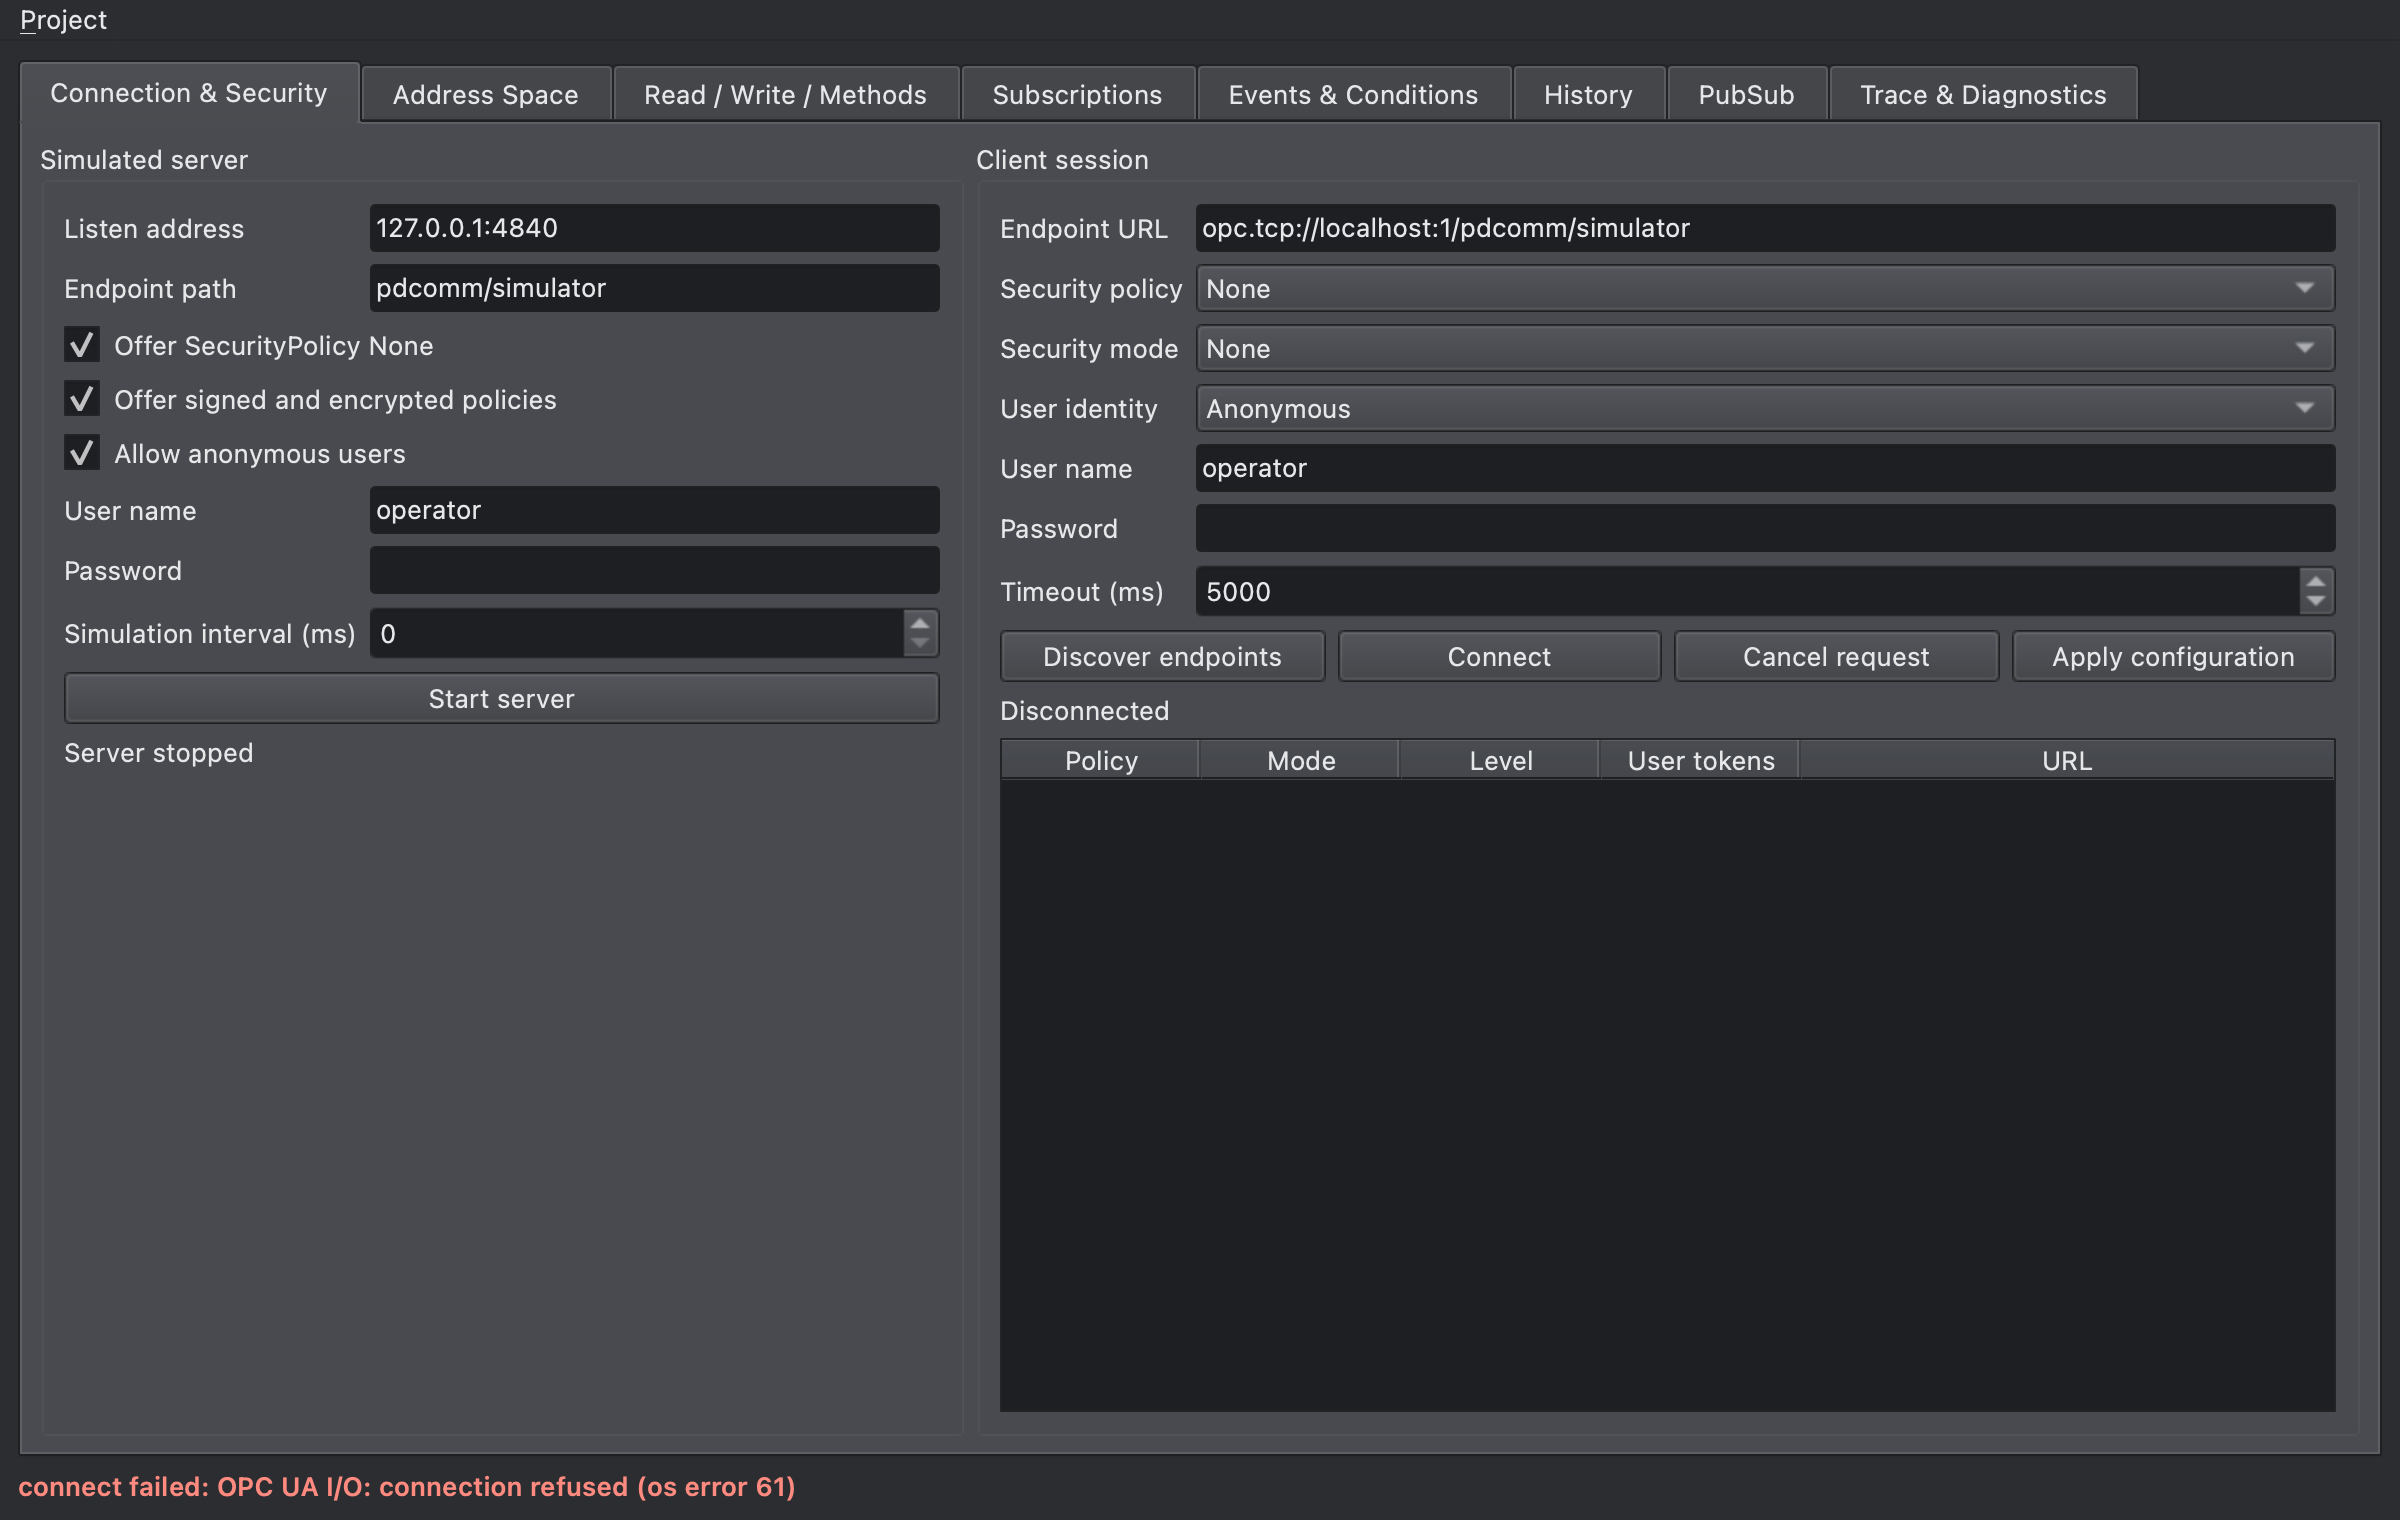
Find the fix for each error text in Troubleshooting.
Next steps
Section titled “Next steps”- Headless simulator: run the same actions from scripts.
- Configure security and users